22 june 2016
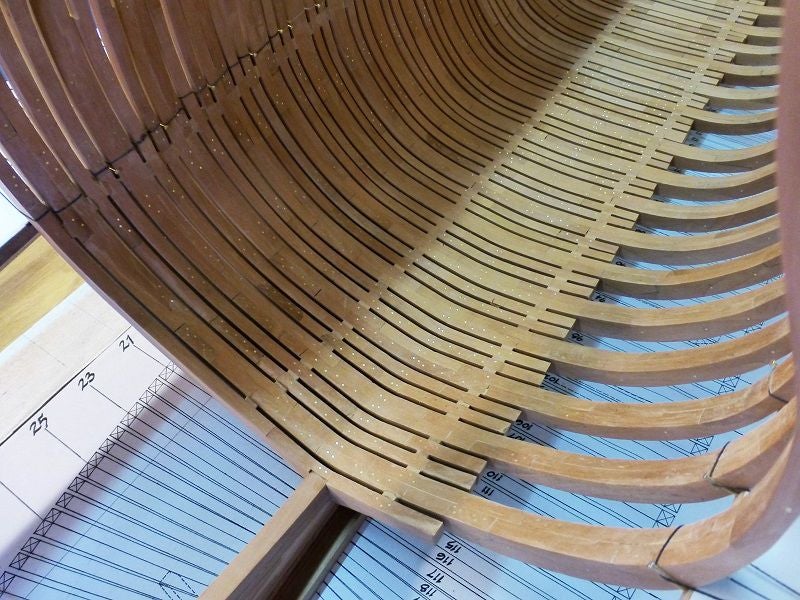
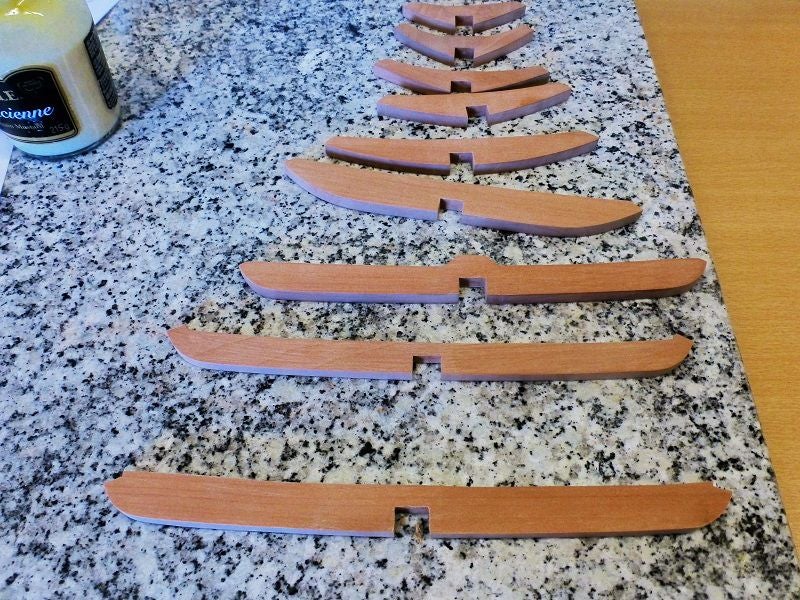
Frame 117 is placed on the keel. This afternoon I had some time and have sanded the last series of frames on the inside. It now looks again like I used to. Of the last two frames may still be sanden half a mm, but I will do that as soon as frame 118 is placed.
Oh, yeah ... the back office called and he has an opinion. I had also another question for him ande he had to search again. I leave the honor to the old man to bring you up to date on everything. He has done nearly a day search
Meanwhile, I'm so getting started with spans 118.
_______________
Regards,
Henk
18 june 2016
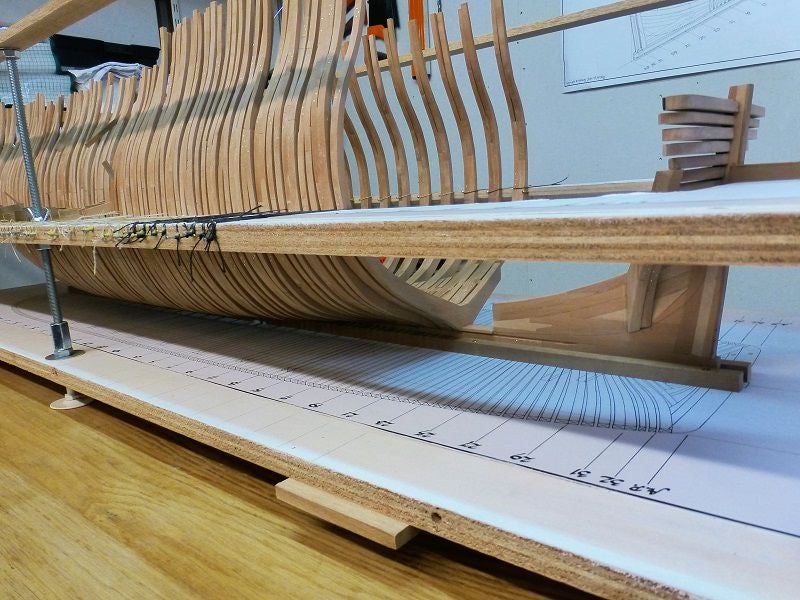
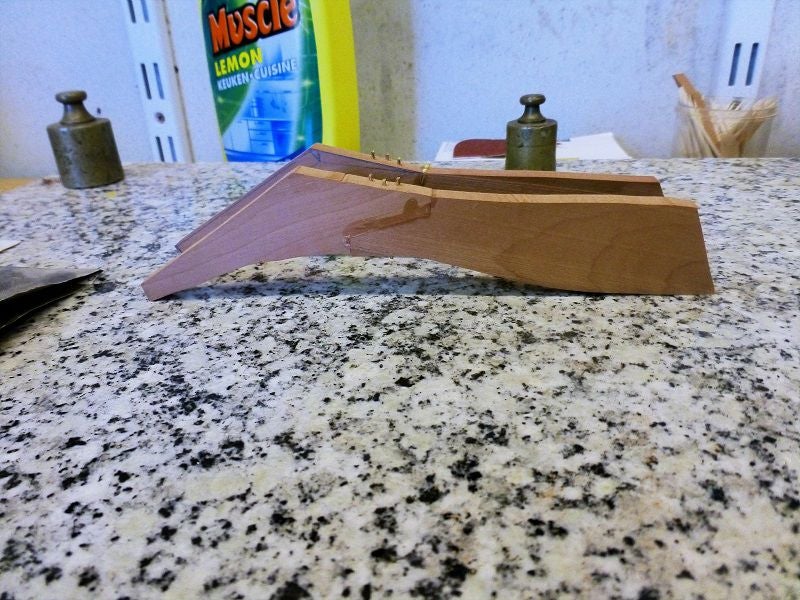
Frame 115 and 116 are ready and today placed on the keel. There is just enough space for frame 117 to put on the keel. From this frame, the frames are placed against the keel. Frames 115 and 116 are also somewhat higher than the previous frames, this increase is necessary because of the 'Poopdeck.
I just took a picture from the side. These show that the frames begin to run up. The outsideform can only be sanded once the hull is out mold and that will take a while.
On the inside are frames 110 t / m 116 not sanded into shape. I will wait until frame 120 and/or 121 are positioned. But first drawe frame 117 and building it.
Meanwhile, I will call the back office again in the south. Which has yet to come up with a recommendation for building the frames after section 23.
Problem which has been consulted:
The next problem is there .... For the bow, I then decided to order from frame 10 forwards, to build close both sides. You can see everything in the bow. The same debate now plays at the rear. I have by now decide what I'm showing. From which point you can look inward sloping and continues to have a beautiful image.
The problem is that "The Hold" is shorter than the Middle Deck, etc. If I decide to build close from section 23 on both sides, you see nothing of the Quarterdeck. The divisions must also fit in nicely together. A wall may therefore not stop in the air, etc.
For the time being frames 117 and 118, as the last, are built as a normal half-frame.
_______________
Regards,
Henk
12 june 2016
So it was a bit different than imagined! Normally I make four frames at a time, however, this way of working, I really have to let go. The four frames, produced in the past week, were totally not good.
Because there is no drawing of section 21, I have the frames between section 19 and 23 draw themselves. My office is also packed with several drawings to tune everything together. So I am now begun only with frame 114.
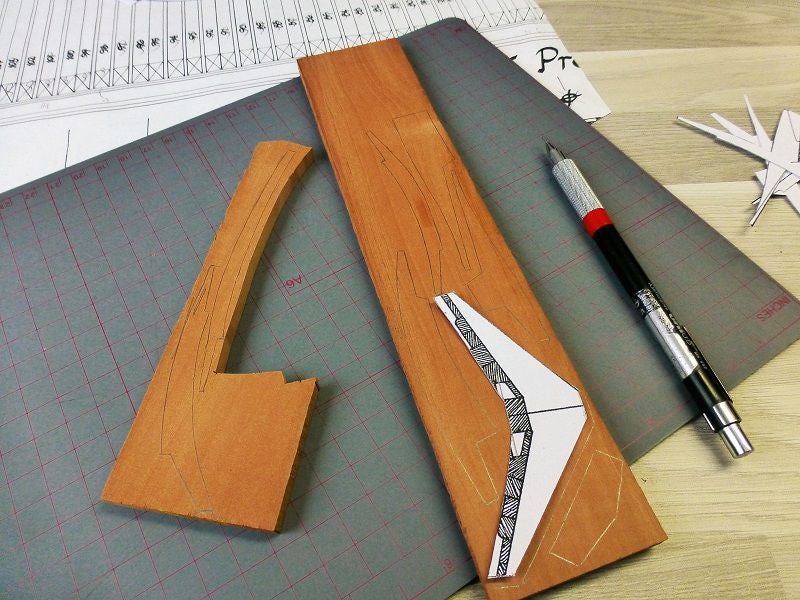
First I draw the rough shape on the drawing of section 19 and it is compared with section 23. Thereafter, the paper mold is cut out. The coarse paper mold is held against the last frame and continue to be updated. Once I am satisfied, the paper mold cut into pieces and put it on the wood.
After cutting out the parts, the frame is built up again, etc. At this time, frame 114 is drying. After the copper pins are placed, the frame is placed on the keel
I can not start earlier with 115 frame, then that frame 114 is really good on the keel.
The production is now slightly lower, but I'm happy with the result
_______________
Regards,
Henk
21 may 2016
The lower parts of frames 140 to 145 are placed against the keel. I am very satisfied with the result, especially because everything is right now.
First I'll now continue with the production of frames of section 21. Since there is no drawing, I draw it yourself. So now I sit here again to draw a couple of hours at the drawing board
_______________
Regards,
Henk
20 may 2016
I drawed and cut the lower parts of the frames 142 to145 in recent days and cut. Today started with the placement of these parts on the right side of the keel. All frames connecting the top to Transomframe frames . This weekend finish the left side and then we can continue with the other frames
_______________
Regards,
Henk
14 may 2016
It was good today. This morning I did the first two parts of frame 140 on the keel and all fitted with brass pins. After having all sanded and polished, the Transomframmes 8 to 11 are placed. The sides of this Transomframes encounter spans 139 to. frame 139 so gets quite a few twists.
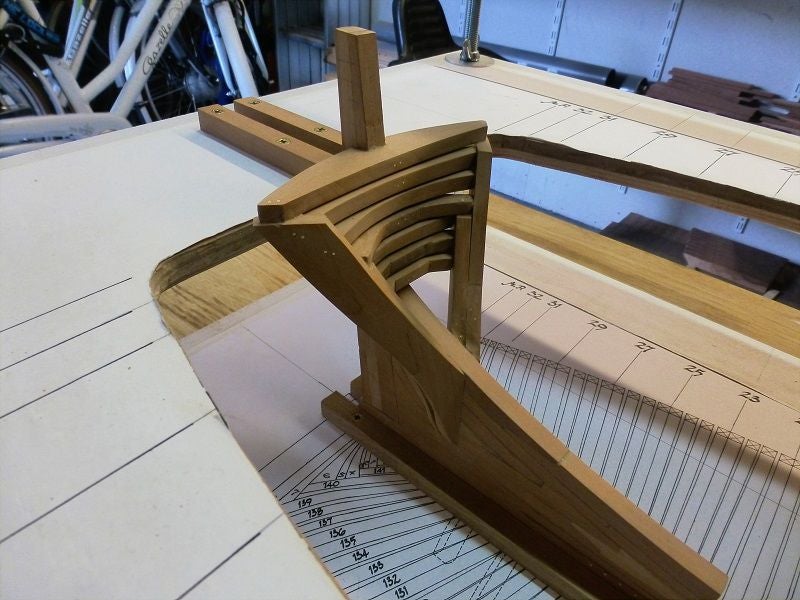
First I'll now build the frames 142 to 145 and placed under the Transomframe 1 (see photo below right). Then, the lower part of the back is finished, and I do not have to tilt the mold.
_______________
Regards,
Henk
13 may 2016
Frame 141 is placed against the keel and the Transomspanten are fixed. I then started in order to place the Transomframes 5 t / 7 m. Because they are getting wider, it is more difficult to place correctly. Measuring much and all so double check.
Frame 140 is also almost ready and is equipped with brass pins.
_______________
Regards,
Henk
11 may 2016
The Transomframes 1/4 are placed. It has taken quite some fitting and measuring work, but now everything is correct. I have a piece of walnut made a test piece of frame 141. The sides of the Transomframes 1 t / m 3 must connect to the side of frame 141 and the top of the frame must reconnect to the underside of Transomframe 4. A long story, but the picture says it all.
Additionally closure frame 141 is also another diagonally against the keel.
_______________
Regards,
Henk
8 may 2016
The Transomframes are ready to be placed. I have made a mold in front of the rear part of the keel. The curve has been transferred, so now I can see where each frame gets stuck. The lines, where the Transomframe be placed, are also transferred on the keel.
The inner sides of the Transomframes still need to be made somewhat slanting, so that it perfectly close on the top side.
_______________
Regards,
Henk
7 may 2016
The drawings and dimensions of the Transomframes are finally ready. To determine everything I often lay 4 to 5 drawings together. This is not a problem, I am beginning to know the Vic better. After having calculated the height of each frame, I found out that these frames are not level. They are inclined slightly to the front, this deviation is 3 degrees.
This was for me again as a reason to find out why this is done. As far as I'm out now, this is done because of water management. The Transomframes have decent size, the largest (number 8) is more than 35 cm thick and almost a meter wide. By the beam to tilt slightly forward, there is still no water on it.
All parts are now drawn, cut and pulled over on the wood. Meanwhile, all the parts are cut and can be customized now.
_______________
Regards,
Henk

