20 january 2017
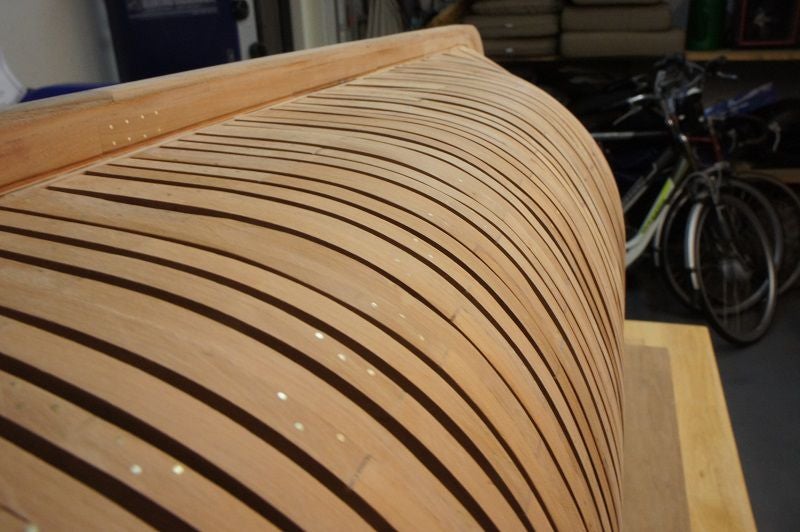
Now I had no experience with bending Padank and that was still a bigger problem than I thought. It appeared still to be a daunting task to find the right path here. Now the Deck Clamp are quite up to standard, 6.8mm x 4.8mm, and normally I wandered the woods> 24 hours in the water before I bend it. After the timber 24 to have soaked vomit the boards in various ways. After the break, I saw that the core of the boards was still dry. I have the wood after more than 80 hours of soaking, but it gave the same result. The timber broke during bending and the core was still dry
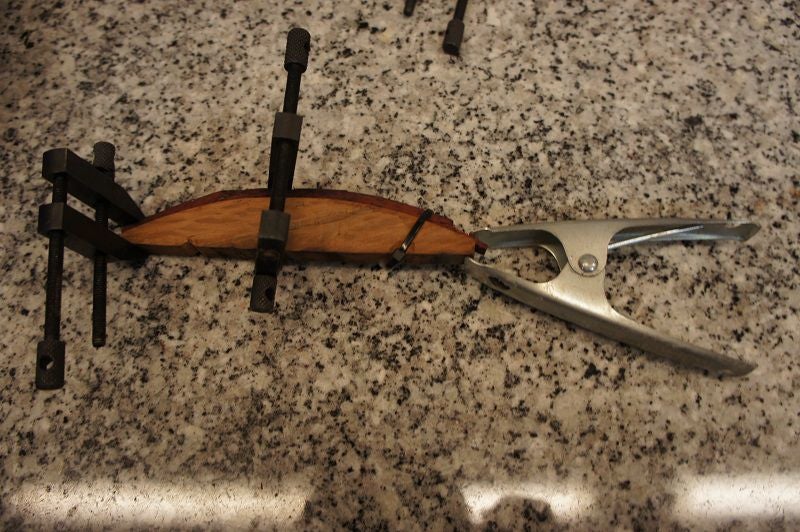
After much searching I found a way to bend the wood well and keep in shape. II made a mold off Holm Oak and I clip the, to bend, the plank in the center of the mold. On both sides I then put two steel pegs on the mold and plank, Afther that I put everything in the steamer everything. Then it is a matter of long steaming and the clips increasingly moving outwards from the center. In this way, the timber forms around the template. It was only the first time wrong again, because the wood was split soon as I pulled it out the steamer. So it cooled too quickly!
So again I start again and when everything was ready, I let it cool slowly the wood. So I'm so nearly 2.5 hours of steaming to get the wood around the mold and almost an hour to gradually cool down the timber. Then I let it sit overnight in the mold.
____________
Regards,
Henk
13 january 2017
Because the Deck Clamps be clamped longer to let the glue dry, it takes a bit longer. We go steadily with the application of the Deck Clamps. Just a few pictures.
____________
Regards,
Henk
5 january 2017
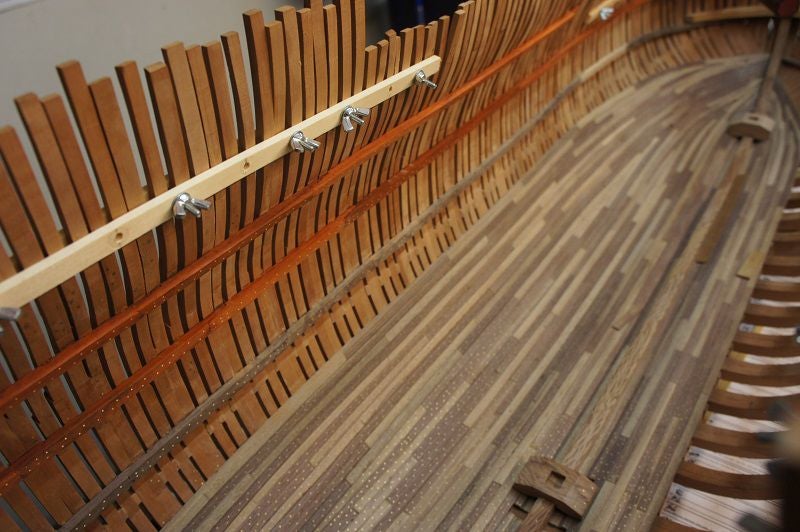
The Deck Clamps. where the Lower Deck coms to rest, are placed. This in itself was a tough job because there was lot of work bending. I have placed directly the front parts of the Deck Hook.
In the bow and extra reinforcement bars are placed well. These give the hull / bow extra rigidity. Later placed some breast Hooks (see yellow arrow) in the bow, they are placed on the inside planking. At the Lower, Middle and Upper Deck is applied a Deck Hook (see red arrow). These are connect to the frames and run so through the inside planking.
The Deck Hook consists of 4 parts. I have made only two front parts. The Hooks Deck I made from Swietenia. The deck beams and deck construction are indeed also made from this wood.
Next week I will start with the Deck Clamps of the other decks.
____________
Regards,
Henk
31 december 2016
Yesterday and today I placed the first parts of the Deck Clamps. It was income in the process, but progress is now there. In contrast to the lower Deck Clamps, I decided to place the connections on the double frames. This provides many advantages to the open side of the hull. If I had to make the connections between the two frames, then there is a good chance that there is a kink in the line.
In its present form there is now no chance and the line is beautiful.
____________
Regards,
Henk
29 december 2016
Before I could start wikt the Deck Clamps, I had to fix another (measurement) problem ... namely marking the heights of the Deck Clamps on the inside of the frames. During the application of the measurements for the Deck Clamps in the hold, the hull was still firmly clamped in the mold with the floating plank. As a result, the hull was at odds clamped to the lower shelf, and it was therefore quite easy in order to measure from the upper side of the Deck Clamps on both sides from the lower shelf.
Now she is out of the mold and release on the lower shelf, it is almost impossible to put the torso perpendicular to the bottom shelf. The measure angles and locations on the lower shelf is not a problem, but a little bump moves the hull yet again something and she is out of plumb. The application of the different heights from the bottom shelf is thus not an option!
I have taken this into account and I have a good measured and updated the lower Deck Clamps before the hull came out of the mold. At this time, therefore, the upper side of the lower Deck Clamps is my point of reference for the measurements of the above to make Deck Clamps.
In order to map the Deck Clamps as well from the drawings, I had to be taken to the size of every Deck Clamp from the top of the Deck Clamp to the bottom of the keel. Through a mathematical model in Excel I have the different heights of the deck Clamps and altitudes between Deck Clamps mapped. So I will suffice by merely placing the measurements from the lower Deck Clamp to the overlying Deck Clamps on.
To do this properly, the height should be measured at right angles from the bottom Deck Clap. However, the walls walk around and just be upwards diagonally measured from the Dek Clamp scale, represents a deviation of tenths of millimeters. This would come within 40 mm diagonally measured at 39.1 mm measured at right angles. Another would say to reject this small difference, but this is not acceptable to me. There must namely on both the sides 4 and 5 Deck Clamps be fitted and 4 x 0.9 mm is still 3.6 mm difference.
Because the bottom Deck Clamps are my reference points I made two measuring bridges that I can impose both Deck Clamps. Among these bridges is a support rail where I can put on different height molds. This height molds are made on the milling machine and arise from the calculation models. These are the different heights between the Deck Clamps themselves.
Because of this height with molds to set the correct height on the measuring bridge, may simply be the top side of the superjacent Deck Clamp be put on the inner side of the frames. The derogation is therefore up to 0.1 mm.
I have made an additional structure in order to be able to determine the height of the Deck Clamps on the open side of the hull. So it was anything puzzling, but I am very satisfied with the process of my measuring bridges.
Tomorrow so I start to make the Deck Clamps.
____________
Regards,
Henk
28 december 2016
Yesterday and today I started with the production of a large stock of wood for the Deck Clamps. At this moment I have more than enough for all the Deck Clamps. Tomorrow I'll start with the Deck Clamps of the Orlopdeck.
____________
Regards,
Henk
26 december 2016
I've already been indicated that much research is kijke in this project. Often I have to be viewed multiple drawings to come to the correct sizes.
In order to properly map the height of the Deck Clamps I need to make a calculation model in Excel. In this calculation all heights are inserted. Eventually, I now have two pages with different heights for each section and the height between the decks.
I can now start making a stock shelves for the Deck Clamps. The Deck Clamps under Orlopdeck will be made of black walnut. The Deck Clamps of the other decks are made of Padank. This is because the inside of these decks are red and Padank has a red color. I color so the ship by using the colors of the different types of wood.
____________
Regards,
Henk
24 december 2016
Last week I repaired and/or modified all frames, even those were not to my liking. The next step is to apply the Deck Clamps of the various decks. These are the sidebars where the deck beams come to lie on for the deck. This means that the Deck Clamps for the Lower Deck up to and including the Quarterdeck be placed in the hull.
Once those are inside the temporary terminal strips may be removed. Thereafter applied he frames for the rear mirror and side mirrors. So there is still plenty to do.
The next few days it is primarily measuring the heights of the various Deck Clamps. Nice job for the hours between visits and dinners of Christmas.
____________
Regards,
Henk
18 december 2016
Six months ago we met the new Bagel-tape measure tool. This is not available in the Netherlands and we could buy it only on enrollment. The tape measure tool does not work with a metallic ribbon, but you can compete with it in different ways,. You can measure it by a rope, scroll wheel and / or a laser. You can also connect it to an app so that it automatically saves as the taken measures. I'd rather work the old fashioned way with it. Overall I am very happy with it, especially since he digitally measured with a precision of 0.1 mm.
As indicated on Friday, I have been the rearframes repaired on both sides. The new parts are there and everything is now drying. Tomorrow ik put the copper pins in it and then I can start on the frames at the bow side.
____________
Regards,
Henk
16 december 2016
Last week I completed the rear of the hull and sanded into shape. The 'Transomframes' at the rear are made thicker. The back of the 'Transomframe' actually formed the front side of the supplement. The entire bottom of the hull is now complete and I can now focus on repairing the frames.
So I turned Vic back and put her in another mold. This weekend first repair the two rear frames. These were demolished already a long time ago. Once again these are on, I'll focus on the conscious frames at the front.
____________
Regards,
Henk
10 december 2016
Both sides are sanded and I can focus now me on the back of the hull. First of all a good measure and then started.
____________
Regards,
Henk
4 december 2016
Yesterday and today I sanded the rear part of the port side of the hull. This was a lot of work because I have kept the frames over the size on the outside.
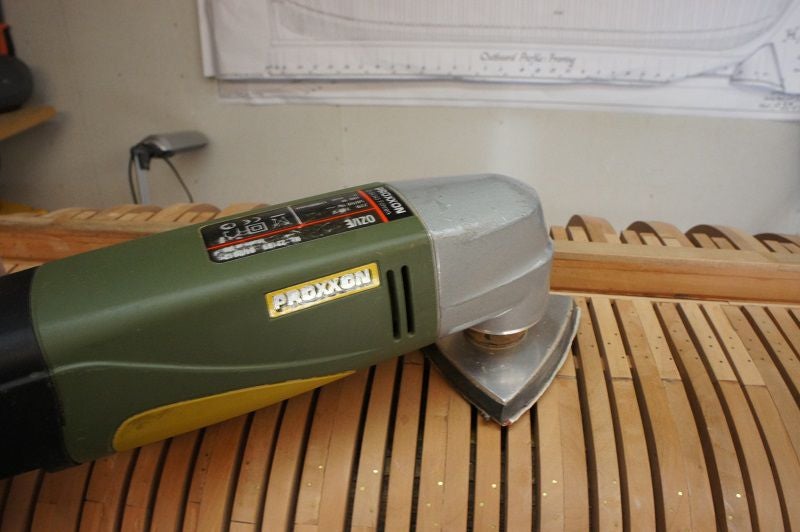
Regarding the speed I could start with coarser material, but everything is done with the Proxxon. Purely to force myself tot measure constant, etc.
The lines are good, now I let it in here. Next week also the starboard sanding and then I can focus myself on the back off the hull.
____________
Regards,
Henk
2 december 2016
Last week I started sanding the hull on the outside. I first sanding the underside of the hull up to the bar, where the frames are clamped behind.
After several evenings and more than 15 hours sanding, the bow and both sides are finished. The curves are good and both sides are identical.
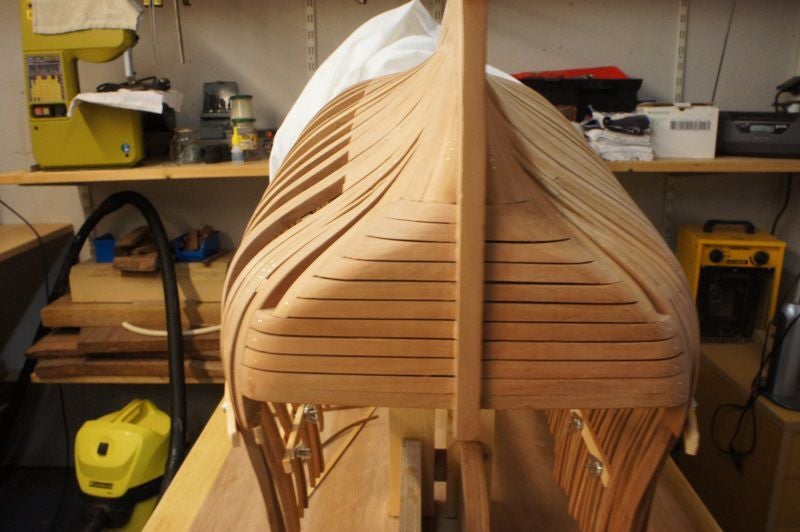
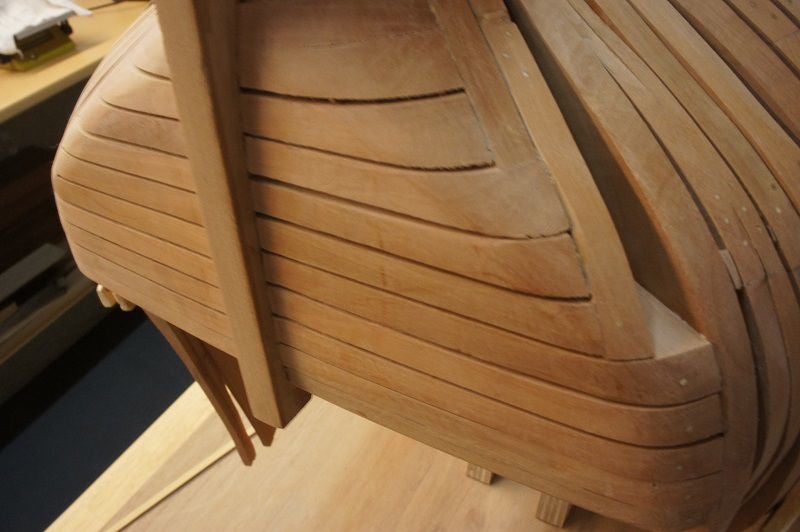
The first picture (above left) shows that two frames above the clamping bars are gone. I removed it to see how I can change this frames the simplest. As previously stated in my other blog is the top of this frames and 6 frames afters 6 behind not good. Once the bottom is sanded, I turn Vic around and I have first to change the rafters.
Upcoming week furst sanding the rear.
____________
Regards,
Henk
27 november 2016
Our youngest daughter was askes by her boyfriend 'to marry him' after buying a house. Mom and Dad so have in recent weeks spent many hours in the new house to get everything they wish. Last Friday, the happy couple got married and now live in their new home.
VIc was more than a month been under the canvas without anything happening to her. Now Grandpa and Grandma again fallen into a somewhat quieter life it was time to again start up the machines. Luckily I work with her again. The rollers and brushes, I can happily throw away
First I'm going to the hull exterior sanding. I already had a mold made where Vic, at its head, can be treated. It is thus taken carefully out of its mold and placed on the other mold. Can I attend a few hours sanding
____________
Regards,
Henk
