22 december 2015
Frame 10 irritates me the last few days ...the shape was not good. I was not satisfied with the result. The result is shown in the pictures...everything is broken.
It must be good, otherwise I continue to irritate me.
Sometimes it is not easy, but what are now three weeks on a project of approximately 15 years. I decided to start again with frame 24, ect.
_______________
Regards,
Henk


19 december 2015
This morning I started sawing the components of frame nine. After all milled to have custom-made, parts are glued together. The middle connection is only put together after everything is dry. In this connection must namely the twist to be made.
Because the drying took some time, I continued with the parts of the guns.
_______________
Regards,
Henk


17 december 2015
The left and right parts of frame 10 are ready. They only need to be polished, and may then be attached to the keel. I do this as soon as the left and right parts of frame 9 are ready These are namely tight against frame 10
_______________
Regards,
Henk


13 december 2015
This morning I made the right portion of frame 10 provided with pins and sanded. This morning I made the parts of the left part of the frame and glued together.
_______________
Regards,
Henk


12 december 2015
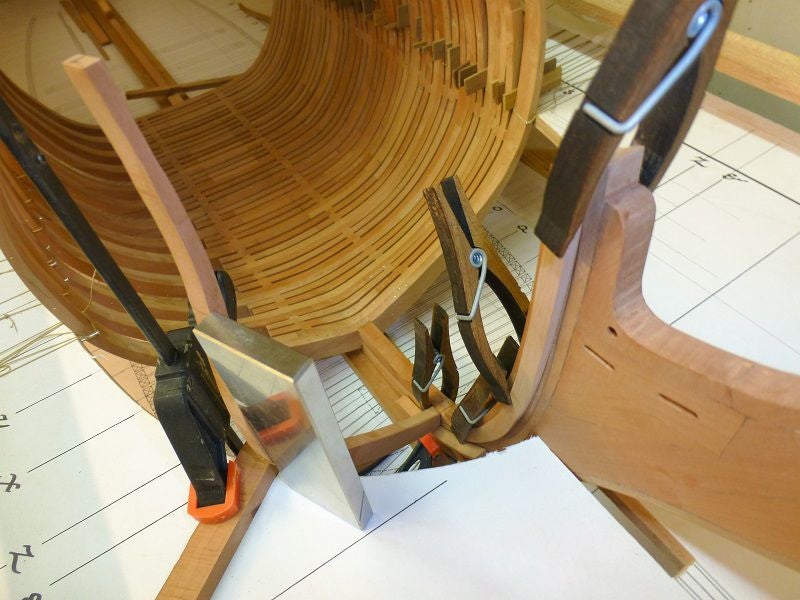
I have yesterday and today worked to frame 10. After sawing the parts I started building the frams. I first started but with the right side of fram 10. In my previous blog I had already indicated that the frame must have a twist and that there is a trapezoidal shape to come in.
After several failed attempts, I now know how I need to pick up and I have the right part of the frame glued together. I just put him next to the wrong timber in the photo, so that the rotational and other differences are visible.
At this moment is to build the best possible way in order of the frame from the keel to build upwards. Once everything is dry, I can put the pins in the frame with pins.
Tomorrow ik can sanding the the right part, place the pins in the frame and finally put the frame against the keel.
_______________
Regards,
Henk


5 december 2015
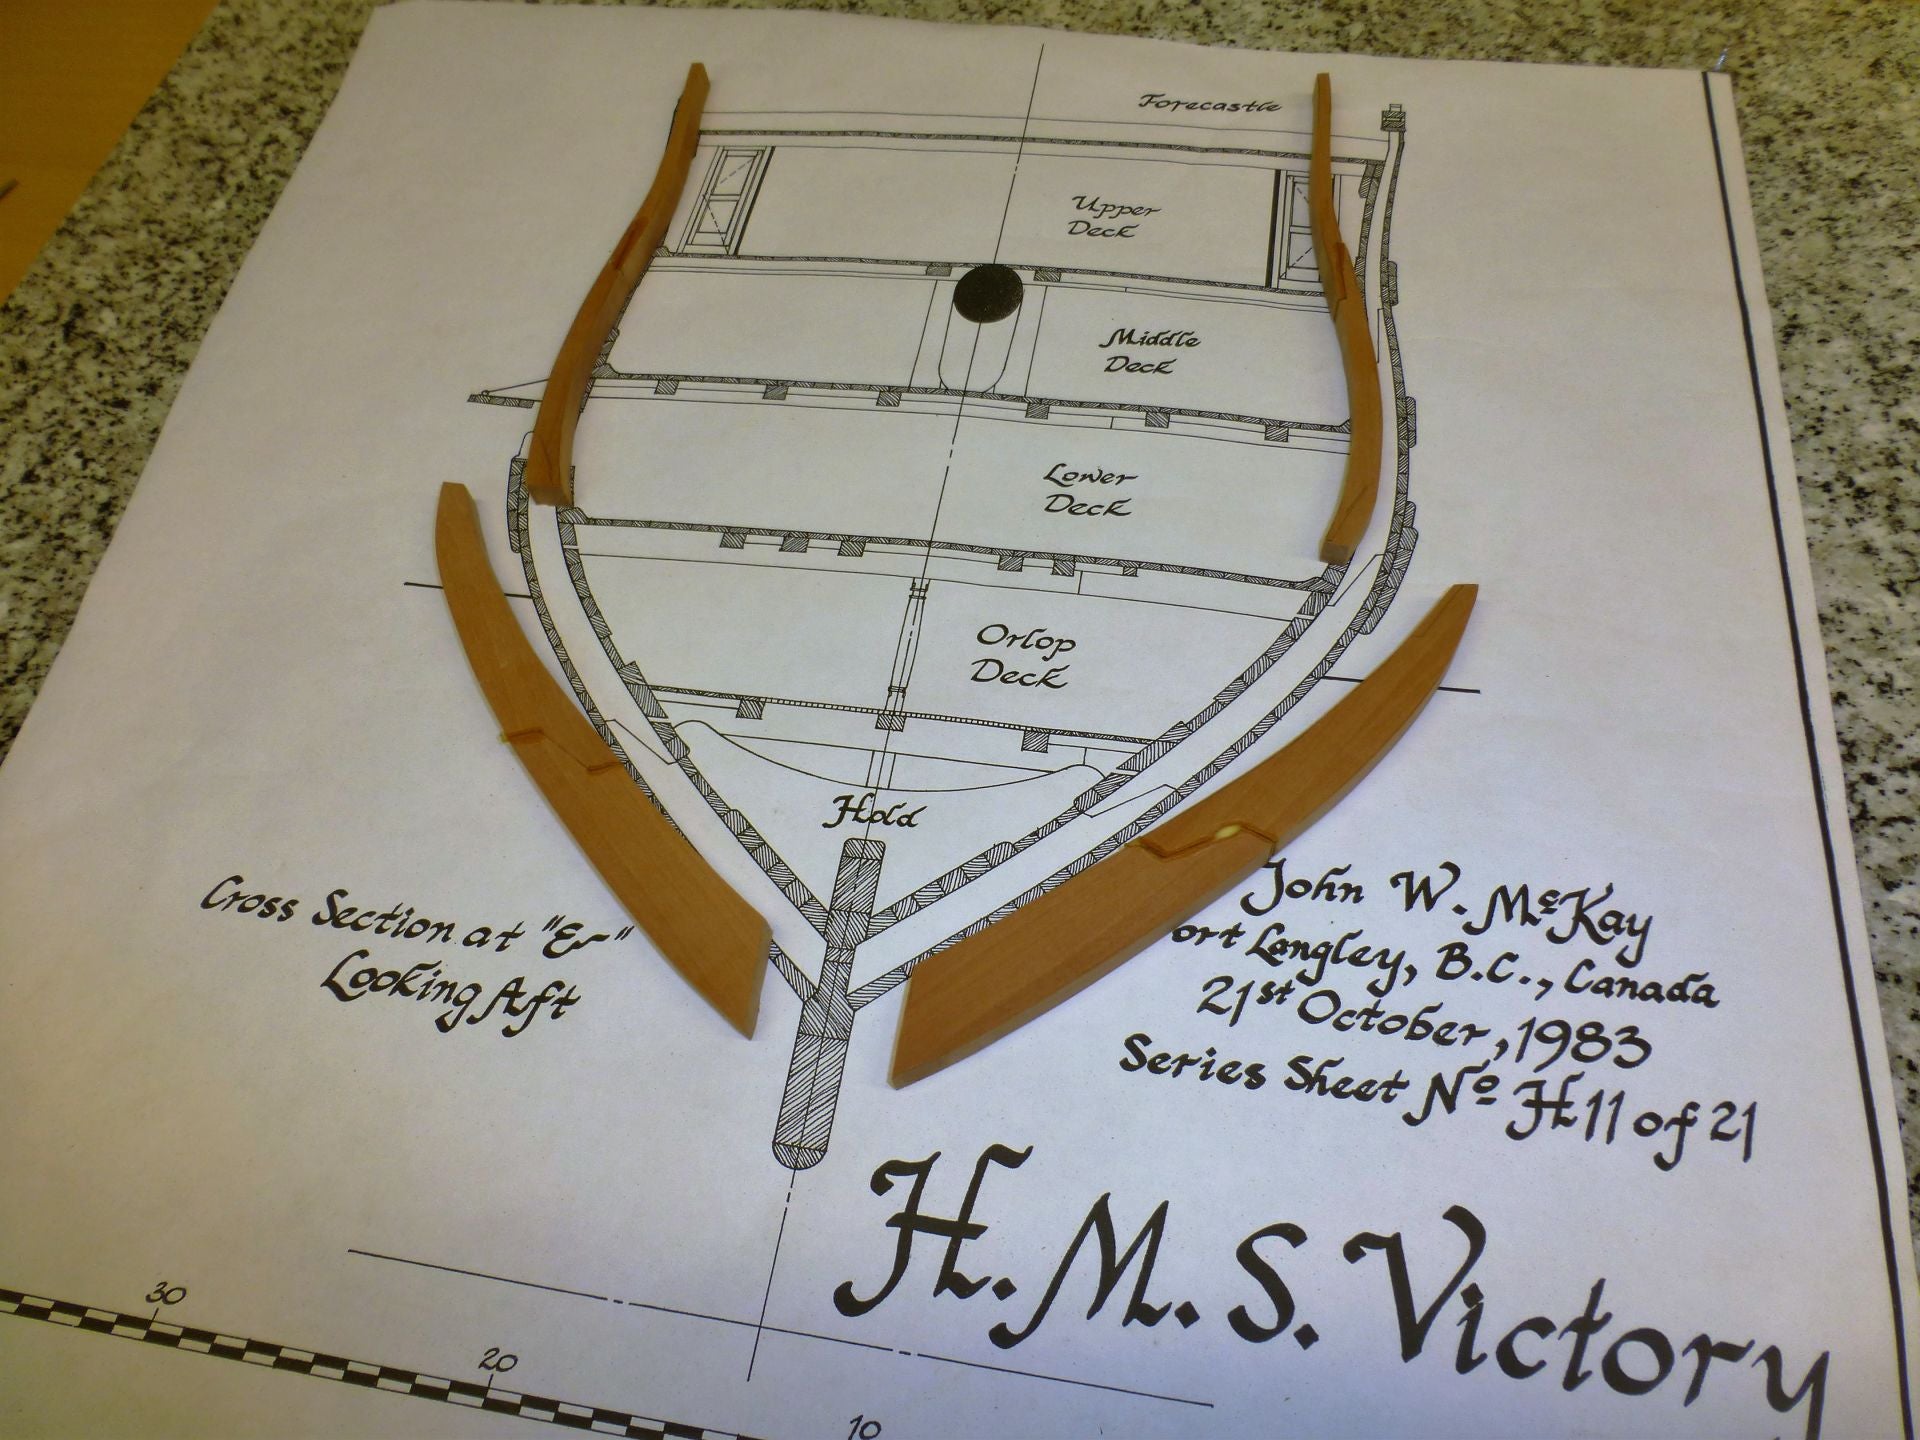
Normally I would just build frame 25, 24, 23, ect. , but this week I noticed that there is no drawing of section U. I looked everywhere, but even in the books no drawing of Section U. So I have to choose a different strategy . First I build the frames 1 to 10 and later I build the frames between 10 and 25.
Now I have to draw all the frames and I must honestly say that the bow is complicated. Between frame 1 and the bow is an extra frame. This extra frame ensures that frame 1 is well positioned and is in the right line.
I must first create a part for the keel and glue it on the keel. The extra frames overlap both parts. It was a complicated job to make these extra frames.
They are round, slanted, pointed, ect. I have the extra frames, dry fit mounted, on the bow.
Meanwhile I cut the parts for frame 9 and 10.I make thes first and then the frames 1 to 8
_______________
Regards,
Henk


29 november 2015
Yesterday the frames 25 t / m 28 are sanded and placed on the keel. Then aligned and firmly put everything together. Because now I'm going to build the bow section, I decided inside now but once substantial sanding. I need the impetus of the curve to convert them into the bow section.
Sanding was a bit of a tough job. This morning everything polished with steel wool.
Starting today, so I'll start with the frames of the bow section. These are not placed on the keel, but rather on the side off the keel. In addition, they have all sorts of curves. It is a difficult job where I may take six months to build.
_______________
Regards,
Henk


27 november 2015
Today, the frames 25, 26, 27 and 28, glued together. Tomorrow they will be fitted with brass pins and sanded. Then they can then be placed on the keel .
_______________
Regards,
Henk

