1 april 2018
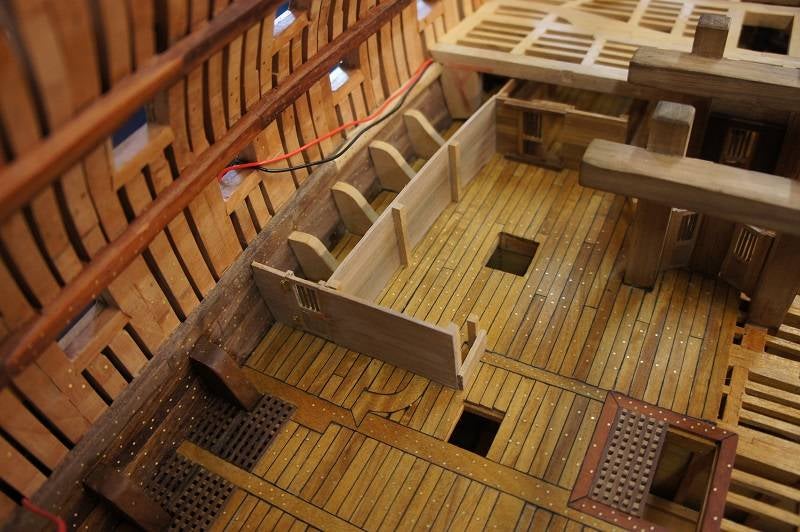
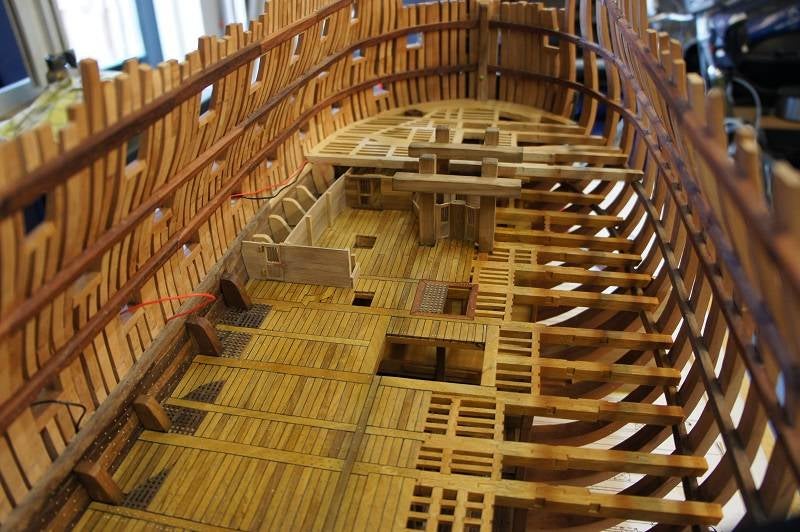
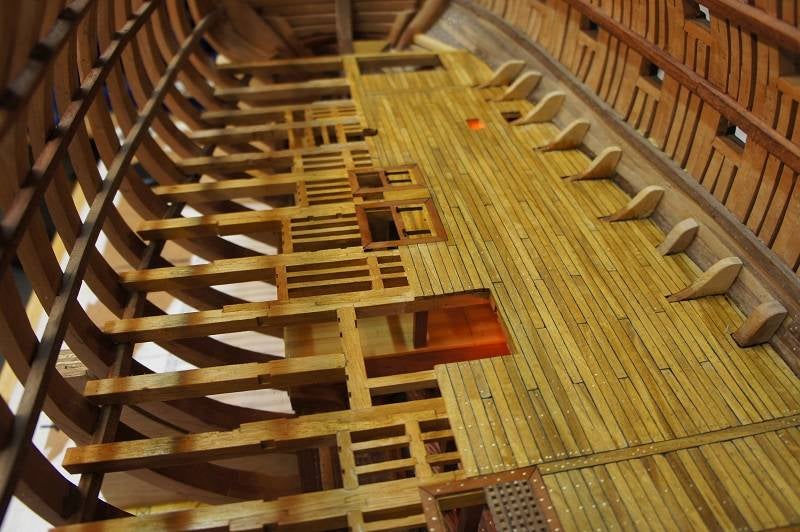
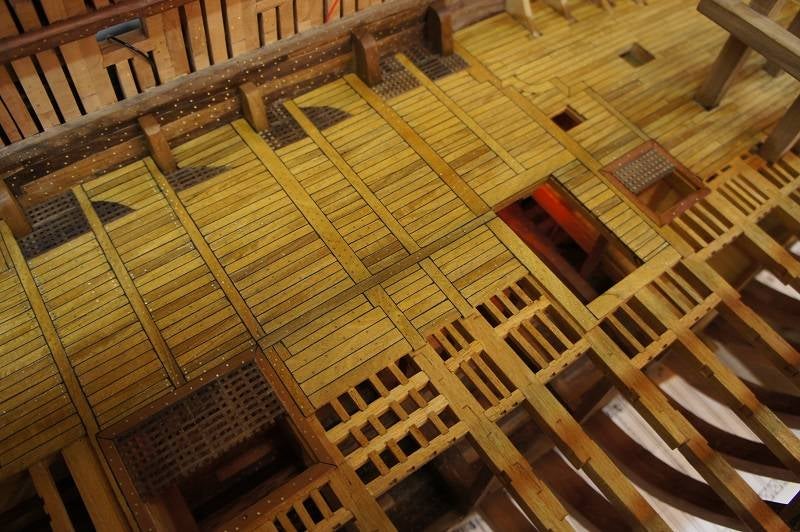
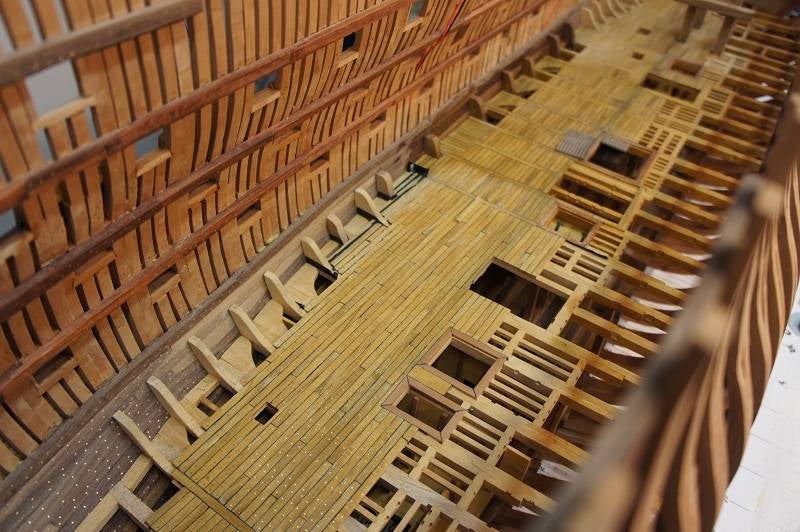
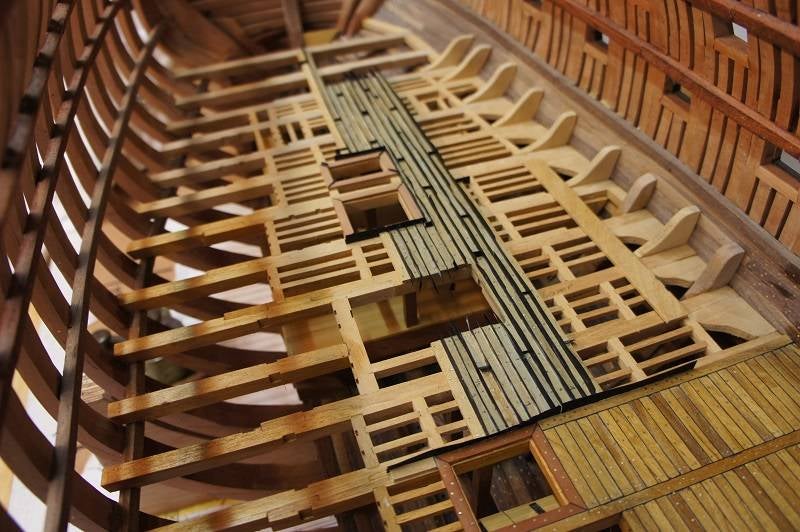
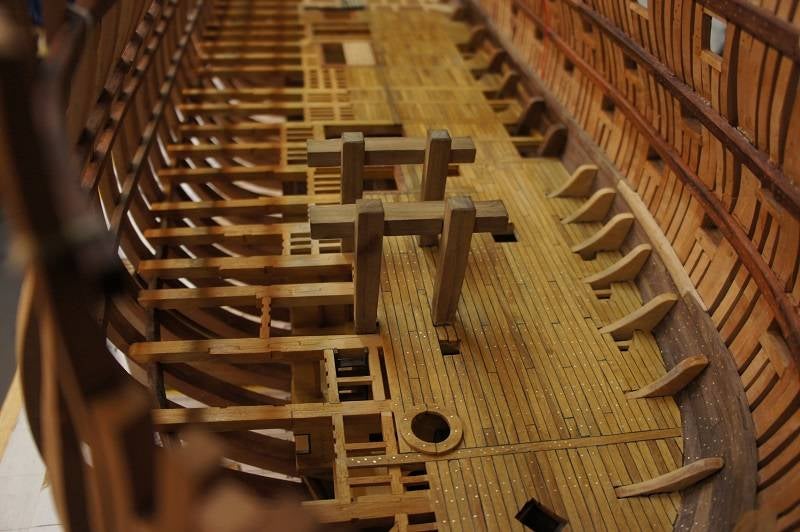
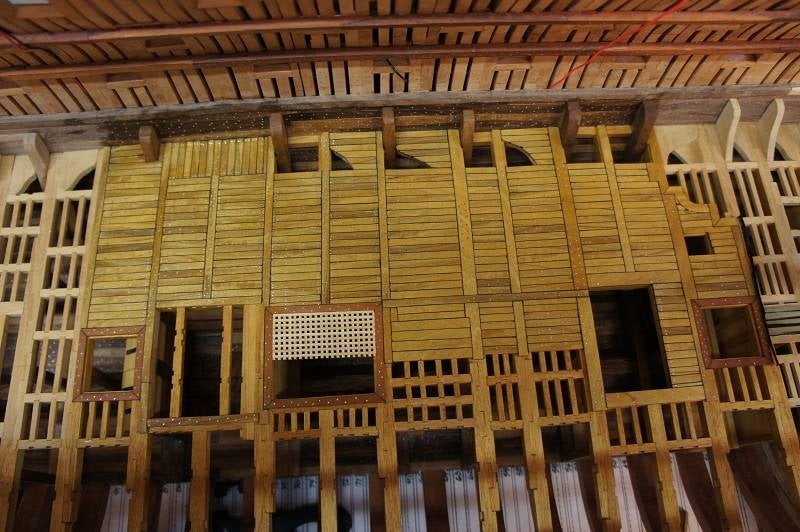
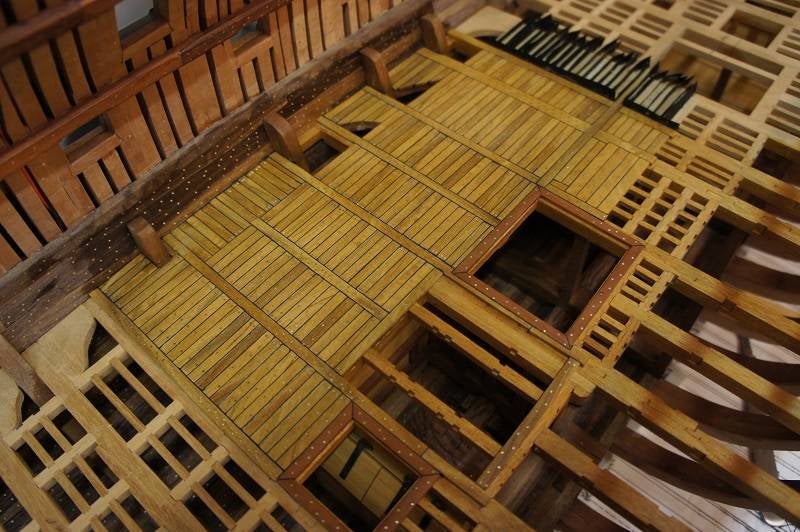
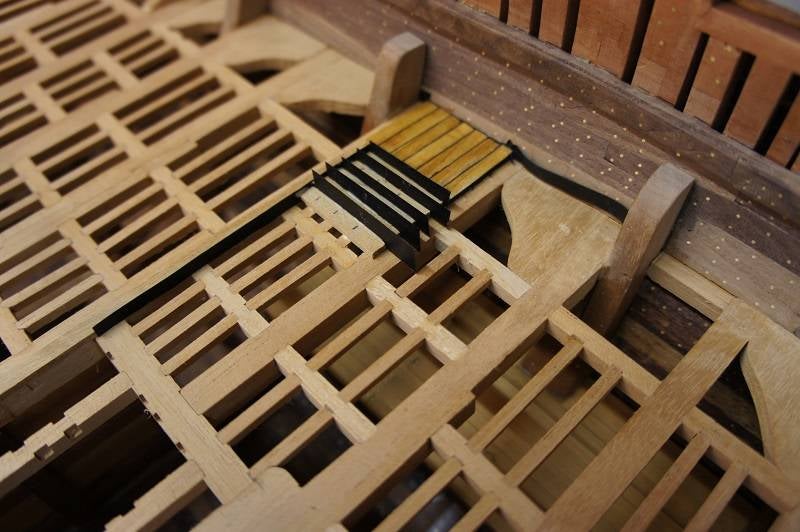
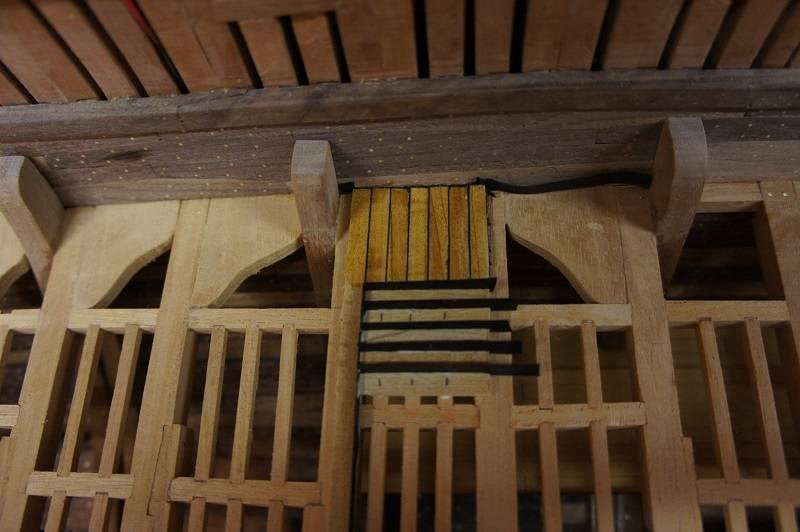
The Sailroom, Carpenter's Walk and Passage are ready and the first walls of The Boatswain Cabin and Store have been placed. The doors to The Fore Peak are placed in their entirety. It is a bit of a search for the different heights of the walls. The view to The Sail room, etc., must be good.
The lantern in The Boatswain Store will not be hung in the Store, but will be placed behind a hatch in the wall between The Boatswain Store and Cabin. He is standing in a vitrine. As far as I've been able to find out now, this was done to eliminate the fire risk related to storage of rope. I have to find out how to connect this lantern.
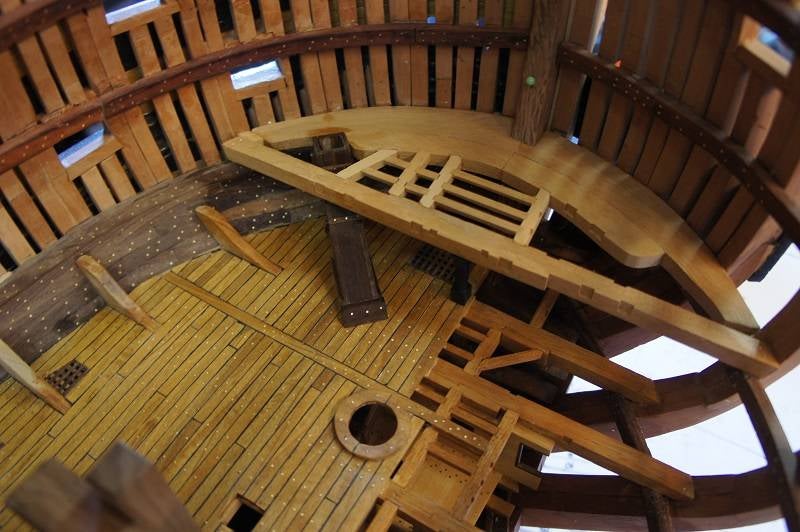
In the coming week I will first install the deck construction between the anchor bitts
________________
Regards,
Henk
25 march 2018
The deck beams of the Lower Deck are equipped with so-called 'Hanging Knees' which are extra strengthened with 'Iron Knees'. I decided to apply it and now I know why some model builders did not include it in their model. In order to apply everything correctly, they have to be applied before placing the cover beam, which is a lot of fitting and measuring. I make the 'Iron Knees' of copper, I don't make it black anymore because it takes a lot of time. In a few years' time, these will have turned black by themselves.
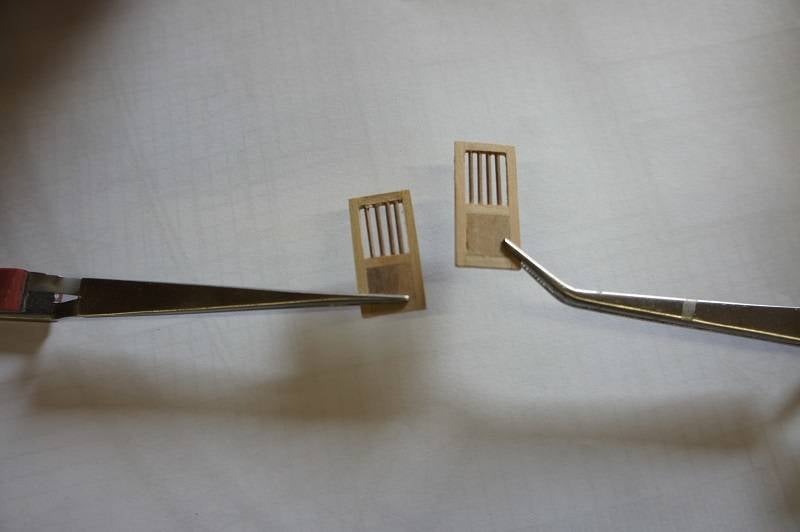
Another project is the manufacture of doors. These are made of light walnut and the bars are made of dark walnut. The hardware is made of brass/copper. I have consciously chosen to place a little less bars in the door, because this increases the sight through.
It is also playing with the heights of the walls. I build the rear walls all the way up to the deck construction of the Lower Deck. This will create The Carpenter's Walk. This is actually a corridor between the Boatwains Store/Sailroom and the hull. The walls for that I make less high. This way you get a view of the Passage and you can look into The Sailroom. The hatch to the later Lightroom, at the end of the passage, is completely concealed and is closed with a door. This is clearly visible on the last picture.
In the meantime, the first lighting has also been installed. In The Carpenter's Walk there is a light point that illuminates the walk. This point of light will no longer be visible in the future. In The Sailroom there is a lantern. This remains visible.
________________
Regards,
Henk
18 march 2018
The preparations for further fitting the Orlop Deck are ready. First, the ventilation channel was pulled through to the next deck. It now runs from the floor of The Main Room to The Lower Deck. After that, the first part of the deck construction of The Lower Deck was placed.
Most of the pillars under the roof beams are made of square beams and are round and conical in the middle part. I make this one from ebony to get a nice color contrast. Because I was already working with the lathe, I immediately made a stock of spare parts for the lanterns. On the Orlop Deck there will be some more lanterns to hang.
Meanwhile I started with the walls of The Sailroom and The Boatmains Store. Next week the pictures.
________________
Regards,
Henk
11 march 2018
The Orlop Deck deck planking is almost ready and most of the gratings are placed. The rear part remains open for the time being. I still have to connect the ventilation channel to the lower part and the Lower Deck. This section of the ventilation channel also runs through the gratings. I will only do that at the end of fitting the Orlop Deck.
I will now start with the real interior of Orlop Deck. I do this in the same way as for the hold, install rooms and apply the deck construction of the Lower Deck directly. I work from the bow to the back again.
The biggest challenge is to make all rooms and corridors visible. If I place all walls completely, then not all spaces are visible. What I am sure is that the knees and gratings on the port side will soon become almost invisible. They will soon fall away behind the walls of the various rooms.
I still have to work out the heights of the various walls and adjust the lighting plan. In the coming week it will be more drawing than building.
________________
Regards,
Henk
4 march 2018
It would have been better if I had waited a while to produce the new grids! Jan Zwart and I meet periodically to see our projects and Jan knows a lot about Vic. Last week it was his turn to look at my Vic last week and so Jan pointed out to me that my new gratings were wrong. I had put them together wrongly. It came to me a bit hard.... not because they were wrong, but I had already worked 12 evenings on the gratings and then you're going to have some doubts about correcting the mistake.
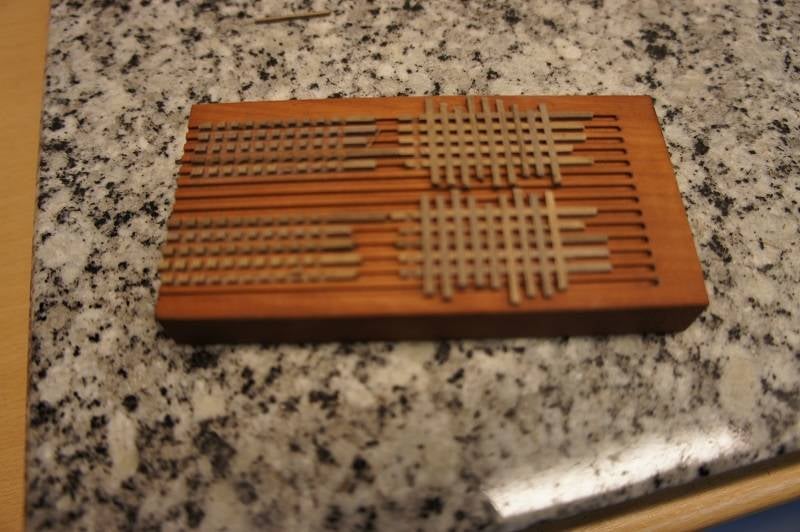
After Jan returned home, I was dived into the drawings again. I had indeed been sleeping for a while. The gratings consist of beams in which battens have been laid, so I built them wrongly. In addition, the gratings consist of several small gratings. Afterwards I was sent some pictures by Jan with the real gratings.
Eventually I took the gratings out of the deck and discarded everything. After that, a mould was made to form the gratings and a new production started. The first good gratings have now been installed. The planking of Orlop Deck also continues in the meantime. Fill a few more holes and place the rest of the gratings.
________________
Regards,
Henk
25 february 2018
For the new grids I first made a large stock of wooden planks. The first gratings are ready and already placed in the deck. As soon as a grating is put together, I have it put itself in place by putting it under pressure under a steel plate. The surfaces are then sanded and cleaned. To glue everything together, let the grating soak in strongly diluted glue, after which it may dry between 2 cloths under pressure. Now that I make them from walnutwood, I hardly need to sand them. The result is now much better.
After drying, the grating is custom made and placed. I make sure that the gratings are all placed in the same way, so that all ribs are the same. Meanwhile, the rear of the deck will be fitted with planking.
________________
Regards,
Henk
18 february 2018
Over the past week, the deck planking on the front of Orlop Deck was completed. After sanding, I took all the wood with' Cleaning Thinner'. The advantage is that the wood is well cleaned, but after drying any glue residues can also be seen. The areas, where there are still glue residues, then dry white and they are easy to sand away. This prevents stains in the wood as soon as the Tung Oil is applied.
Meanwhile, 6 gratings are ready, but I couldn't live with the quality delivered. Although I work with very sharp tools, I didn't get them tight. I thought they were too wooly and besides that the colour was not to my liking either. In the last 2 days I have made several samples with different types of wood. This afternoon we once again discussed this in a construction meeting.
My wife didn't really want to give her opinion at first because she knew that every grating was a evening of work. Perhaps additional sanding etc. could improve! However, if we want to change, it is better to do so now. After some discussion, the Walnutwood grid was the most beautiful and the colour fits nicely with the other wood species chosen.
Meanwhile, the gratings are now in the waste bin and we will be happy to start the new gratings next week.
________________
Regards,
Henk
11 february 2018
At the moment I am laying shelves everywhere on Orlop Deck. I still expect to spend a month working on the deck shelves. Especially the gratings take a lot of time. I've been sitting down for a while, but making a 3 x 3 cm grating takes a total of about 3 hours, but that's more due to my own way of finishing.
I only place the gratings in the deck at the end. During sanding, some dust falls down into the hold. I then use the holes to clean them with air.
________________
Regards,
Henk
4 february 2018
My wish list contained one more machine and that was a small Proxxon lathe. The need for such a machine was also growing as many pillars on the Orlop Deck are round. After 2 years of searching, I finally found a beautiful, little-used machine. Last week Sunday we drove to the east of the country to pick him up. She is a nice addition to my workshop.
Planking of Orlop Deck is progressing slowly. I follow the drawings closely and because of all kinds of shapes in the legs system, that takes a lot of time. As indicated last week, I also started with the gratings this week.
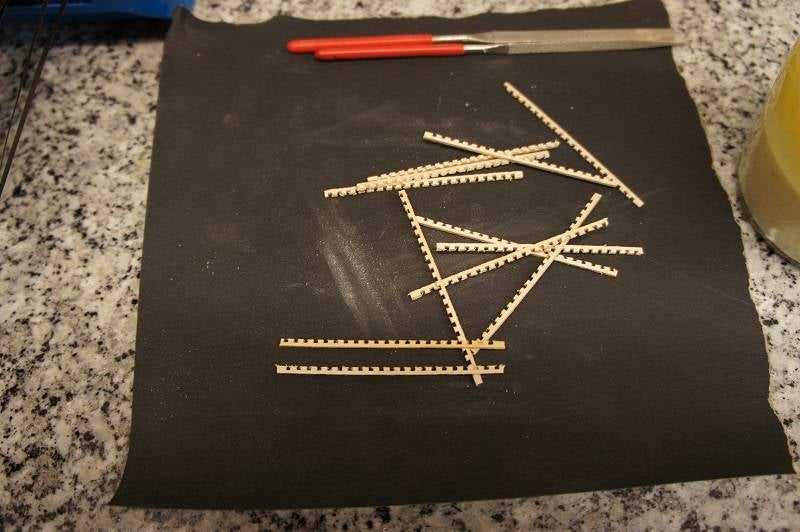
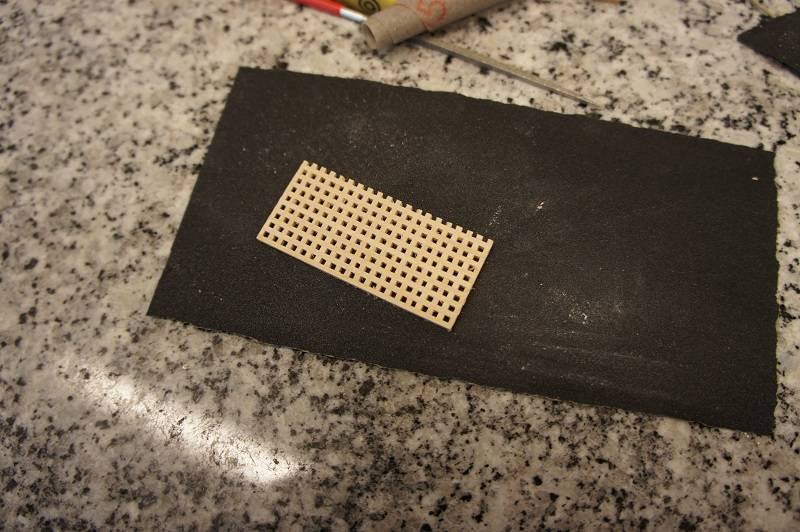
For the grating beams I use planks of 1.5 x 2.2 mm and here is milled every 3 mm a slot of 1.5,1.1 mm deep. After that, it is a matter of putting together and gluing in place. I glue the beams to each other by immersing the grating in strongly diluted wood glue and let them dry under a heavy weight. Afterwards, it is a matter of customising and sanding the grating. I repeat all the holes with a small square file.
The gratings in the middle of the deck do not run through completely, I let them stop just over the middle of the deck. In this way you can still look at the deck at an angle underneath the grating.
________________
Regards,
Henk
28 january 2018
The Orlop Deck differs between section 7/9 and section H/K from the traditional 4 shelves system. So I started at section 7/9 and work from there to the bow. In this way I can immediately draw out all the walls and pillars to be installed.
The black paper takes a lot of time, but gives the best result. The glue must be well dry before the excess material can be cut away. In drying time, I'm already fixed to the grids and there are still some of them. The Orlop Deck has most of the grids on all decks. Next week I will be posting something about that.
________________
Regards,
Henk
21 january 2018
We initially thought that we should not provide the decks with planking, but we came back to that. We've done a few experiments and if the planking is omitted, you won't see any decks anymore. You lose sight, certainly because of the lighting. So it was decided to partially plank the decks anyway!
After that, the well-known subject came back on the table.... What types of wood do we use on Orlop Deck? After some experiments with oil on the wood and lighting we came to the next decision. Castello is used for the walls of the various rooms and the trusses are made of pear wood. Pillars, pillars and support beams are made of ebony, etc. The deck is made of satin wood.
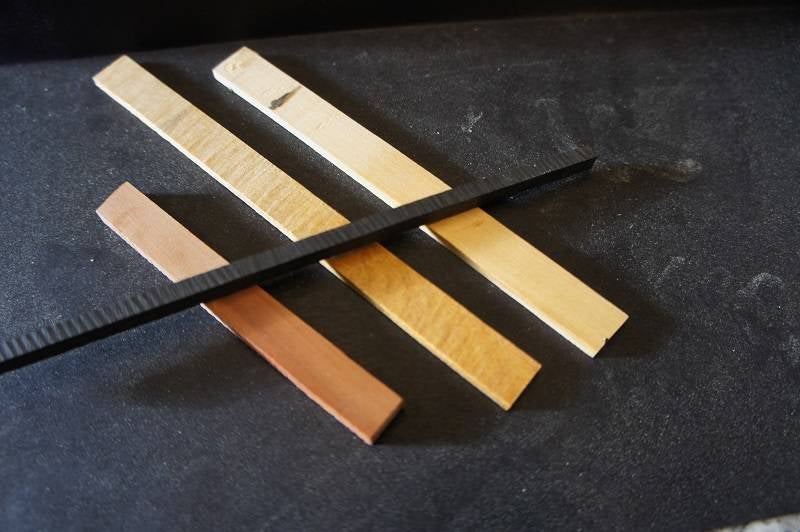
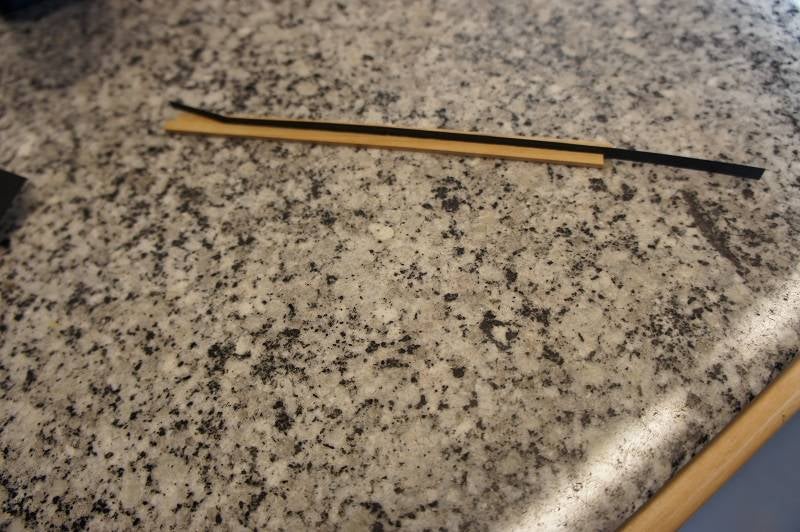
Now you can see on many forums the various discussions about various planking systems (4 plank system). This is applied to all Vic decks except for Orlop deck. That's quite different, so I follow the drawing of John McKay here. Black paper (120 grams) is glued between all planks to make the seams clearly visible. This can already be seen on the bottom 2 pictures
We have therefore started the Orlop Deck Fitting.......
________________
Regards,
Henk

