May 31, 2026,
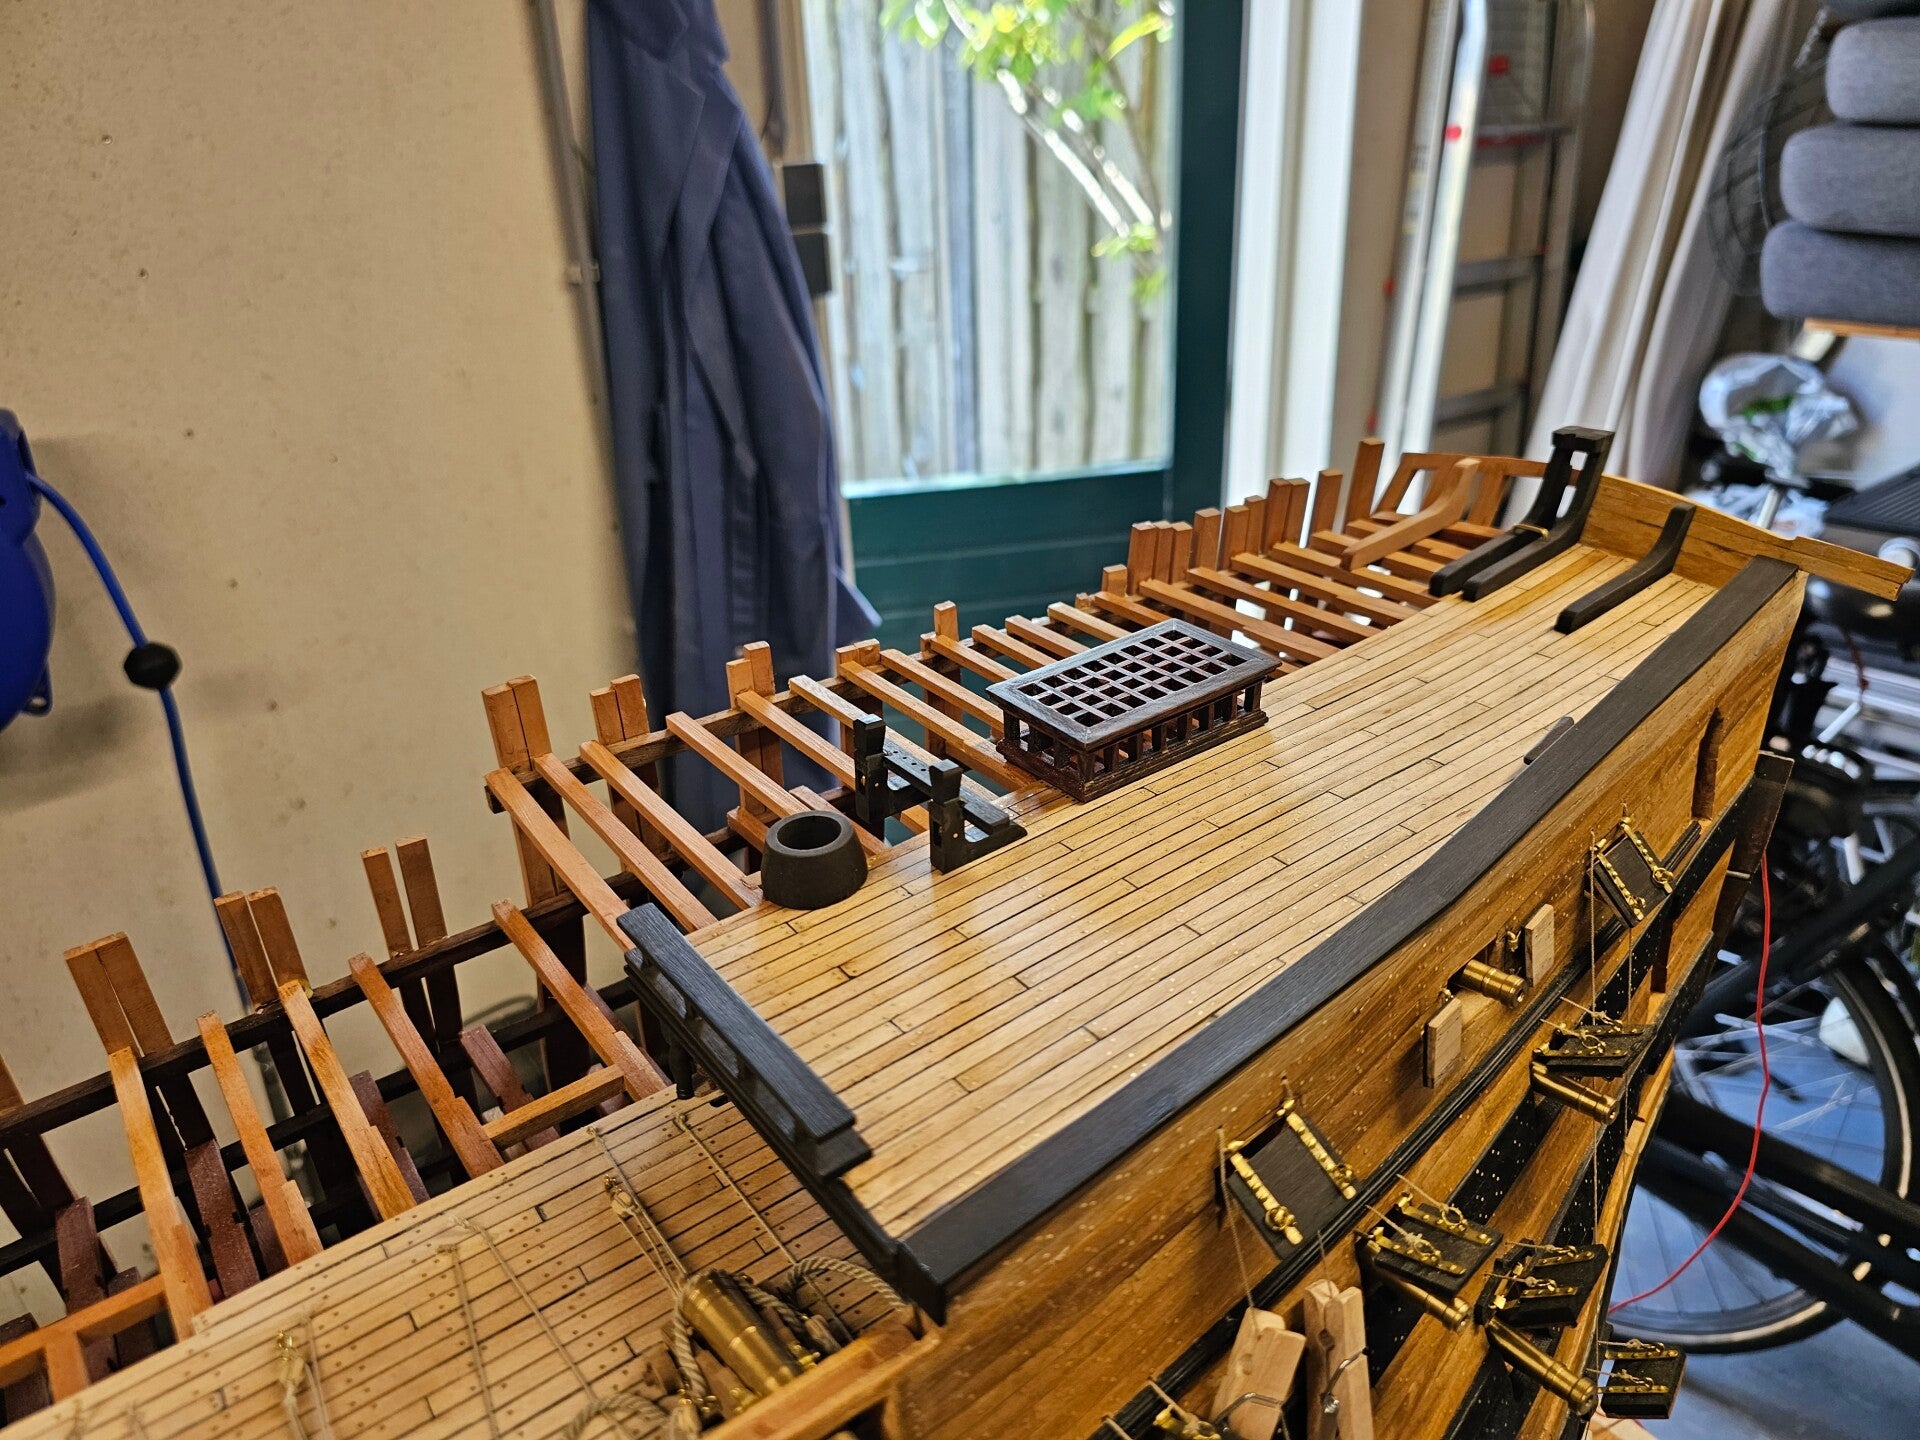
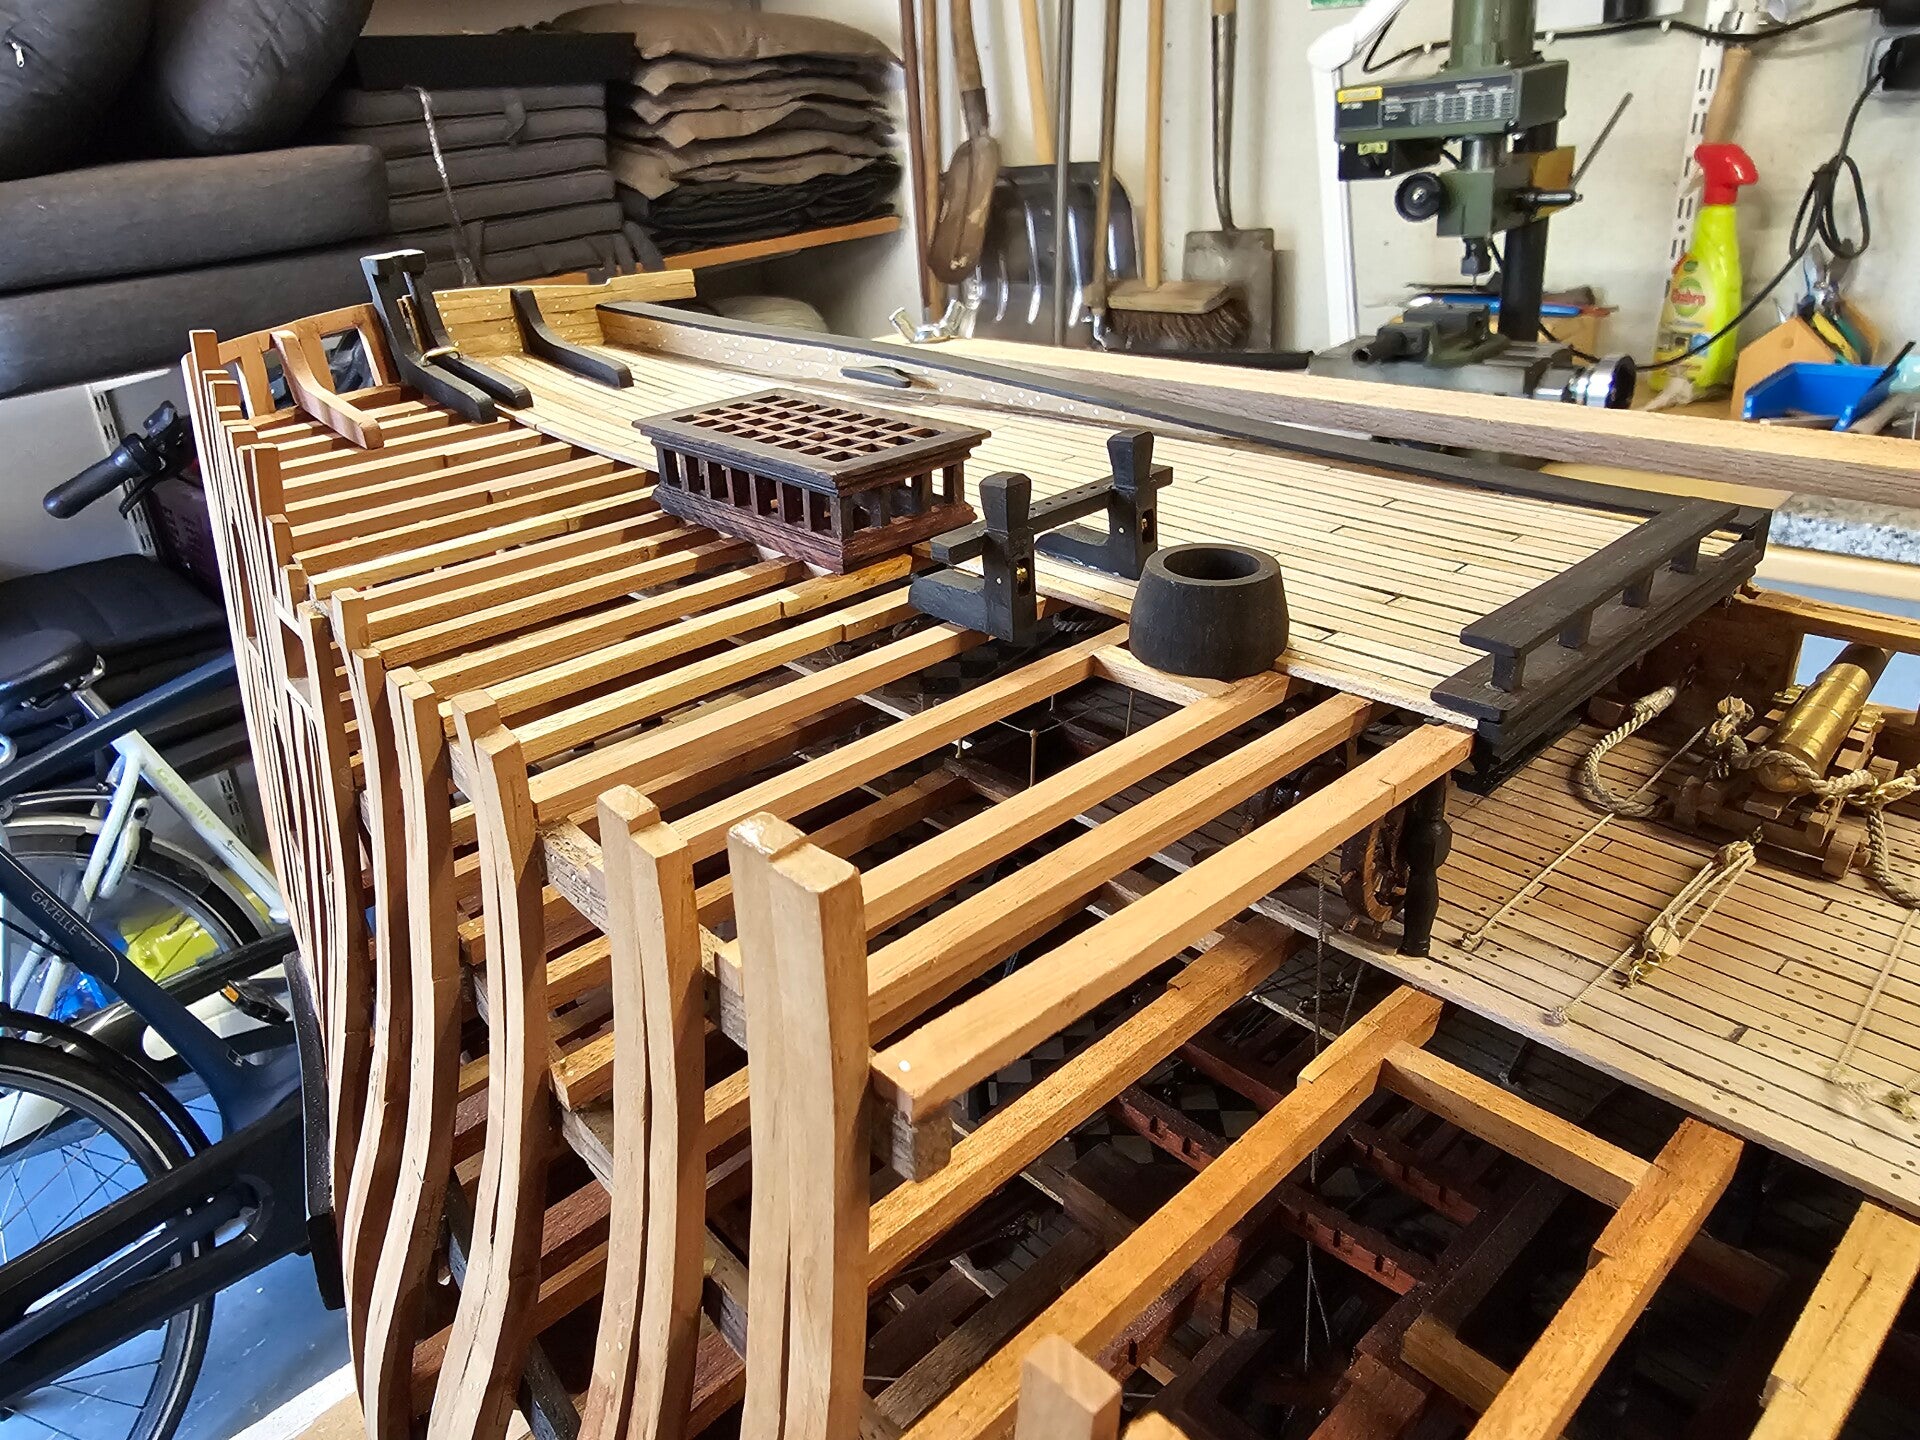
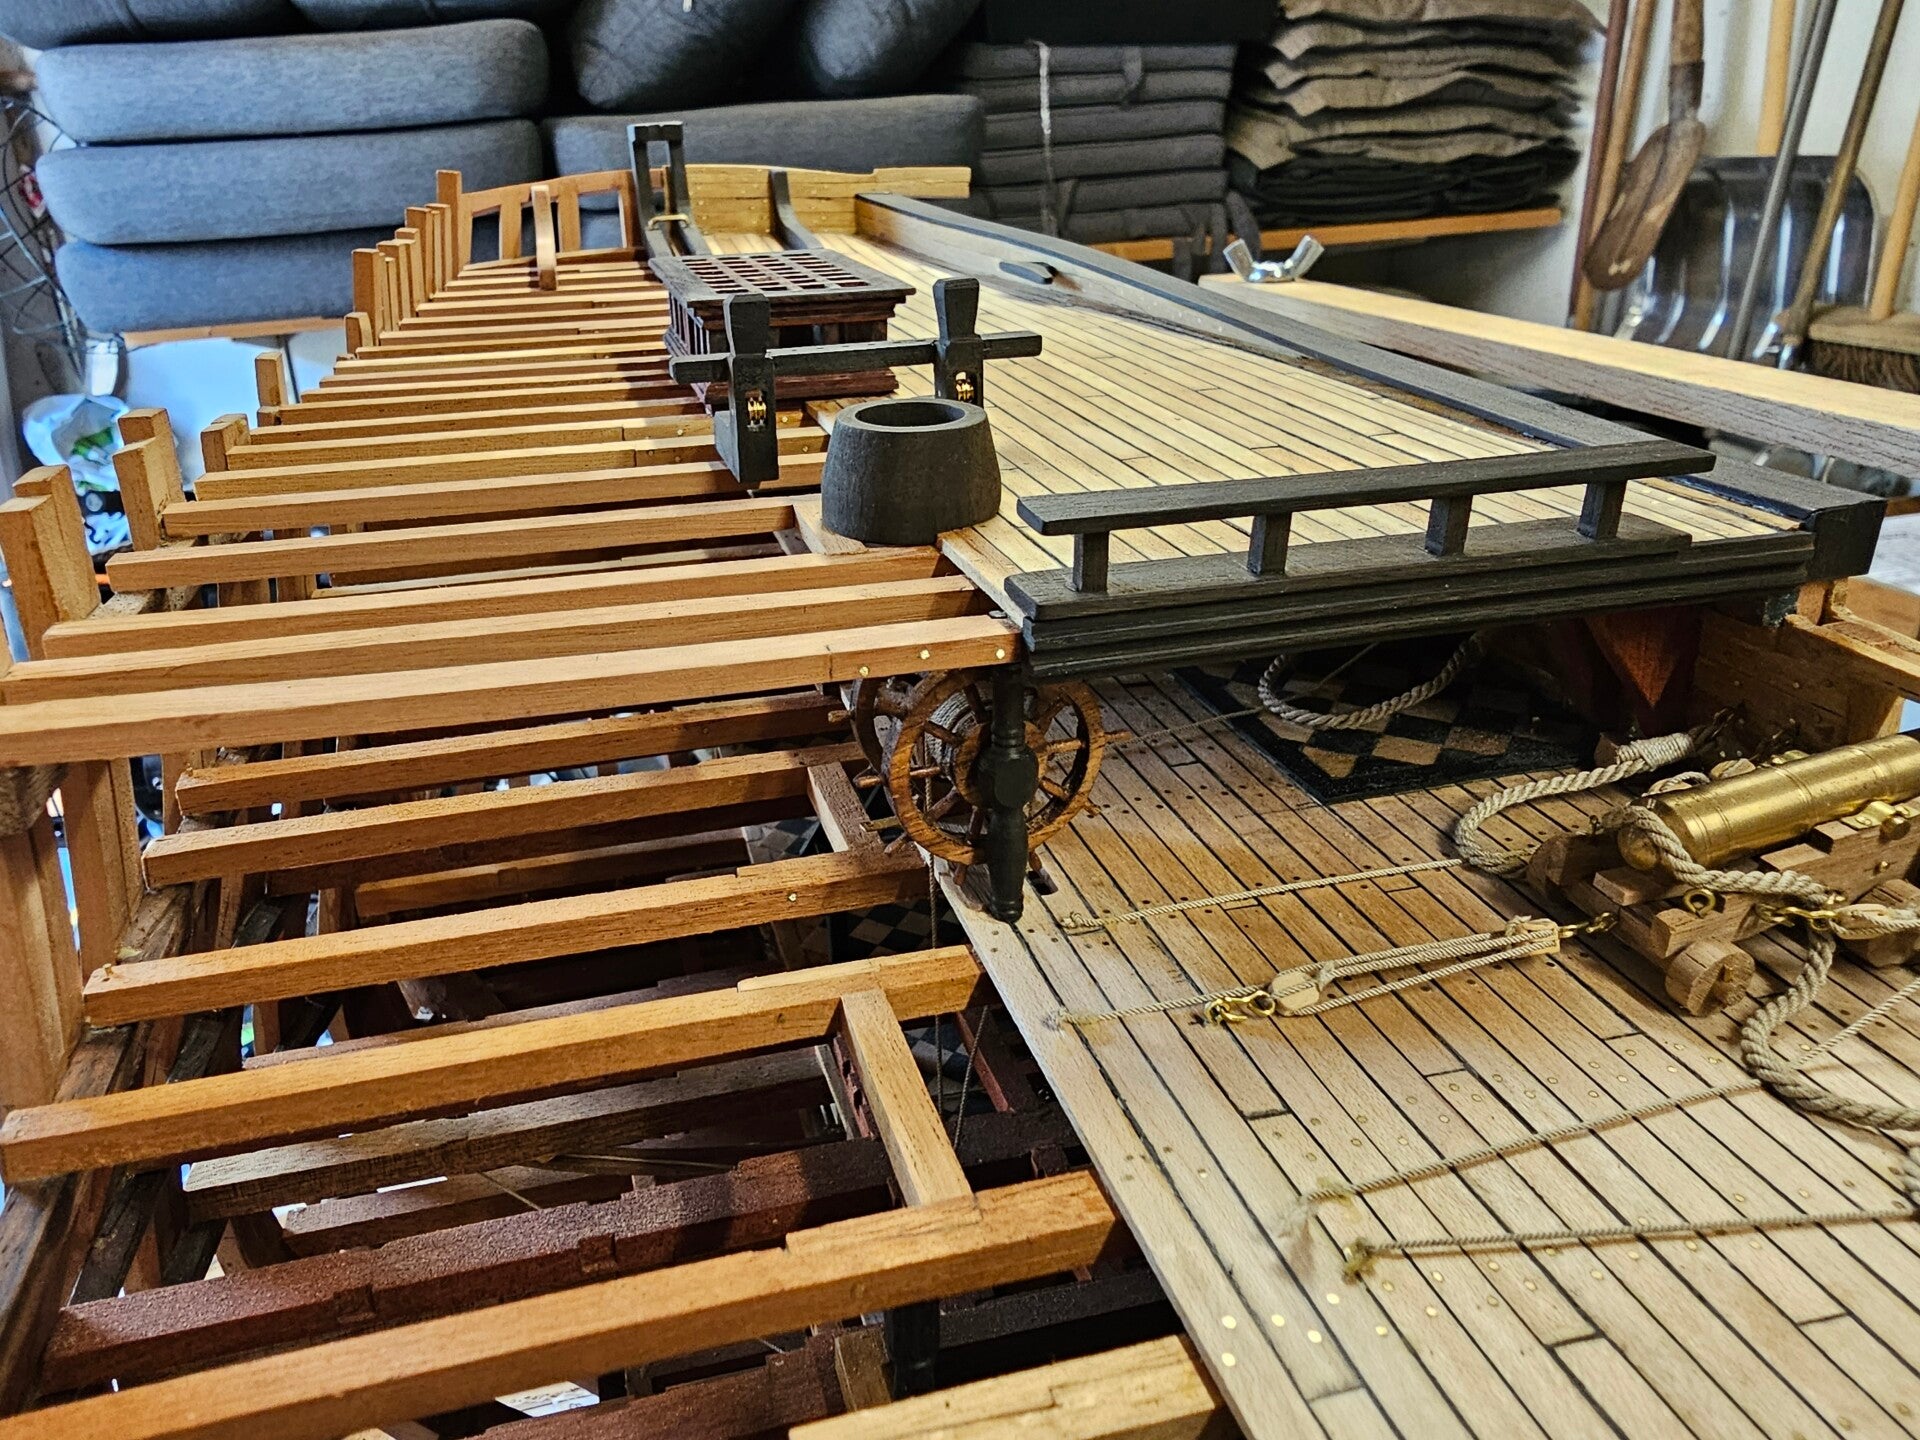
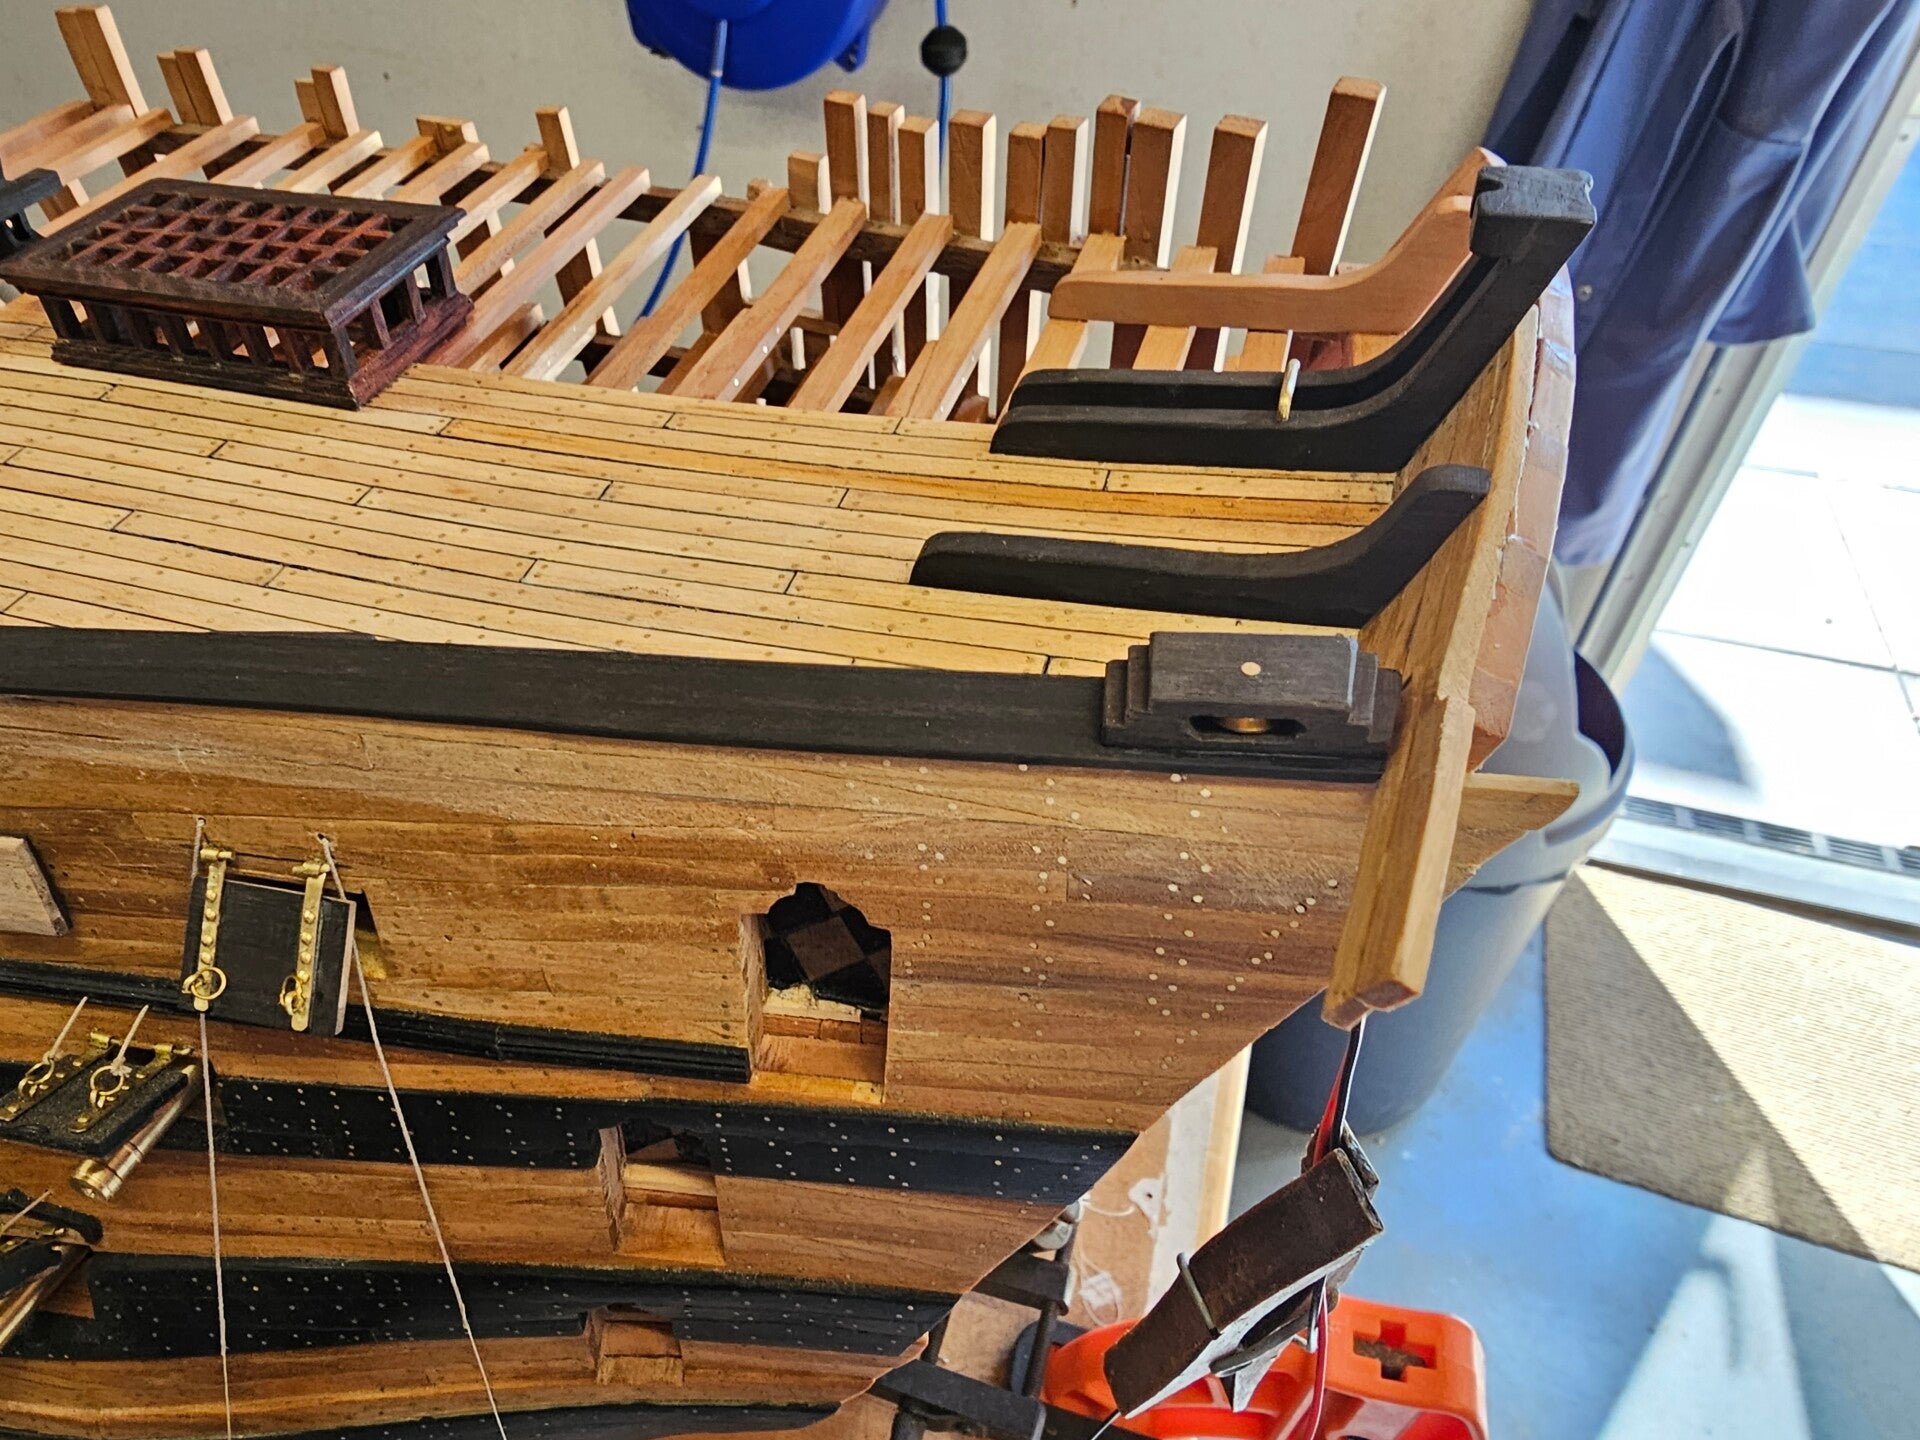
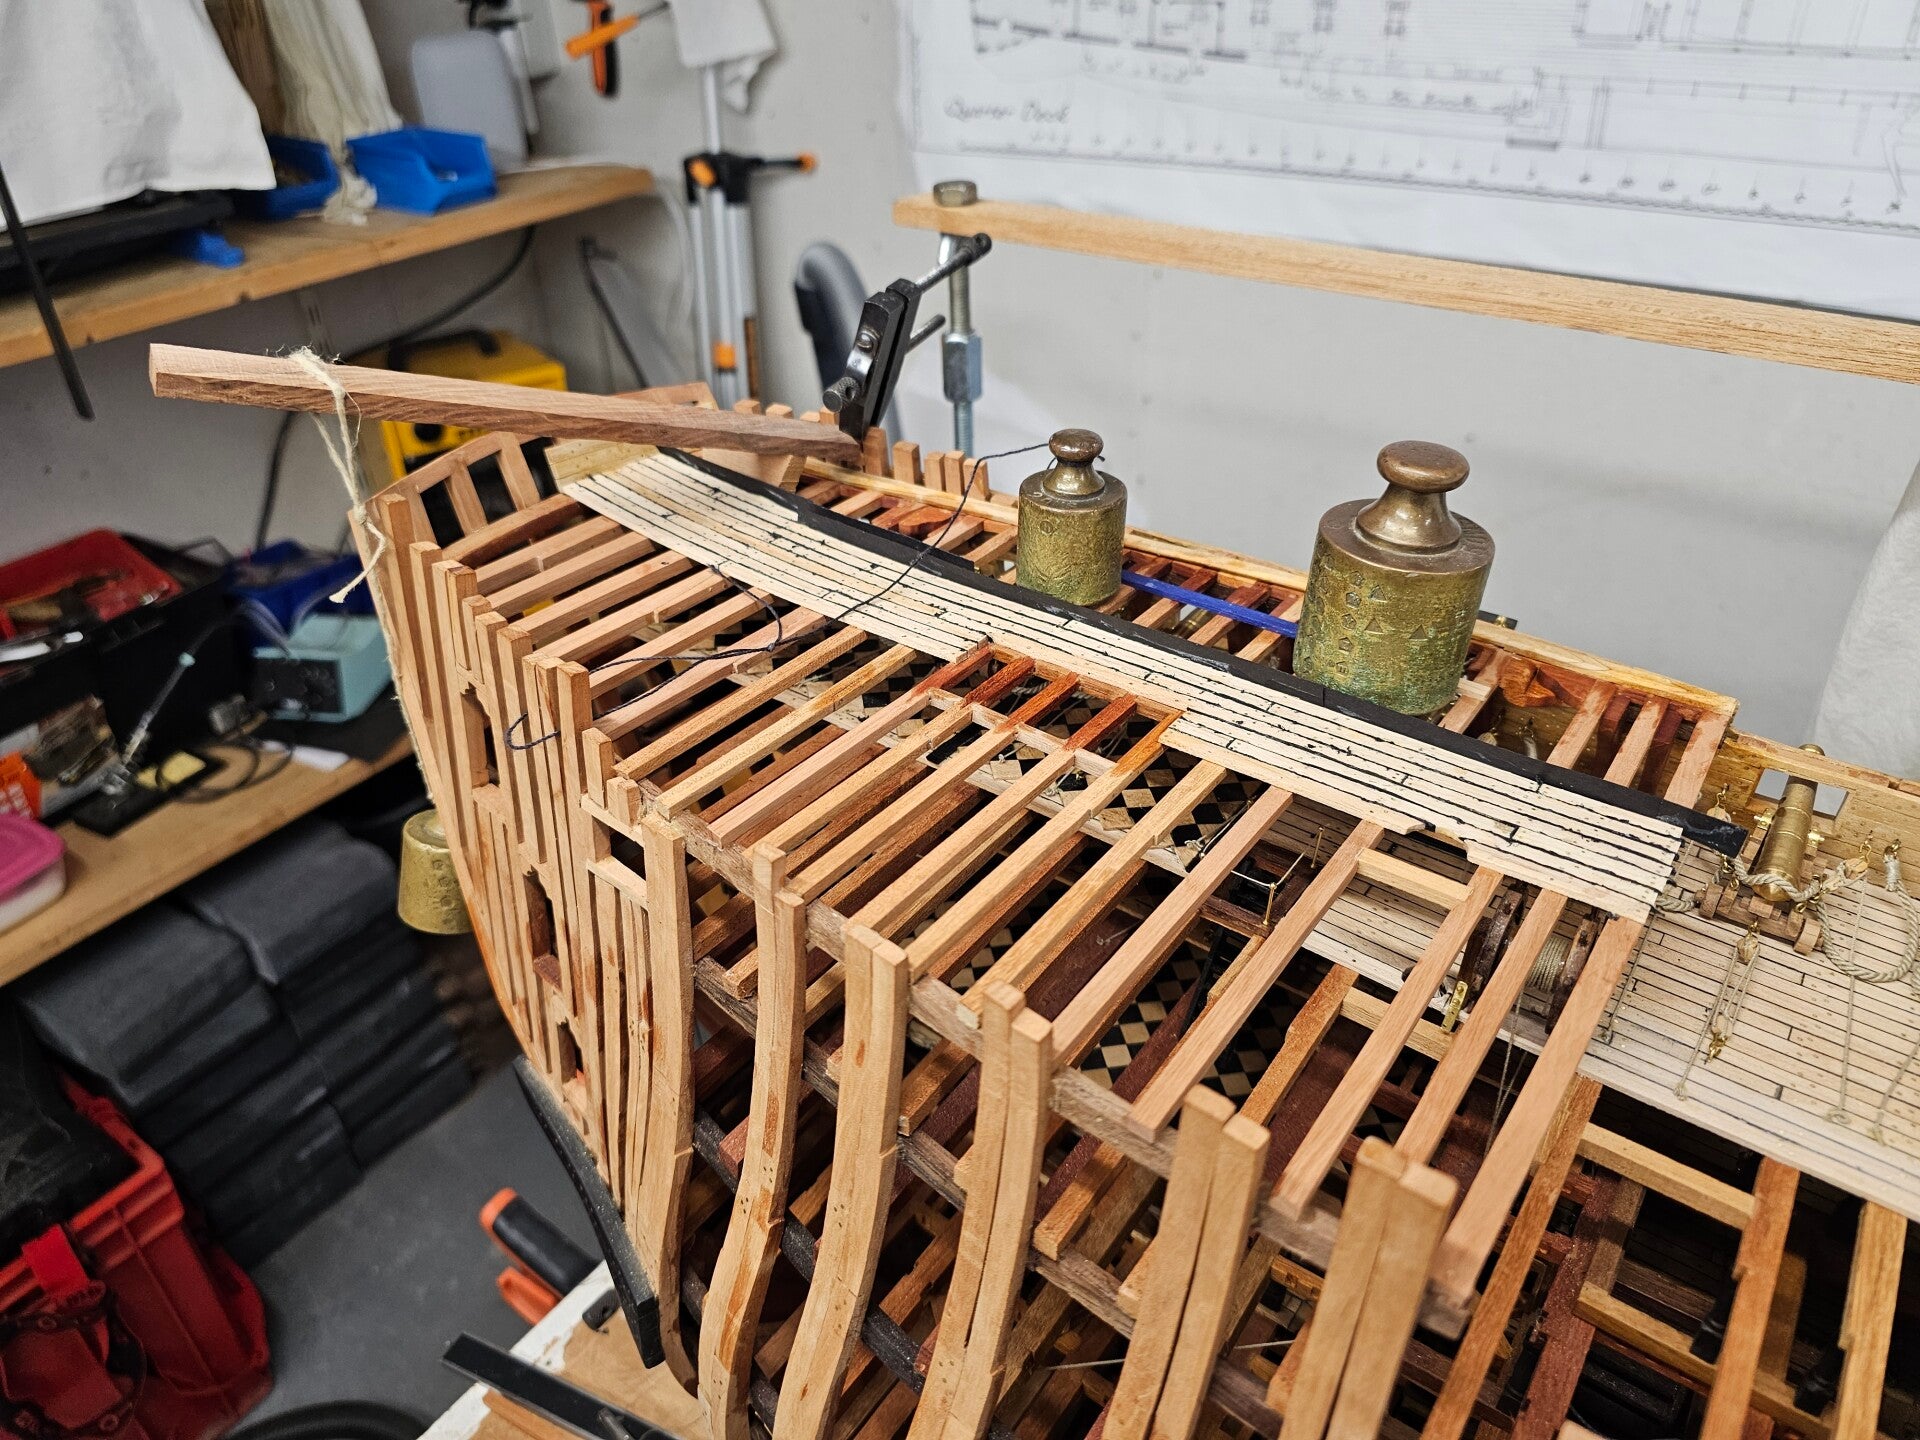
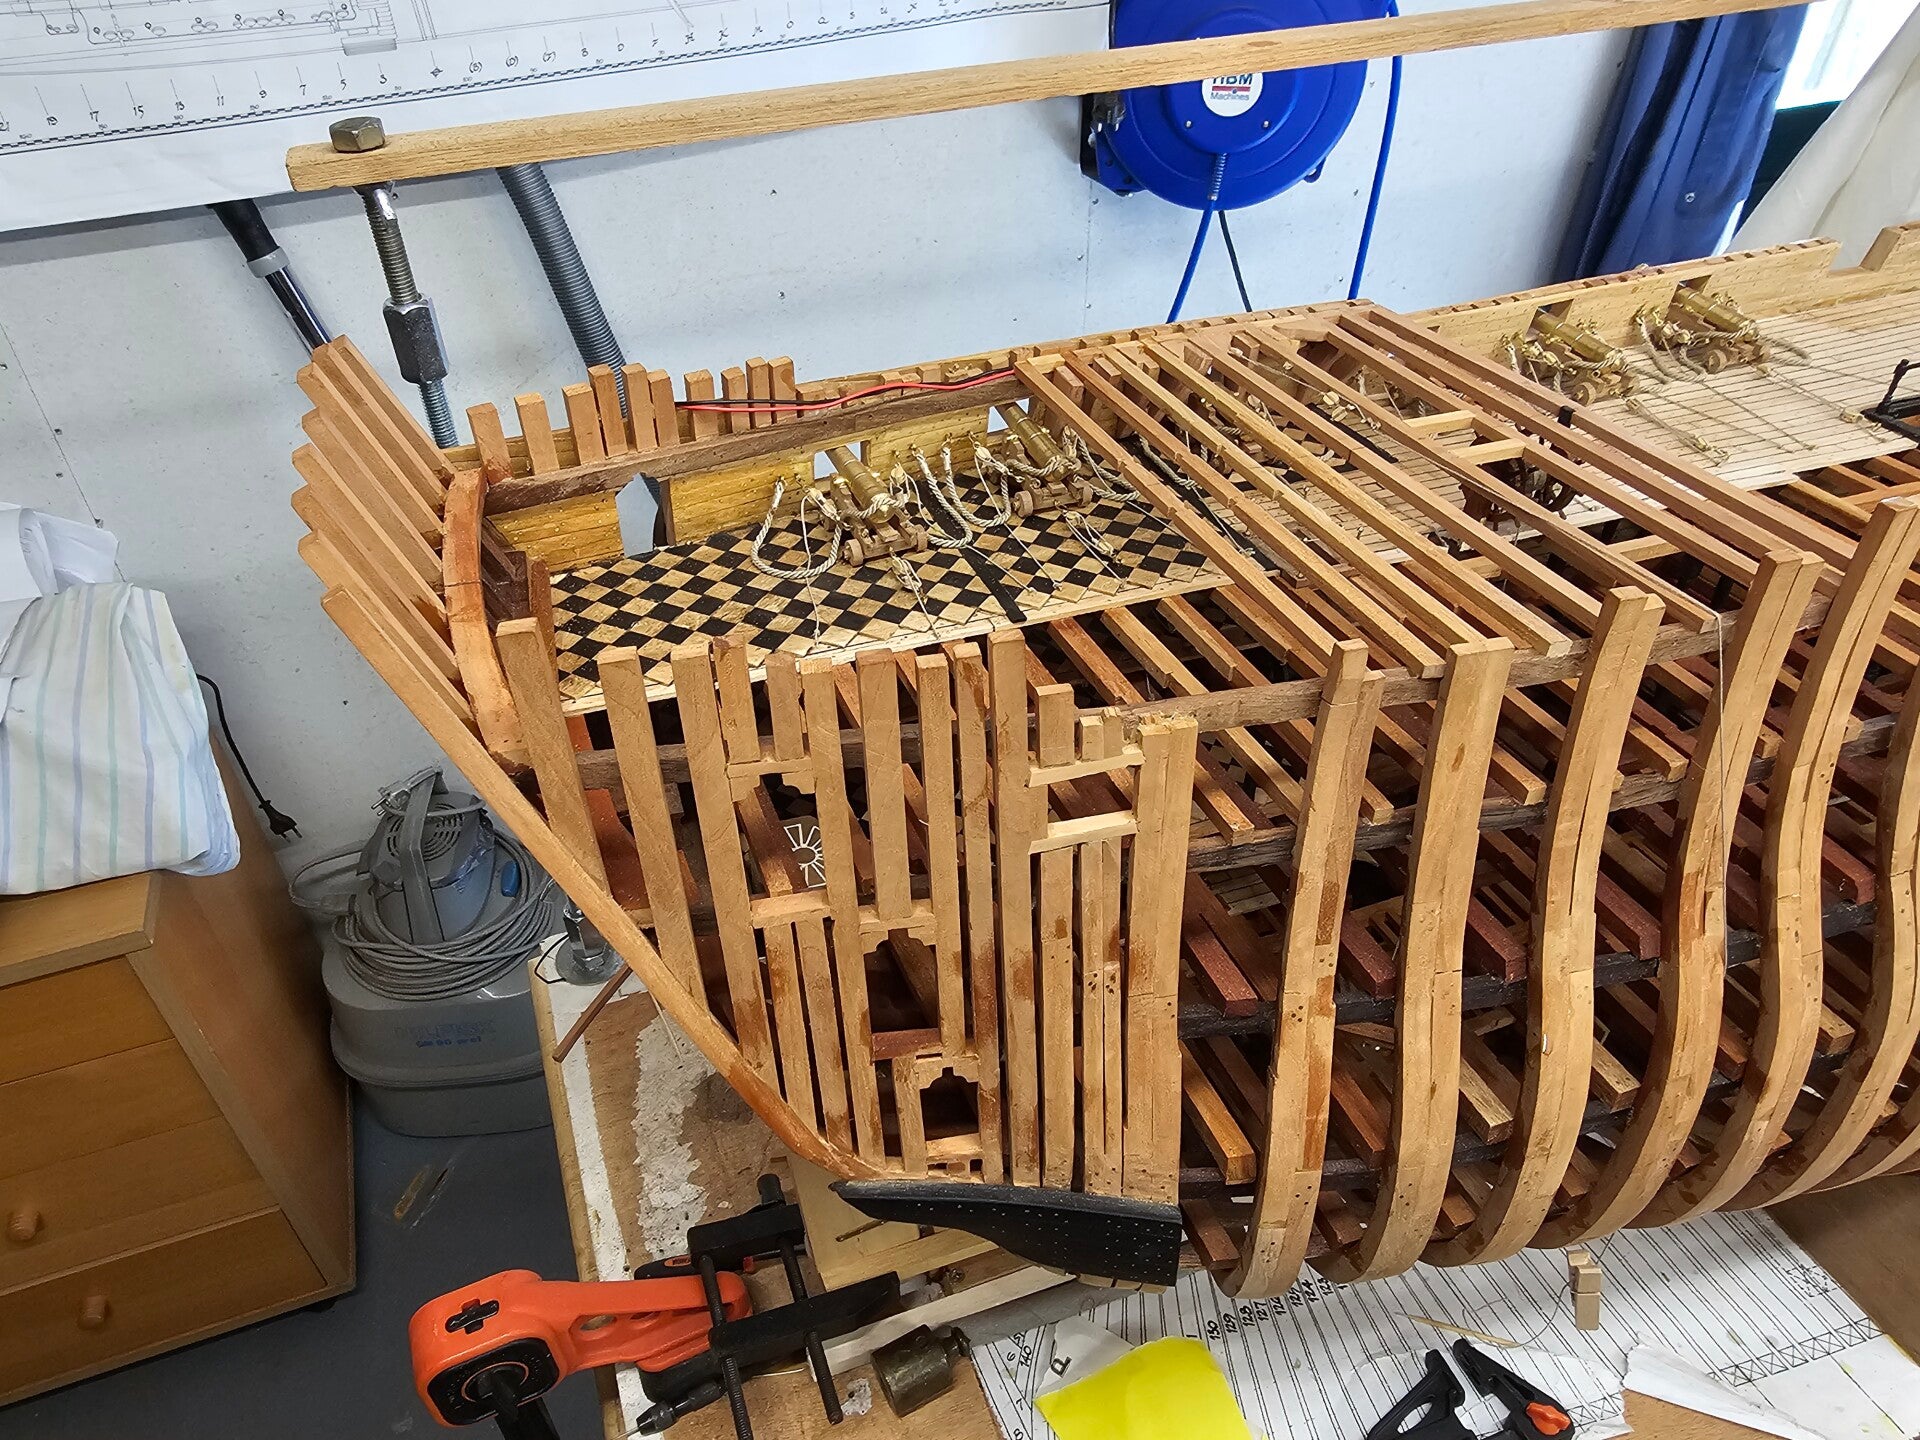
In the past few weeks, I have been able to work extensively on Vic. All the frames of the side wall have been extended and leveled where necessary. The hull has been fitted with planks both on the inside and outside and sanded. The sloping section of the hull was quite a task. With some measuring and support planks, everything turned out well and is installed according to the drawings. The frames on the other side still need to be done.
In the meantime, I have also cut the mast ring to size and installed everything, including the skylight. The only things left to make and install are the stairs from the Quarter Deck to the Poop Deck and to further finish the stern. I will do this while finishing the Quarter Deck.
For now, I will continue with the Quarter Deck.
Regards,
_______________
Henk
May 18, 2026
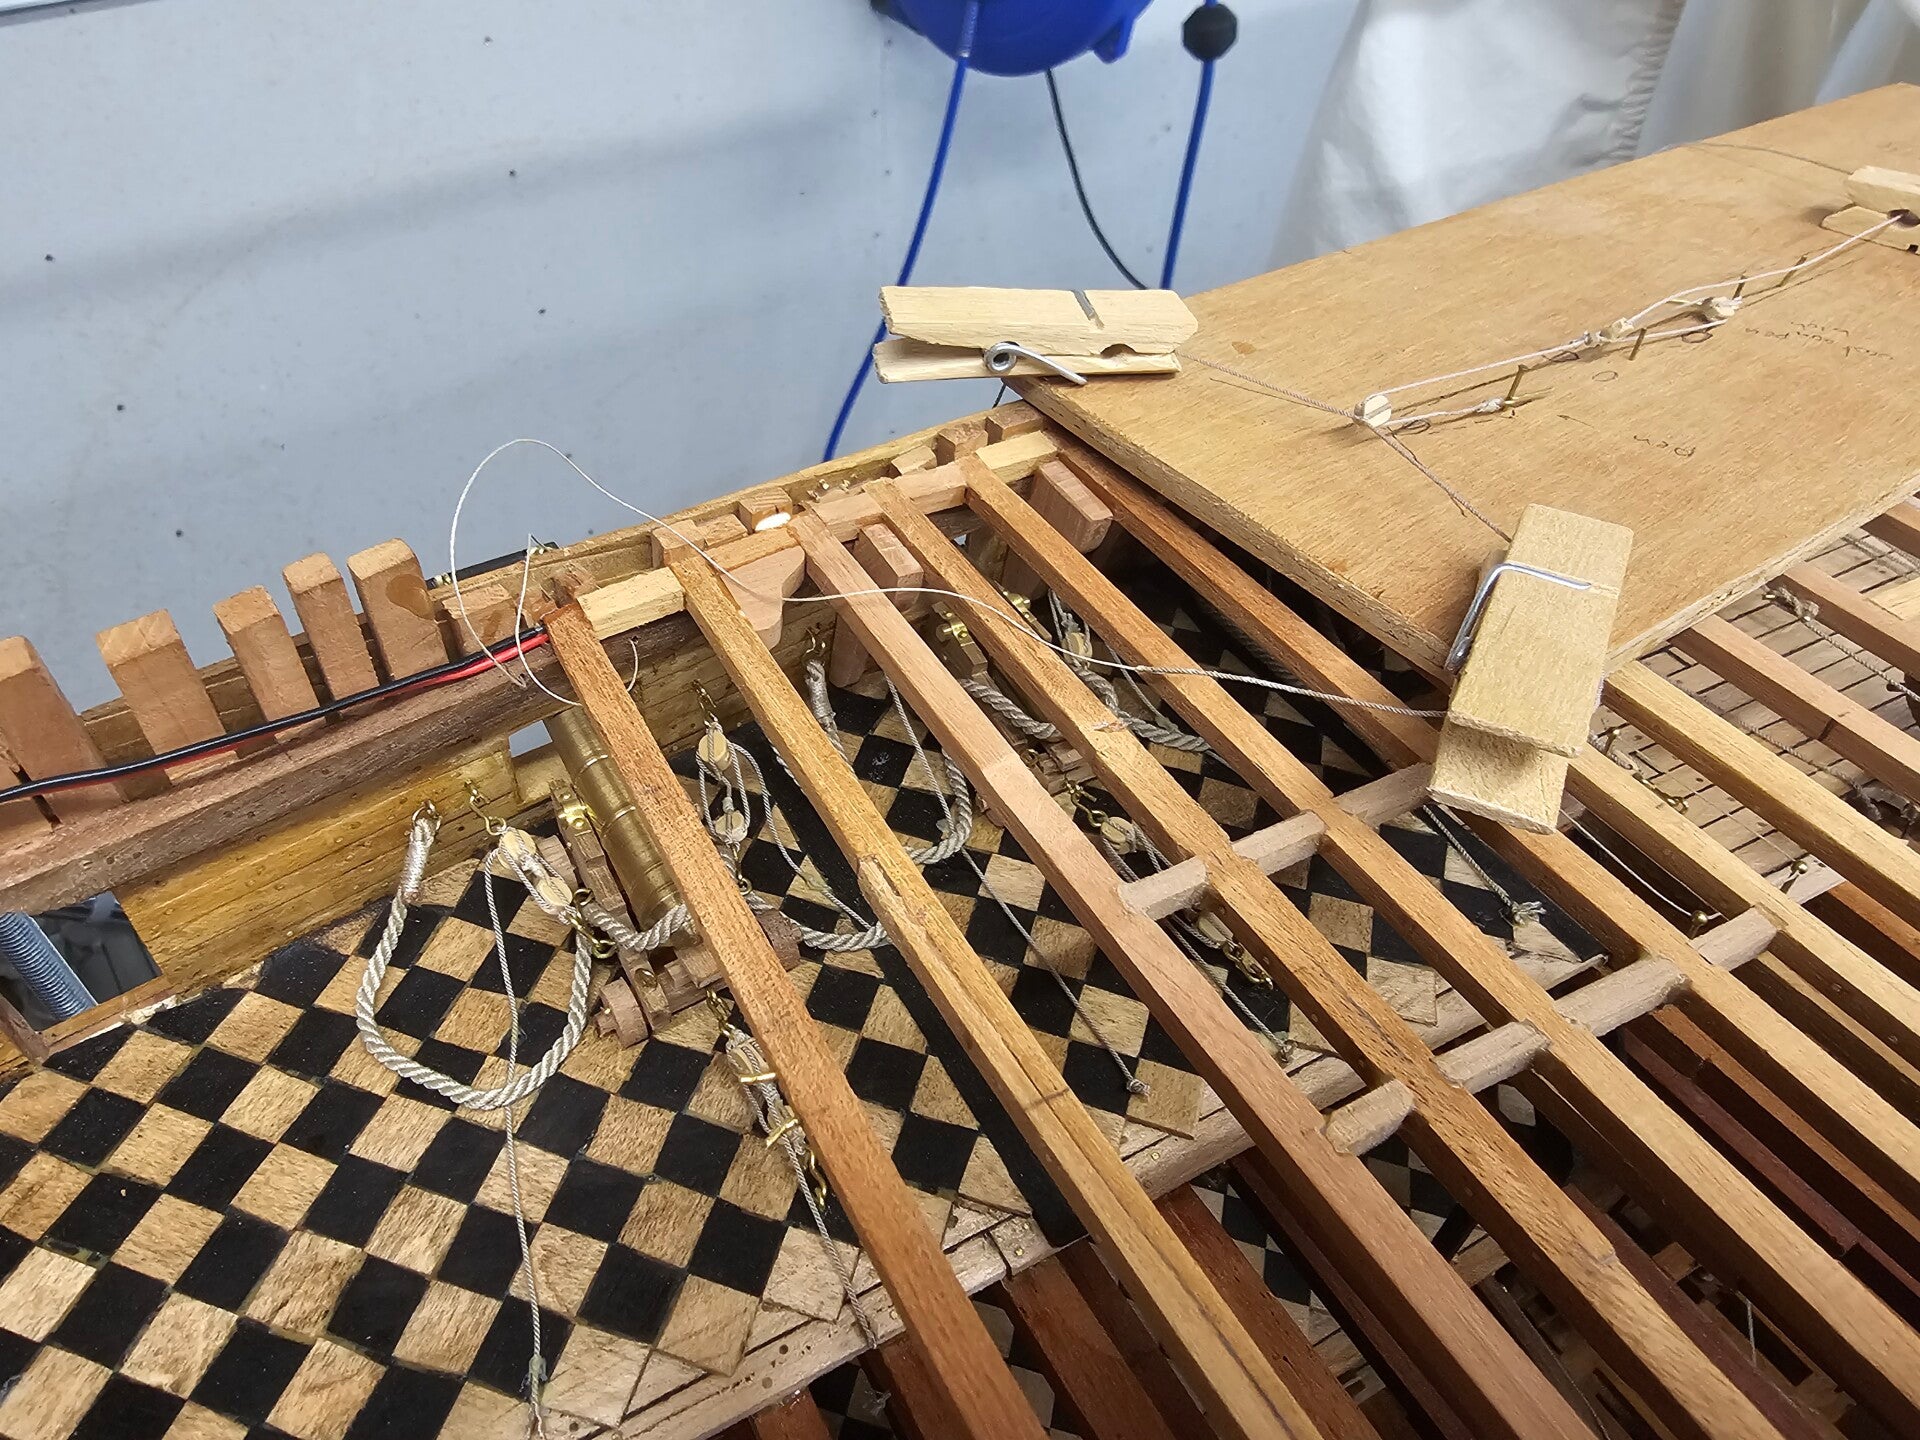
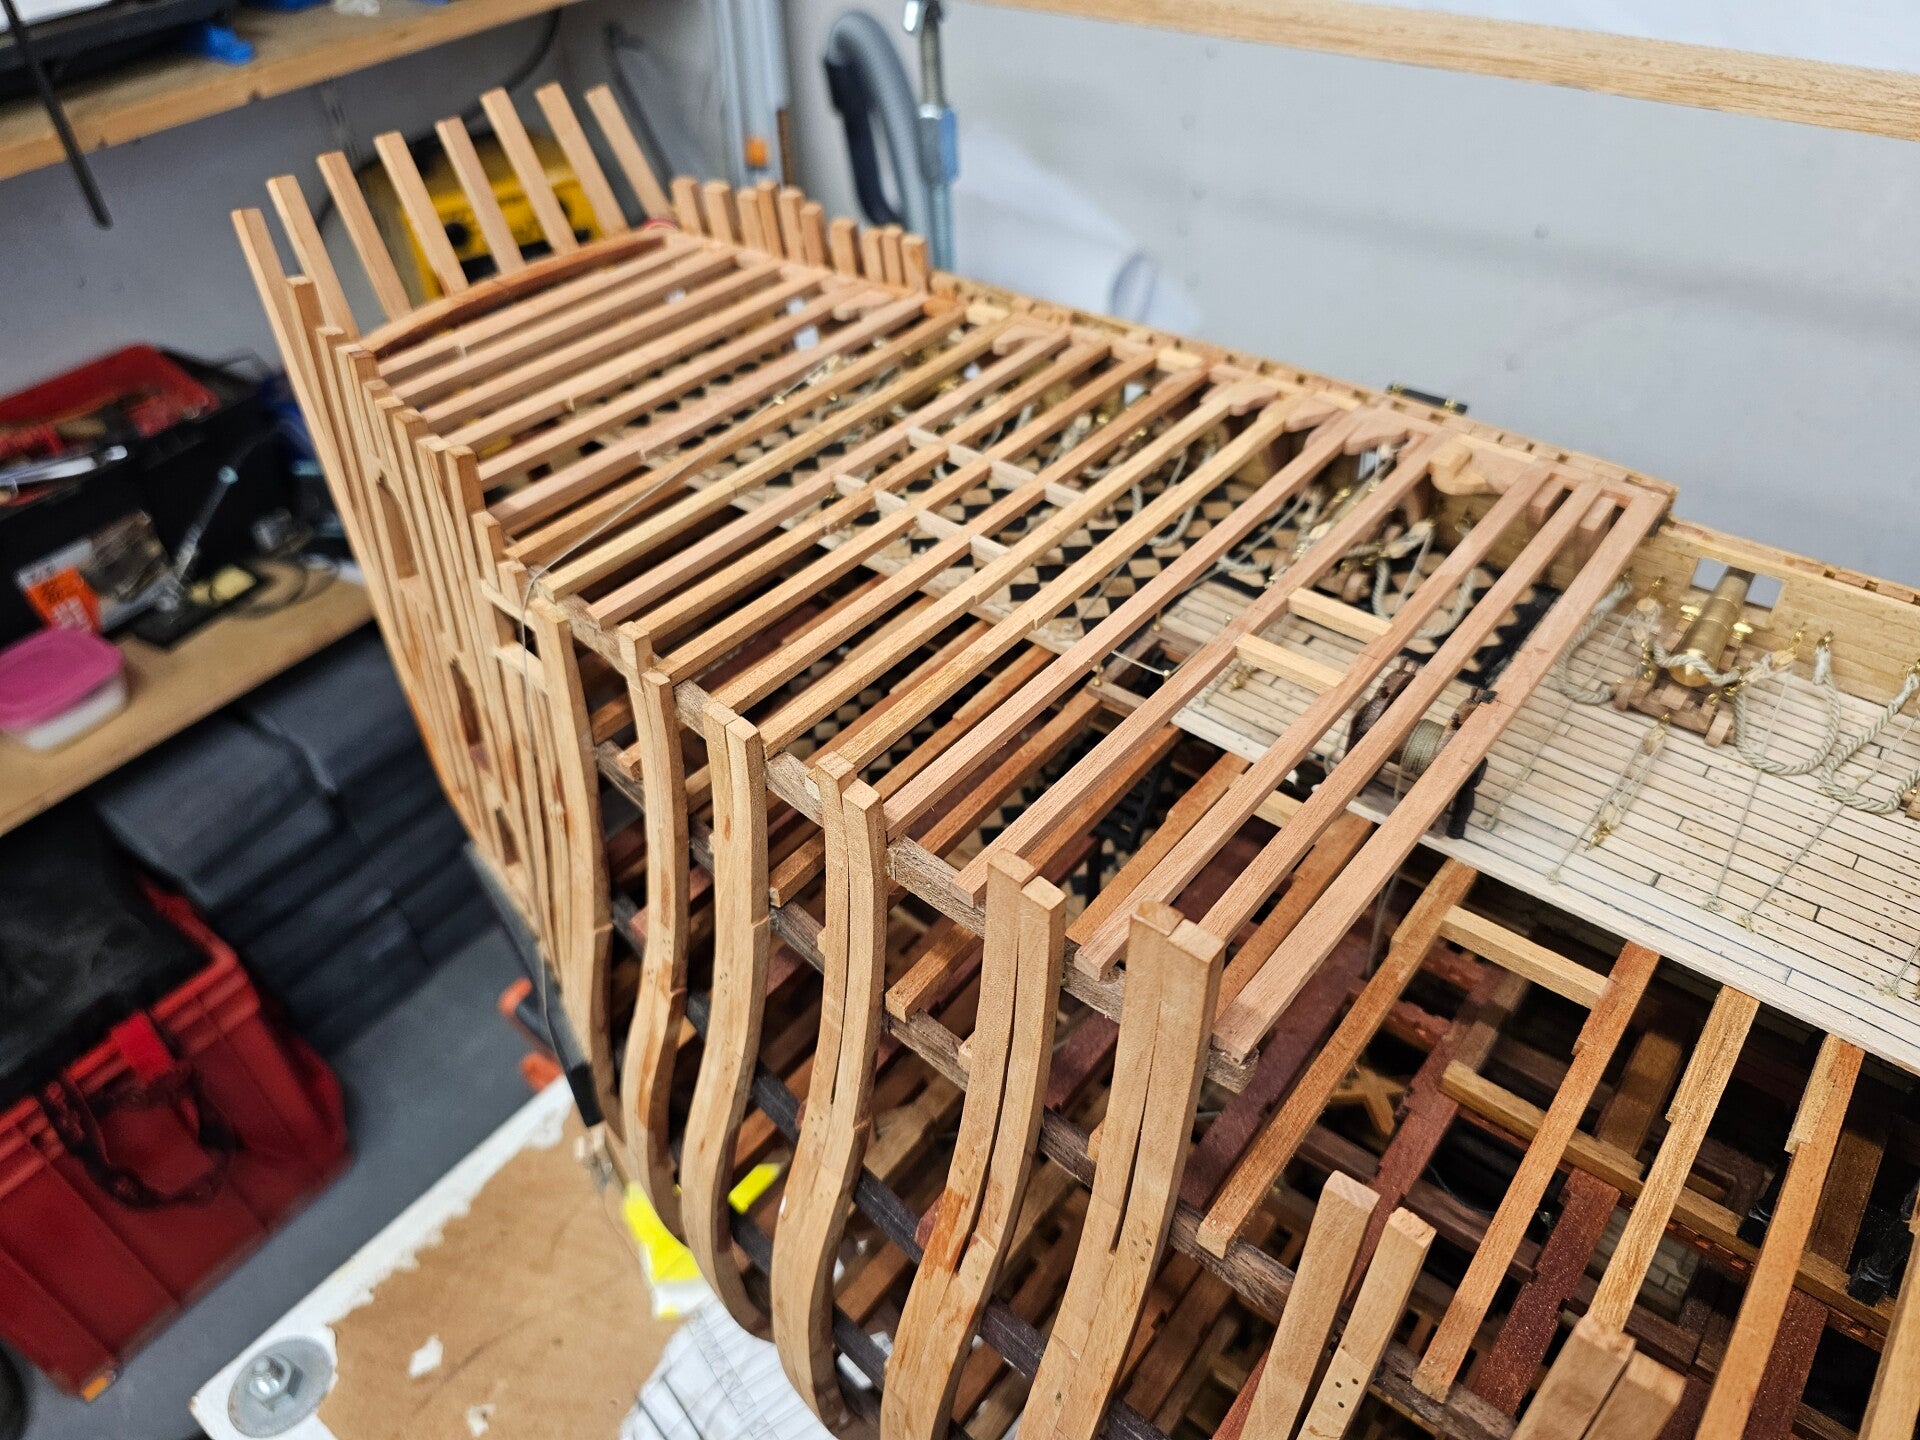
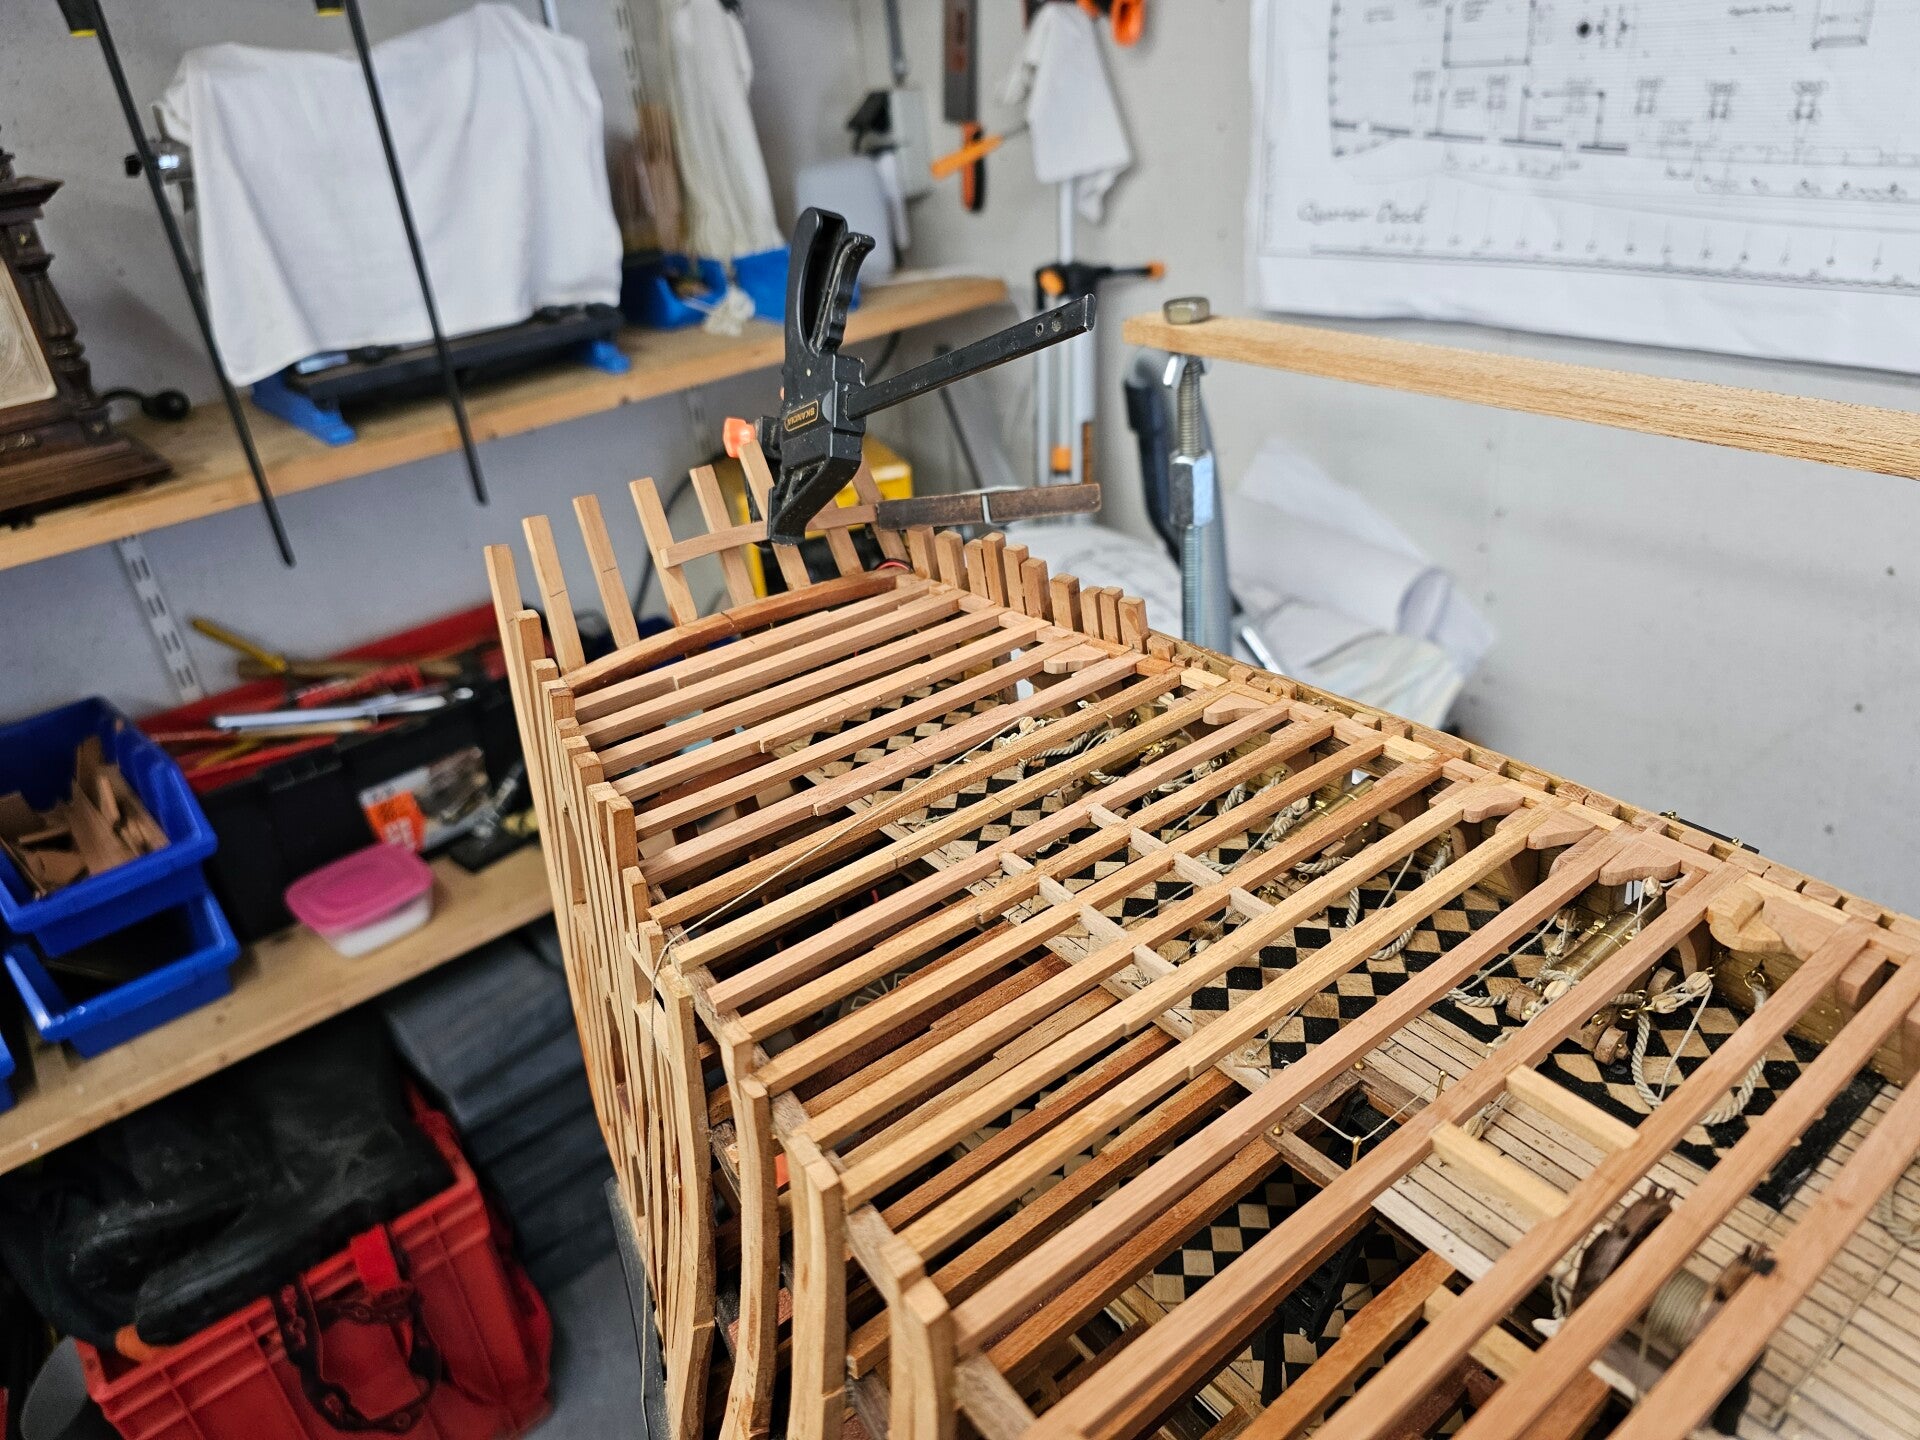
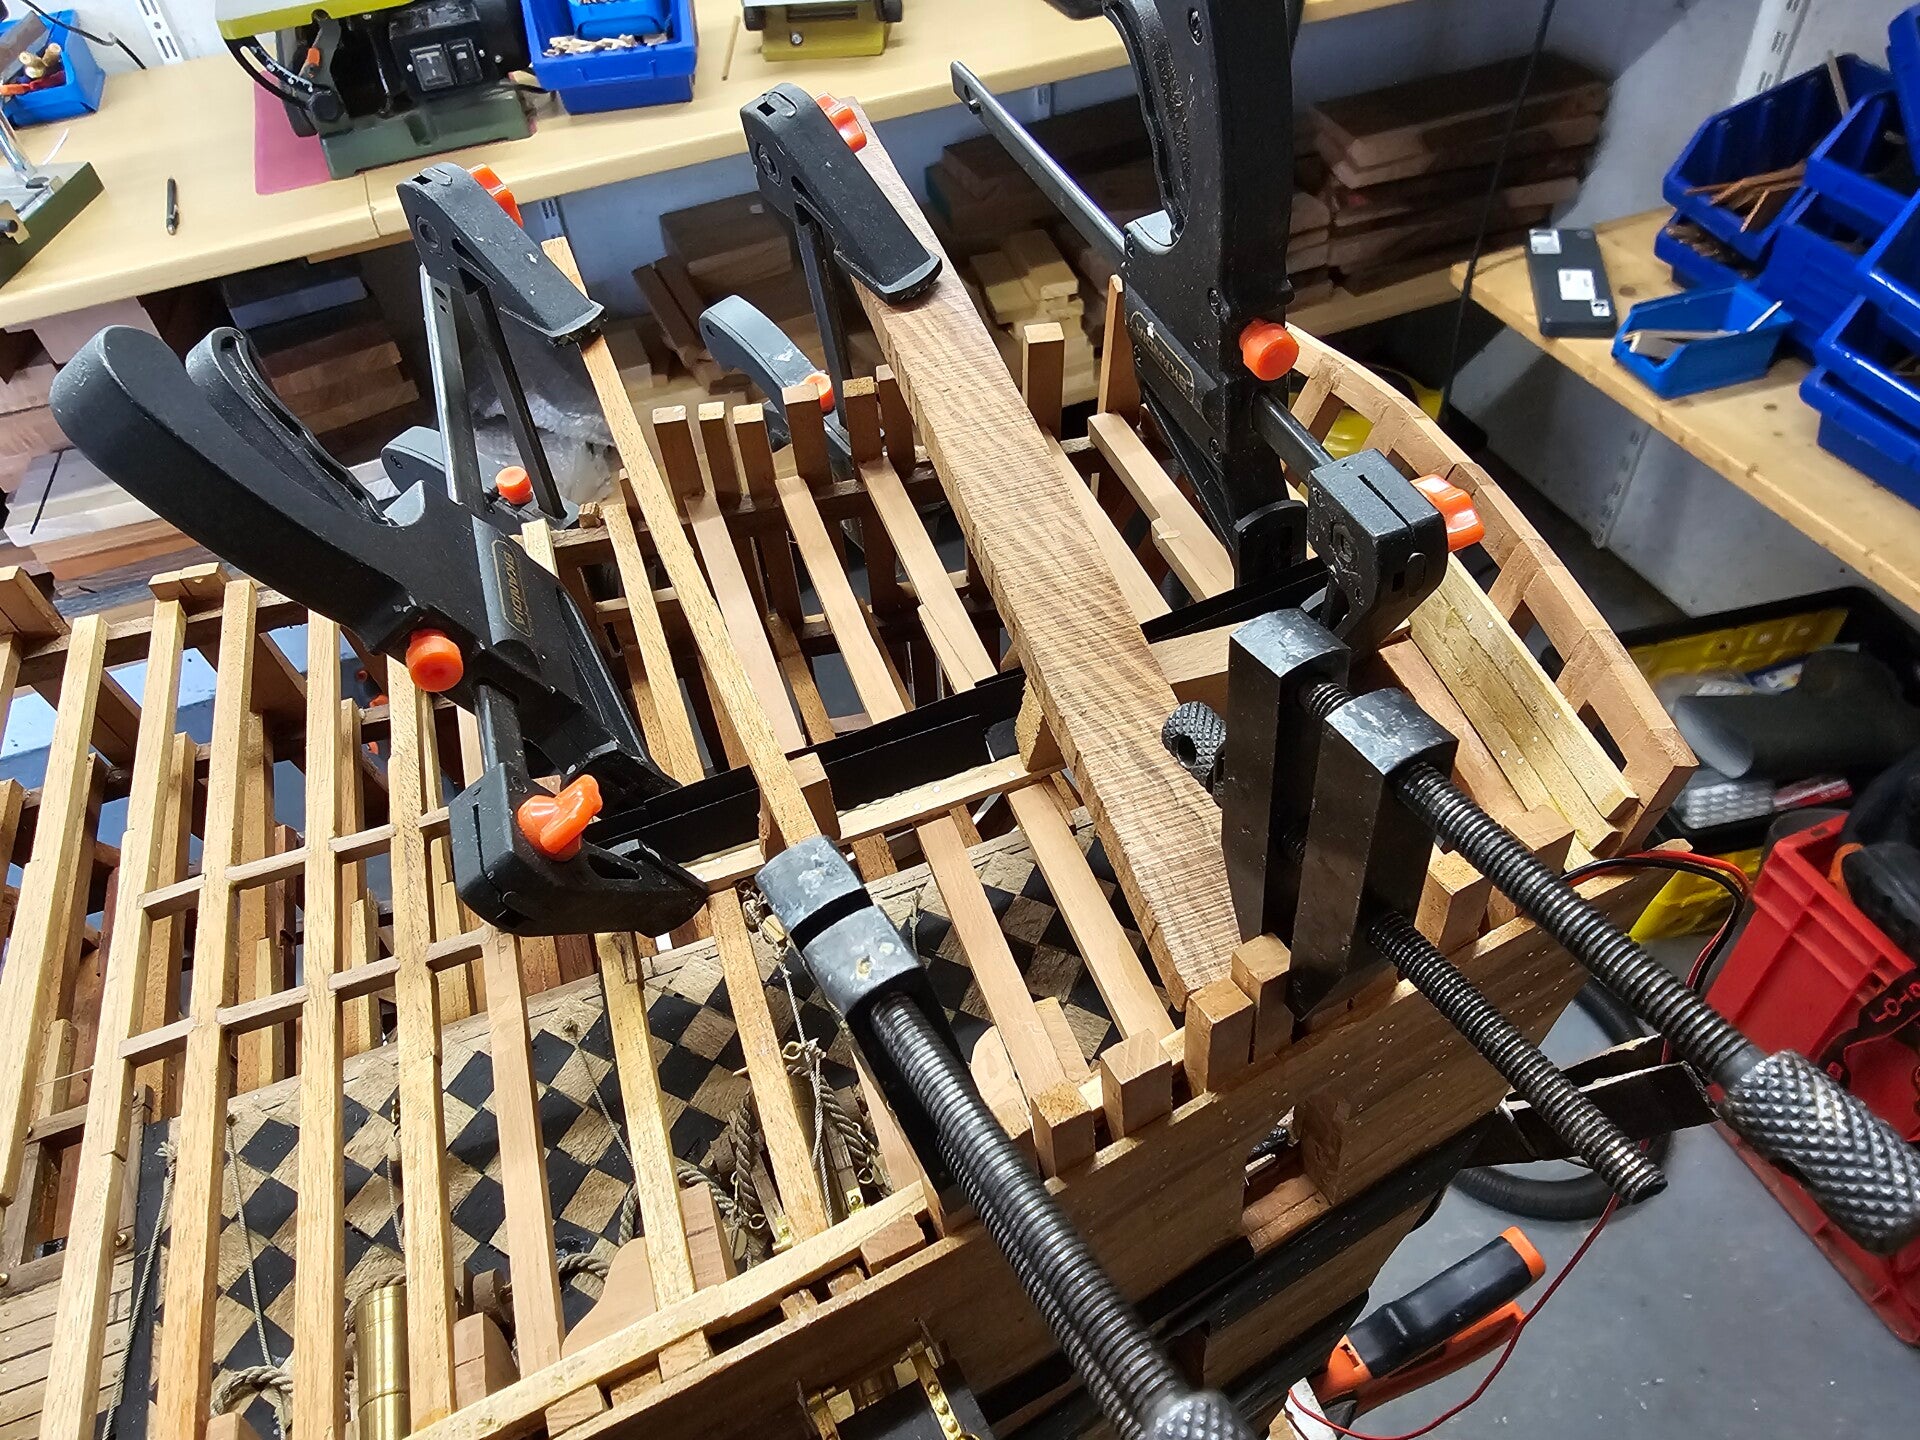
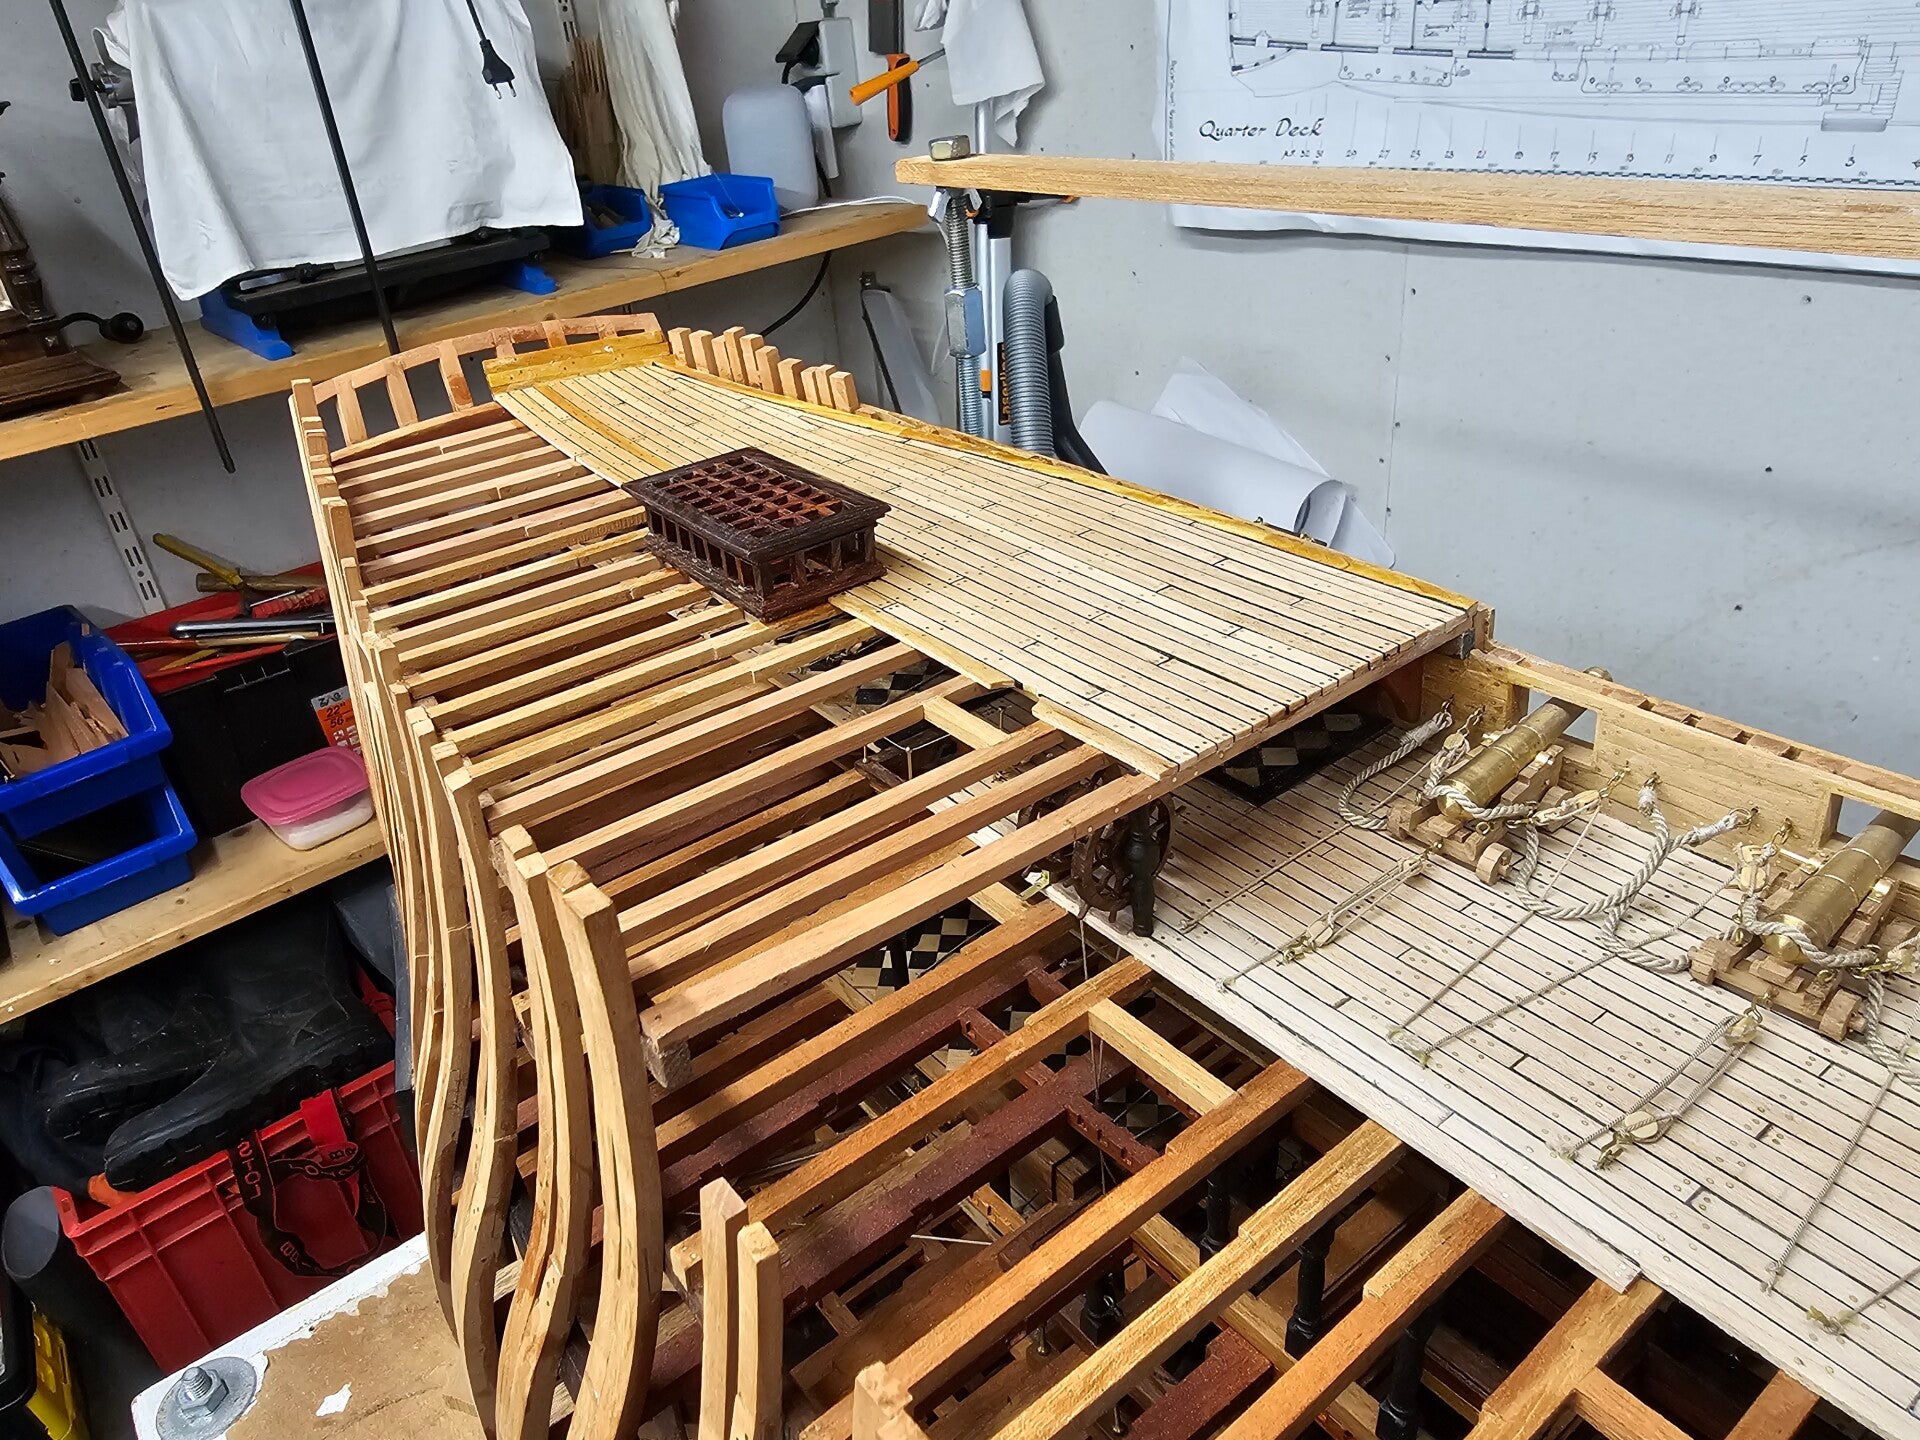
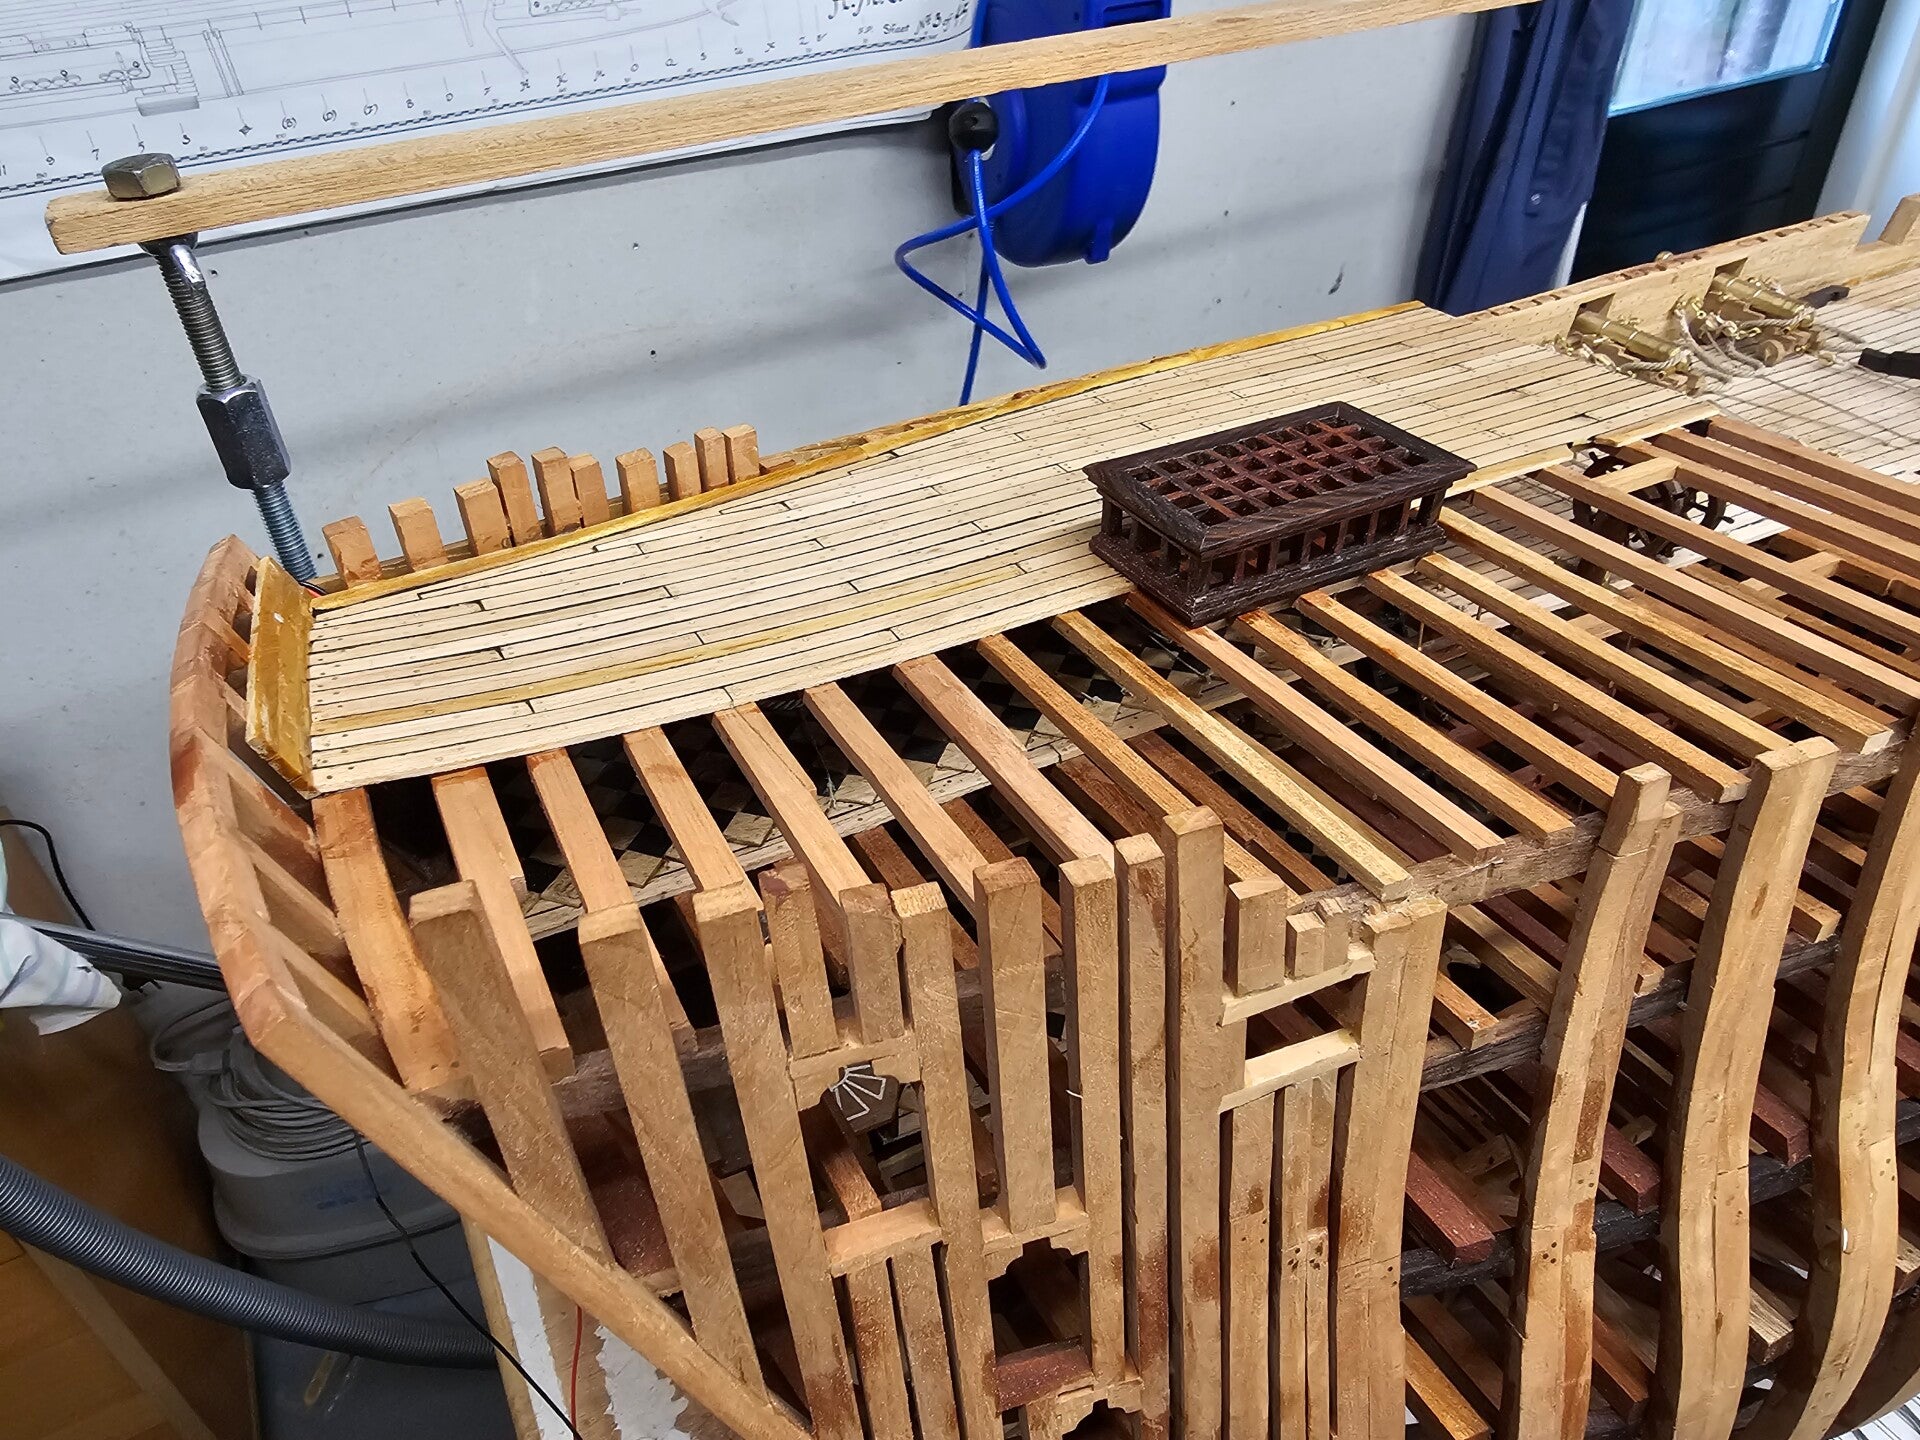
Over the past two weeks, I really stepped up the pace on producing the Poop Deck beams and their planking. It’s enjoyable work in itself, but after so many beams and planks, you do start looking forward to the last one. As an extra step, I immediately fitted the top of the transom with the frames so that the curve is incorporated here as well.
So, over the weekend, I finally laid the last plank of the deck and gave everything a good sanding again. After that, I blew everything clean with compressed air and cleaned up the workshop.

Yesterday I also oiled and polished the deck. After that, it took a bit of trial and error to fit the skylight, but it’s now in place.
The major projects, such as fitting the entire deck with beams and planks, are now complete, and I can finally focus on the smaller projects that will finish Vic off completely. In fact, we’re now going to dress her up, and she’s only going to get more beautiful.
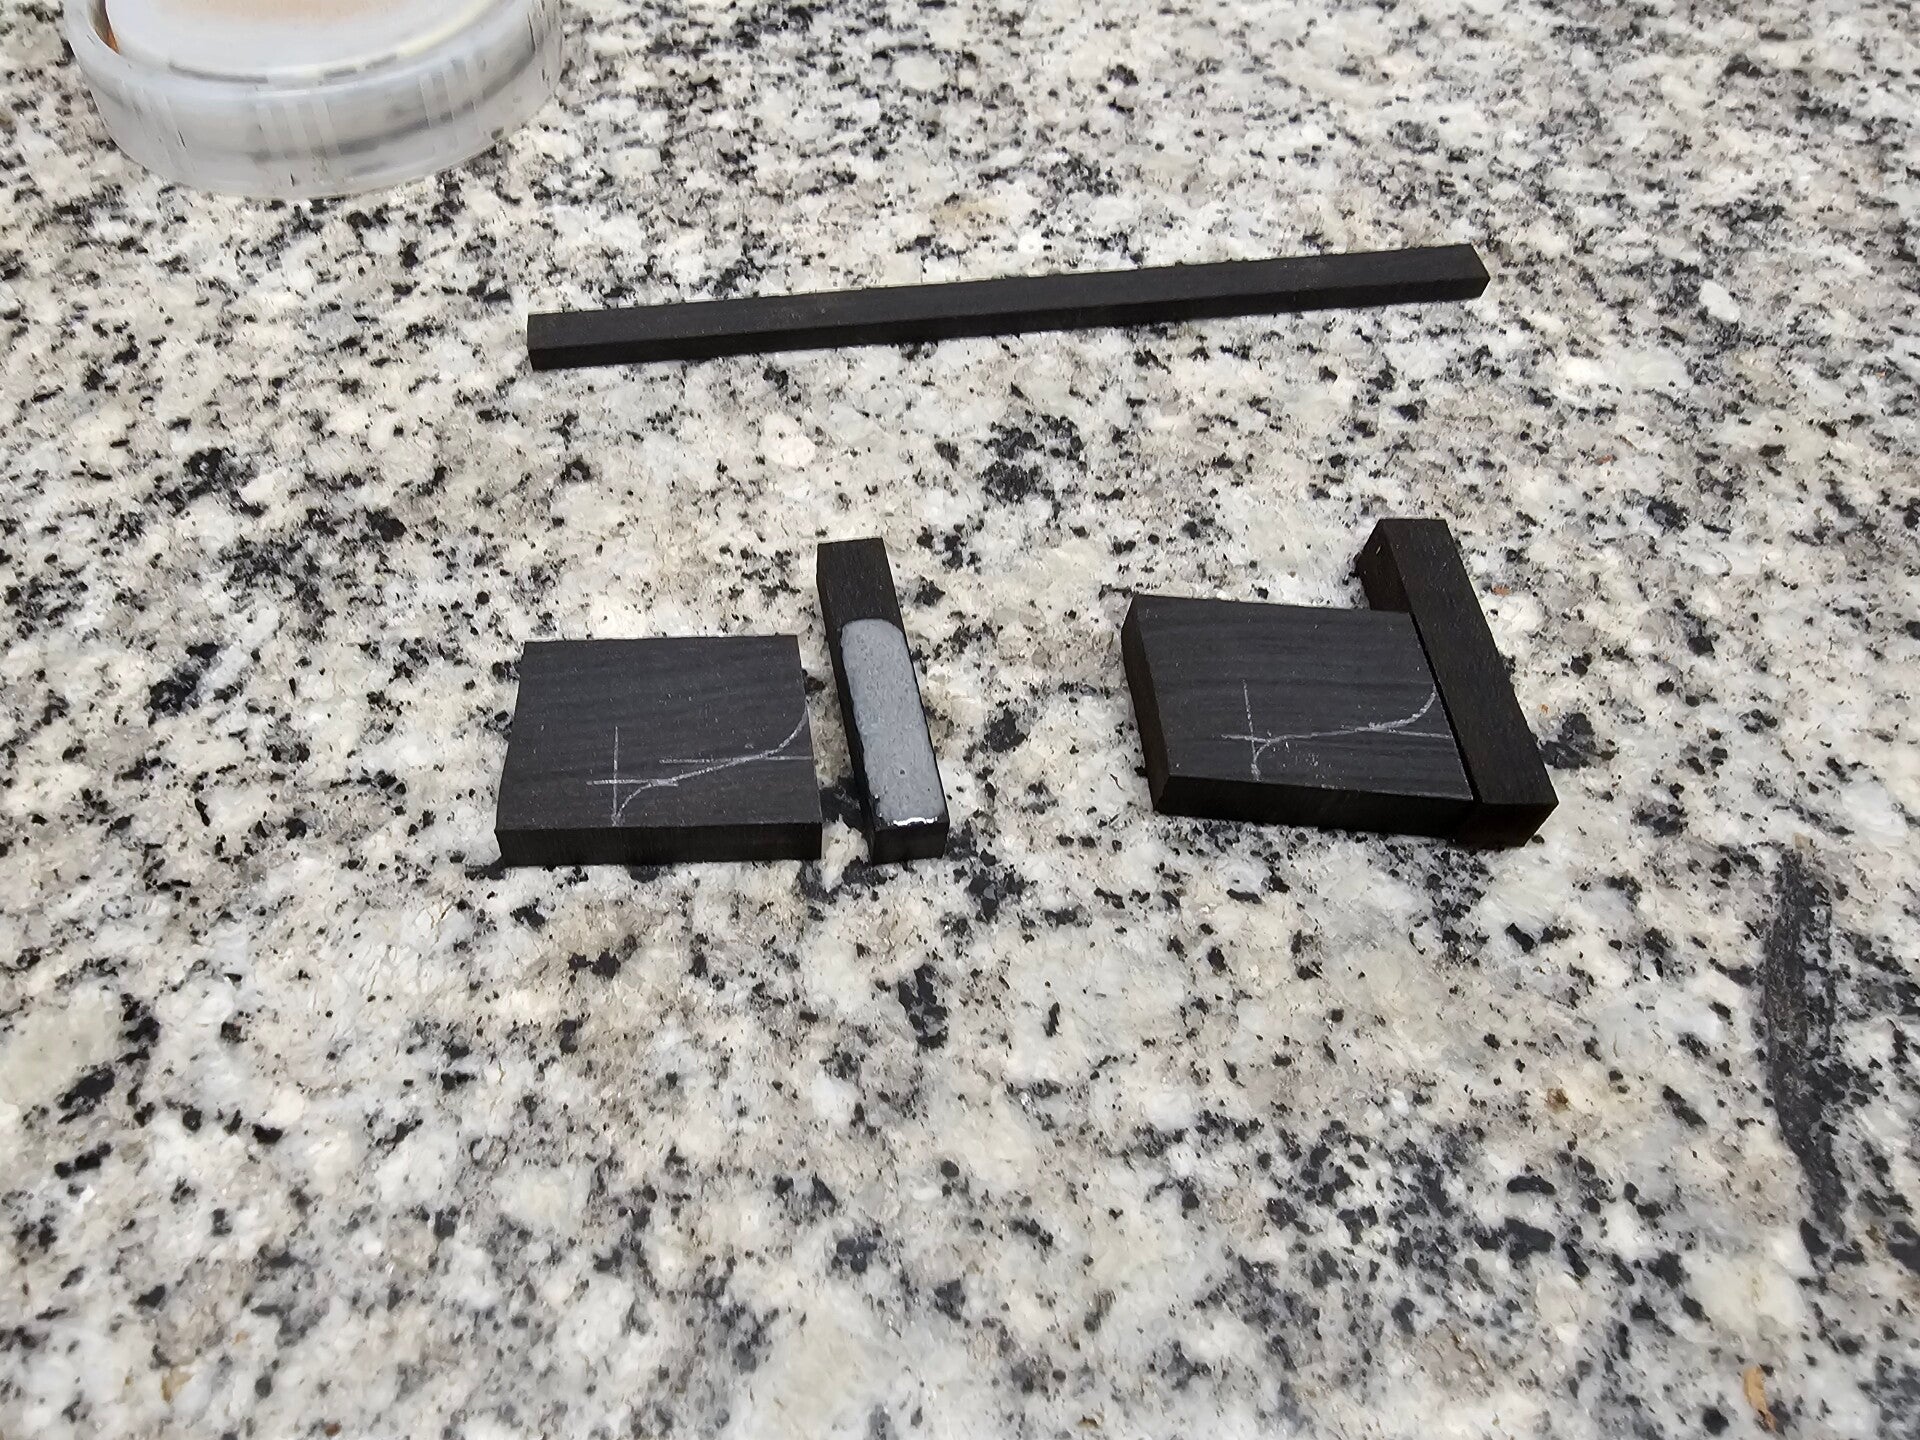
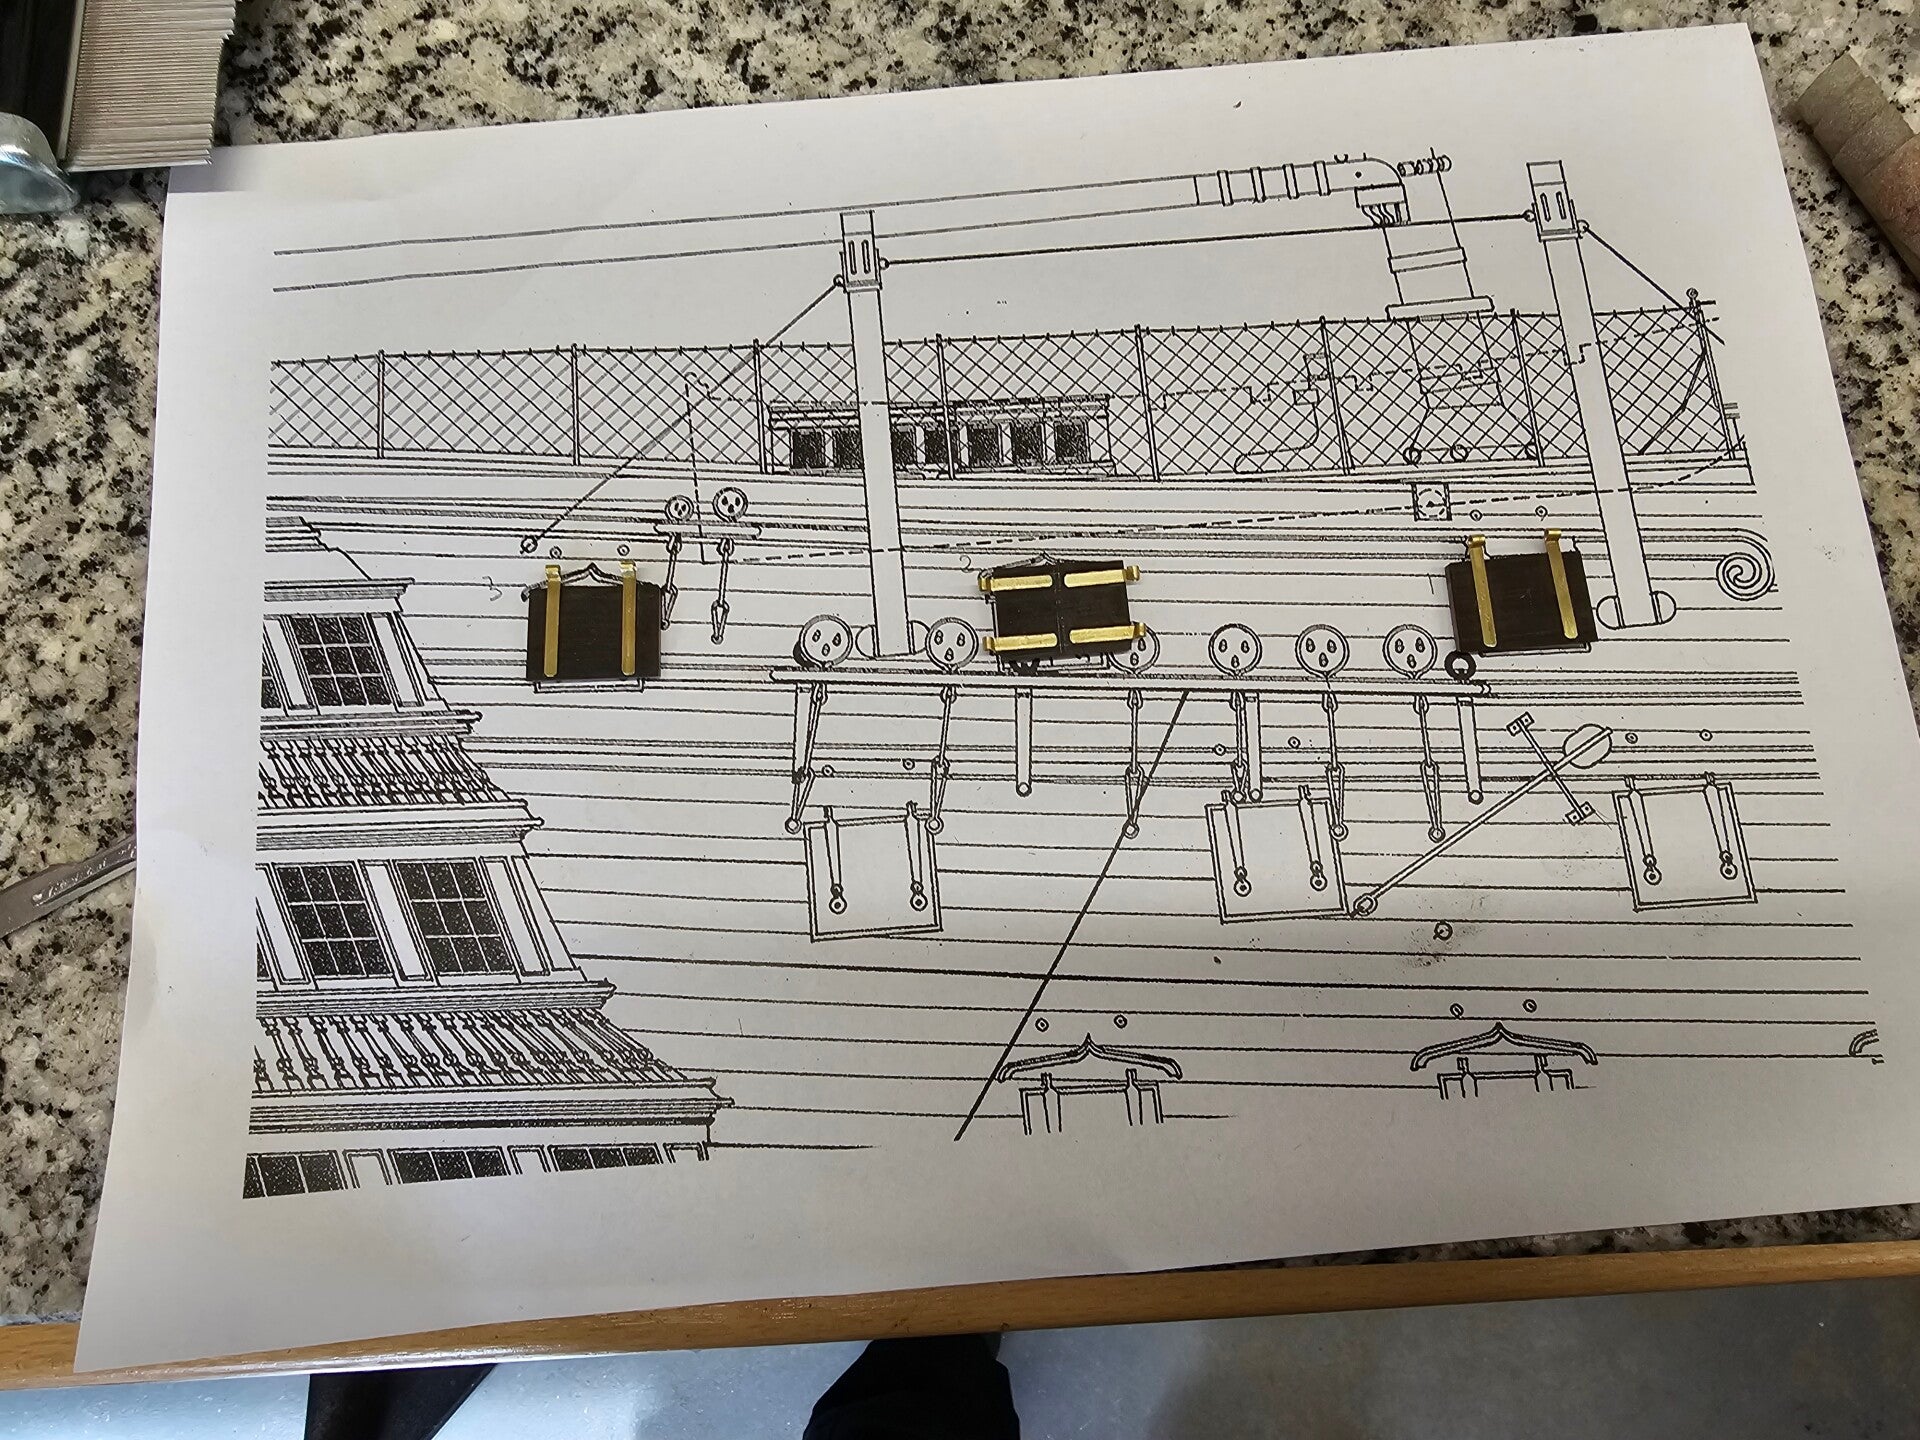
The braces for the aft mast have been prepared and will soon be installed. As usual, I’m using Ebbenhout wood glue that I’ve blackened with fine Ebbenhout sanding dust. That way, the glue joint disappears completely.
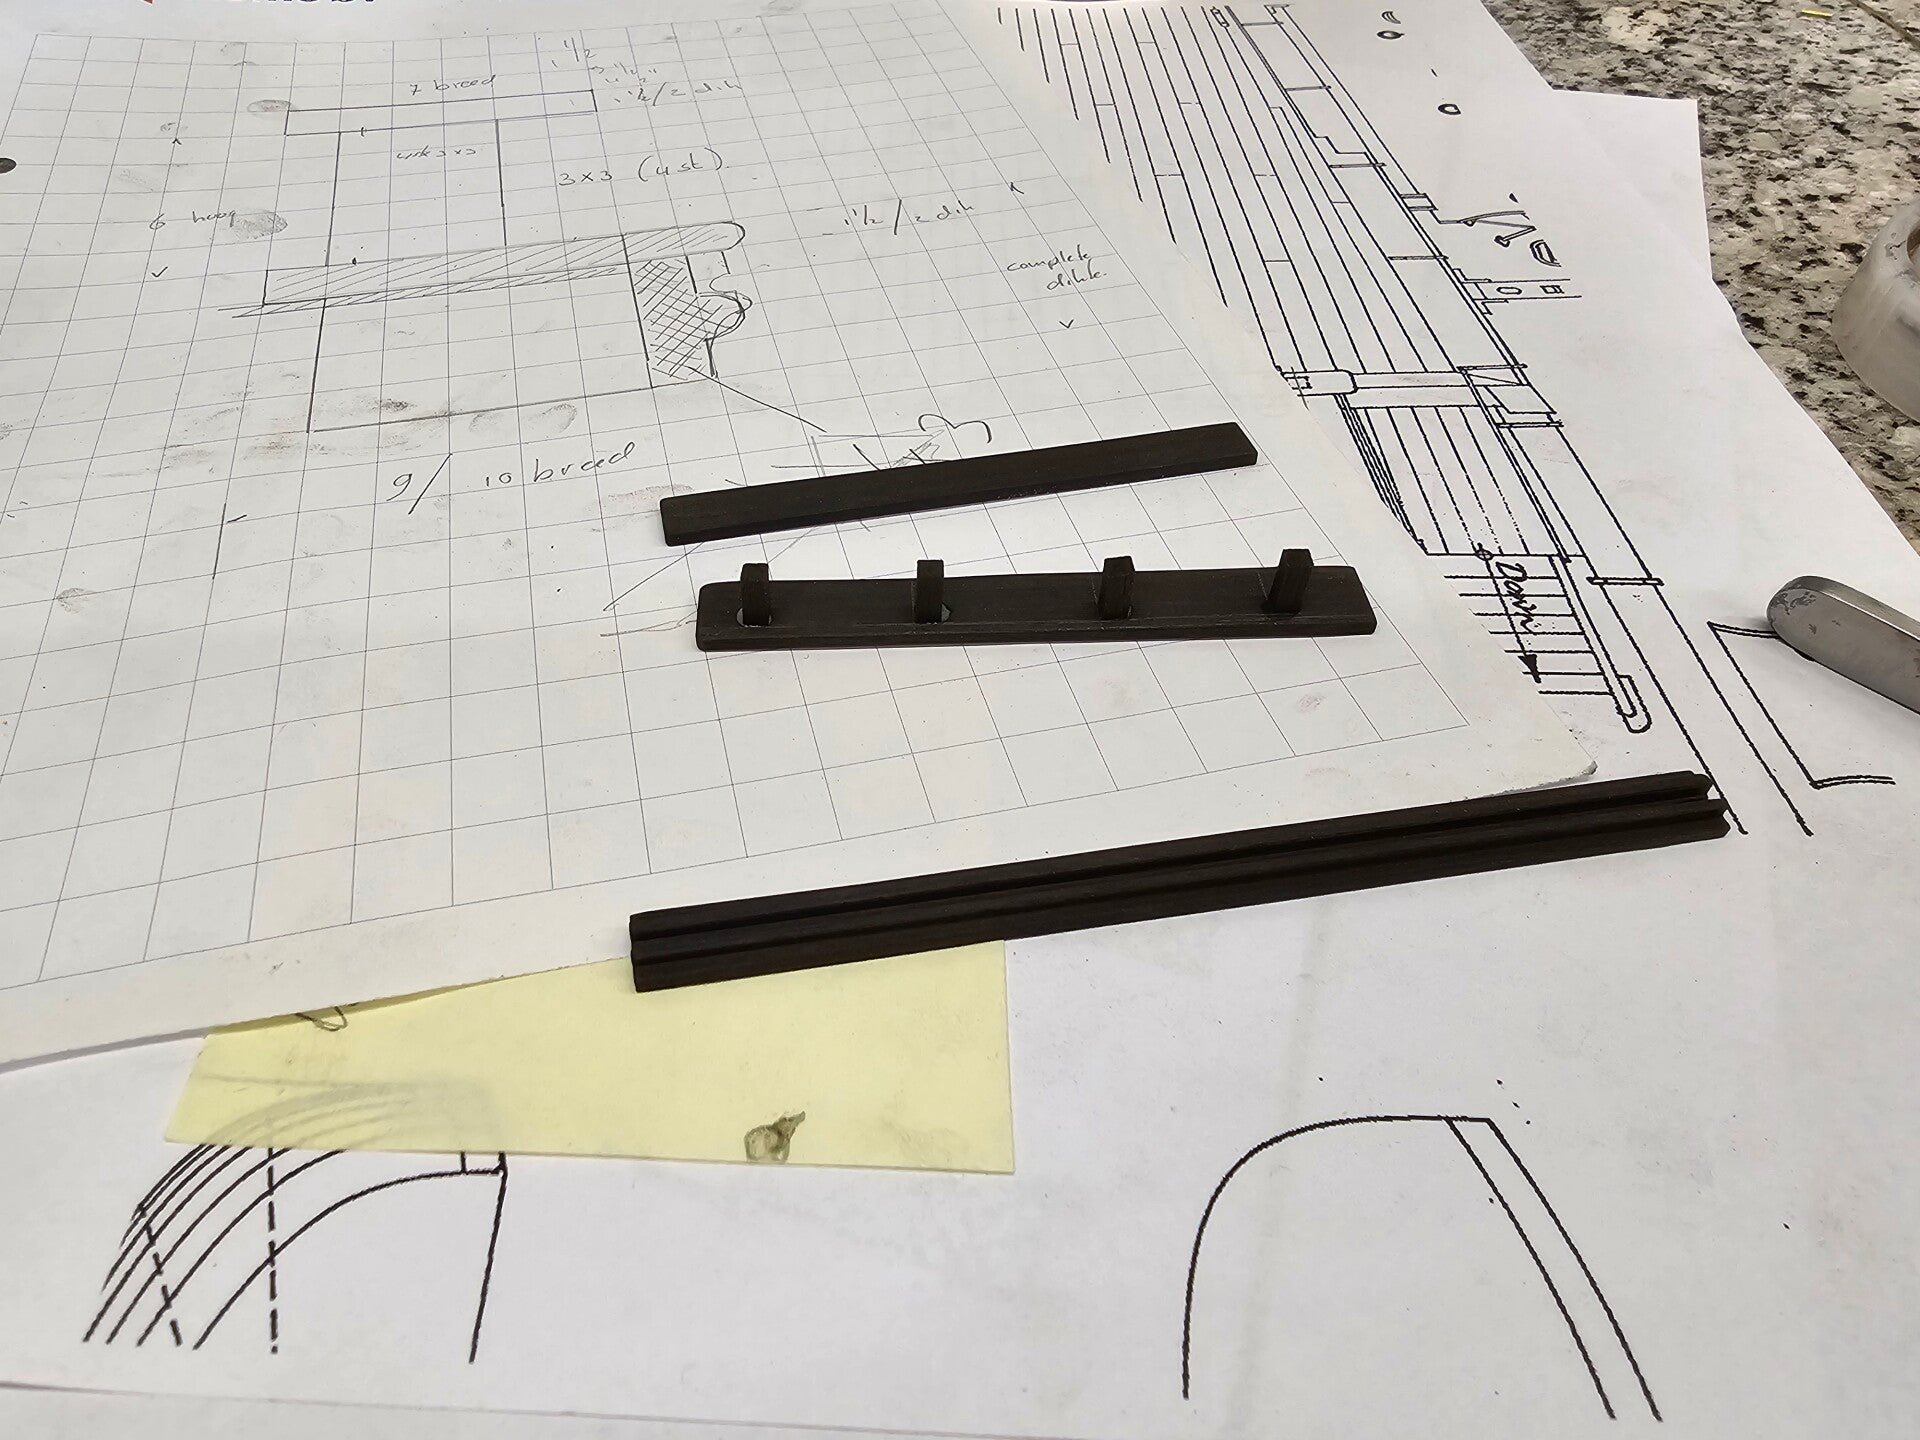
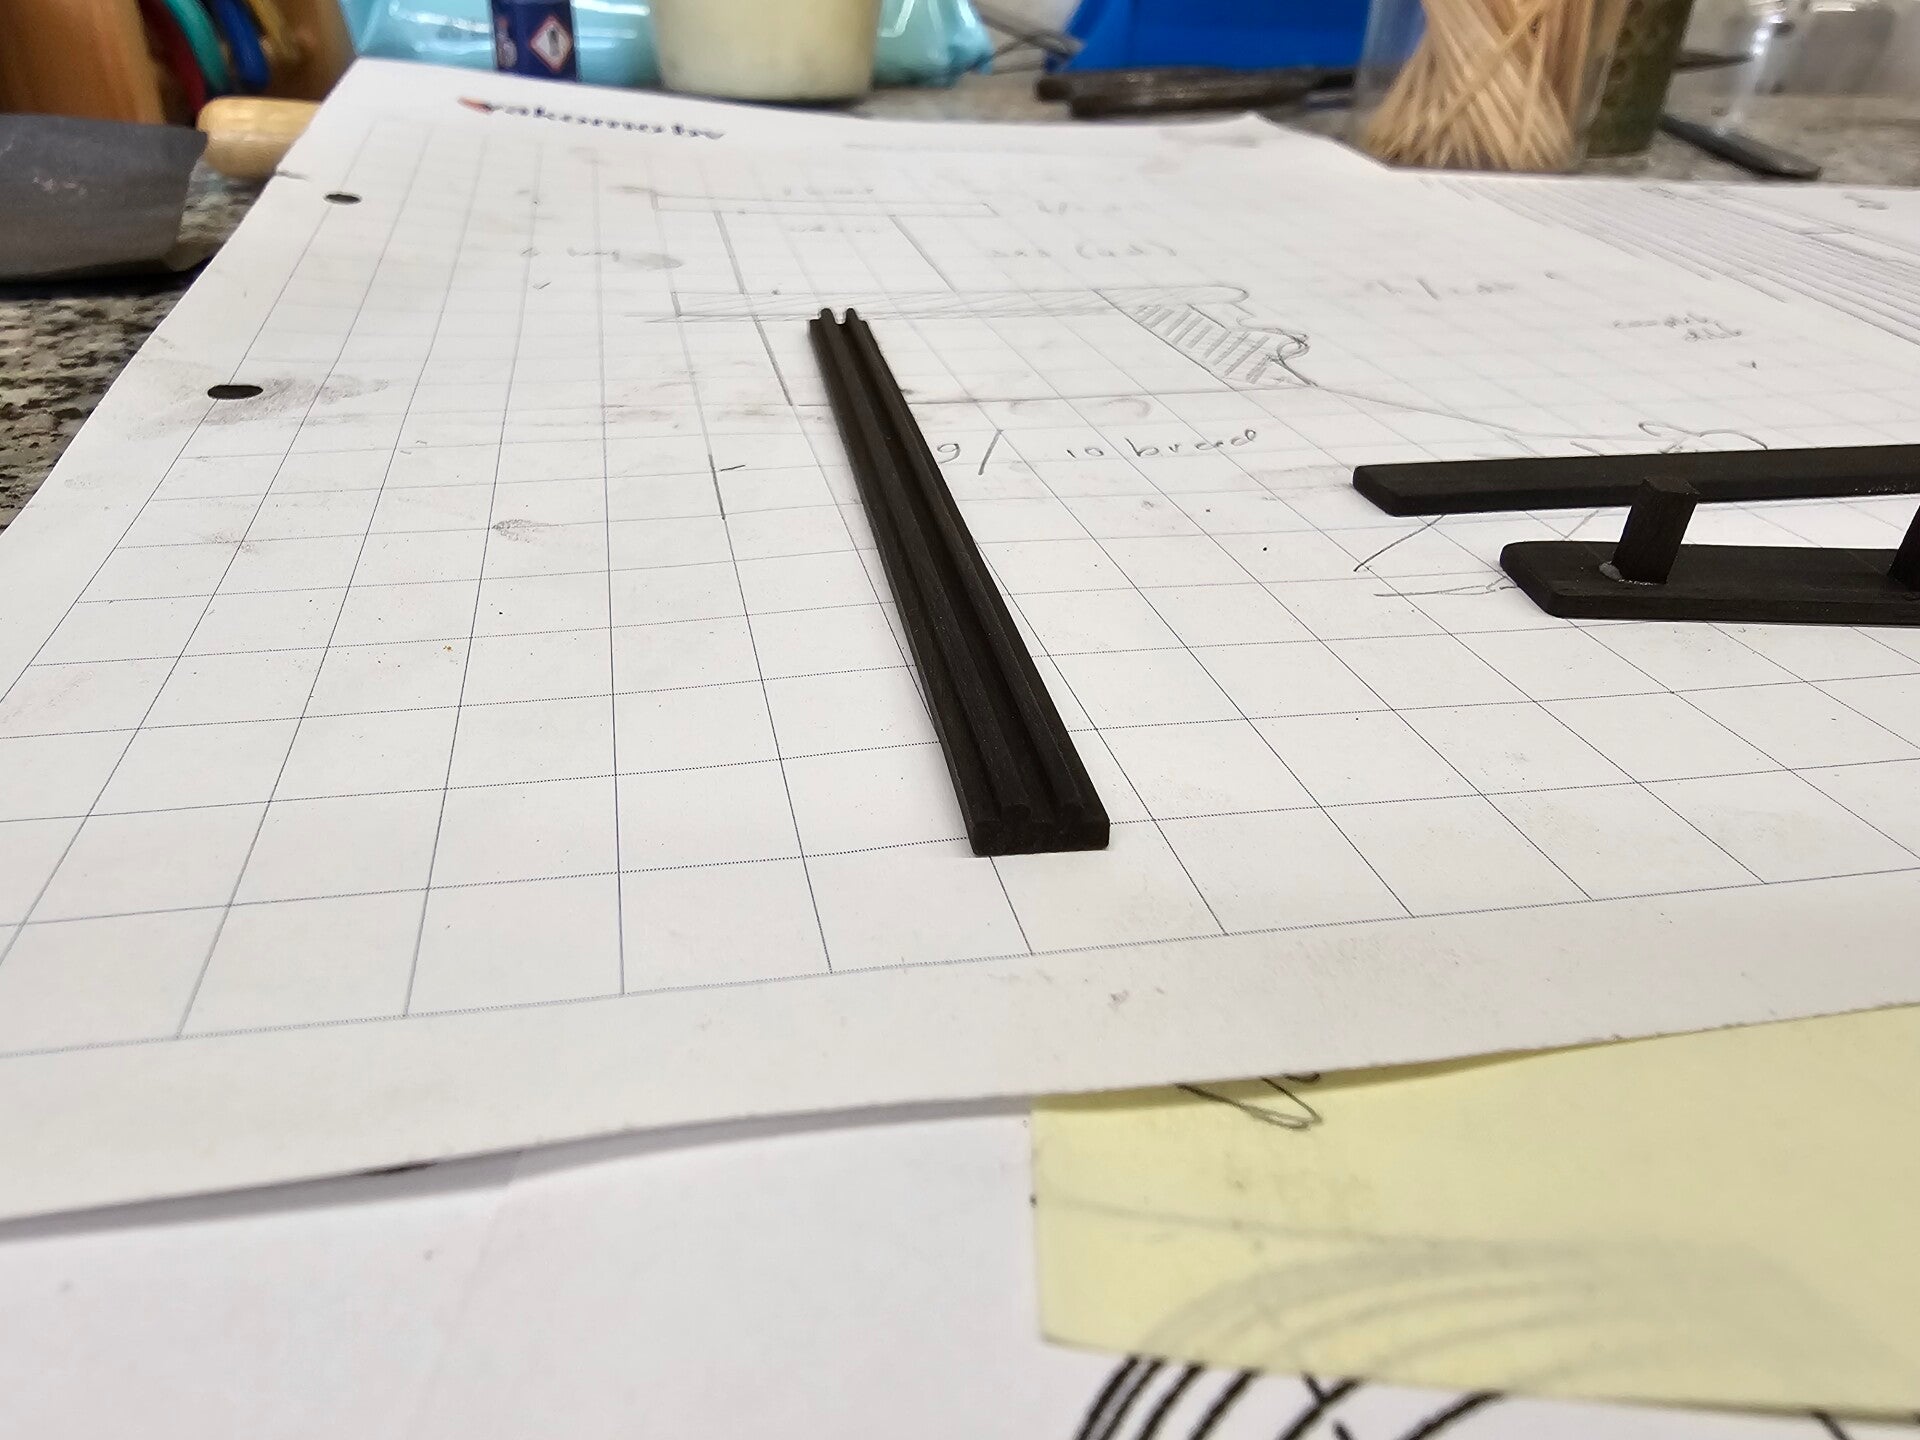
Today I made and assembled the front railing of the poop deck. I also milled the profile strip for the front deck beam. This week I’ll install everything and start the next projects. Preparing the projects does require a lot of research and drafting. But because they’re short-term and yield great results, this is actually the most enjoyable part of the work.
To be continued
Best regards,
____________
Henk
May 3, 2026
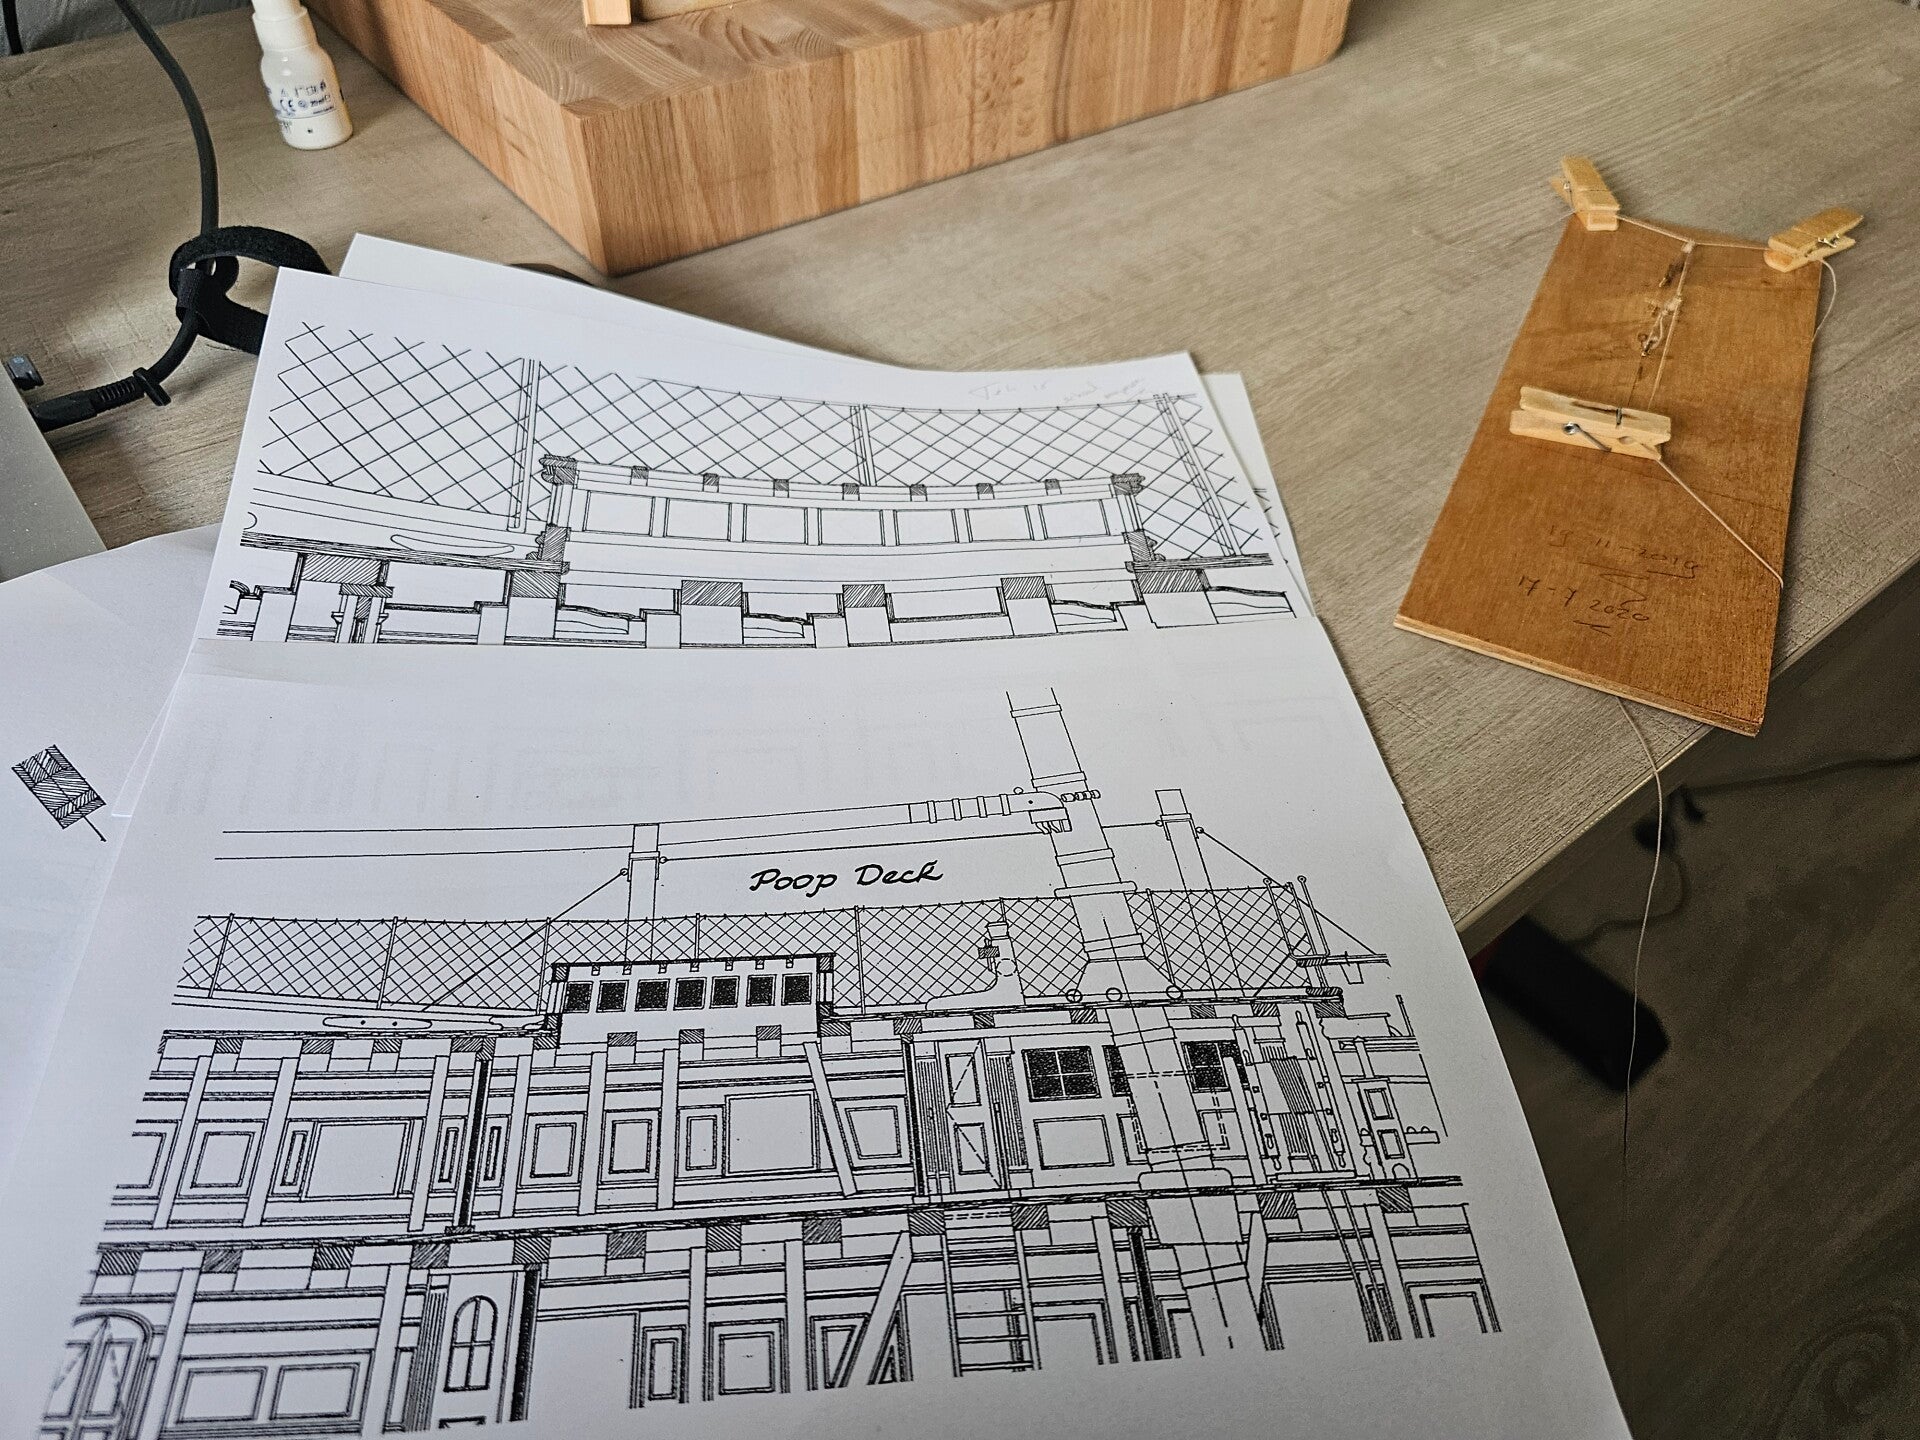
So I’ve already started the blog about the Poop Deck... Simply because it’s just a small section of the deck, but it does contain some complex parts. Since I can’t work continuously on installing the deck beams of the Poop Deck—due to waiting for glue to dry, etc.—I decided to prepare and fabricate these complex parts in advance. First, I focused on the skylight.
Now, this skylight has been and continues to be photographed frequently, but it’s always completely covered with a sail to protect it. Fortunately, I have a few photos in my files where it’s visible without the sail. The problem was that John’s drawings for the skylight differ slightly from the model currently on the poop deck. I therefore decided to follow John’s drawings exactly.
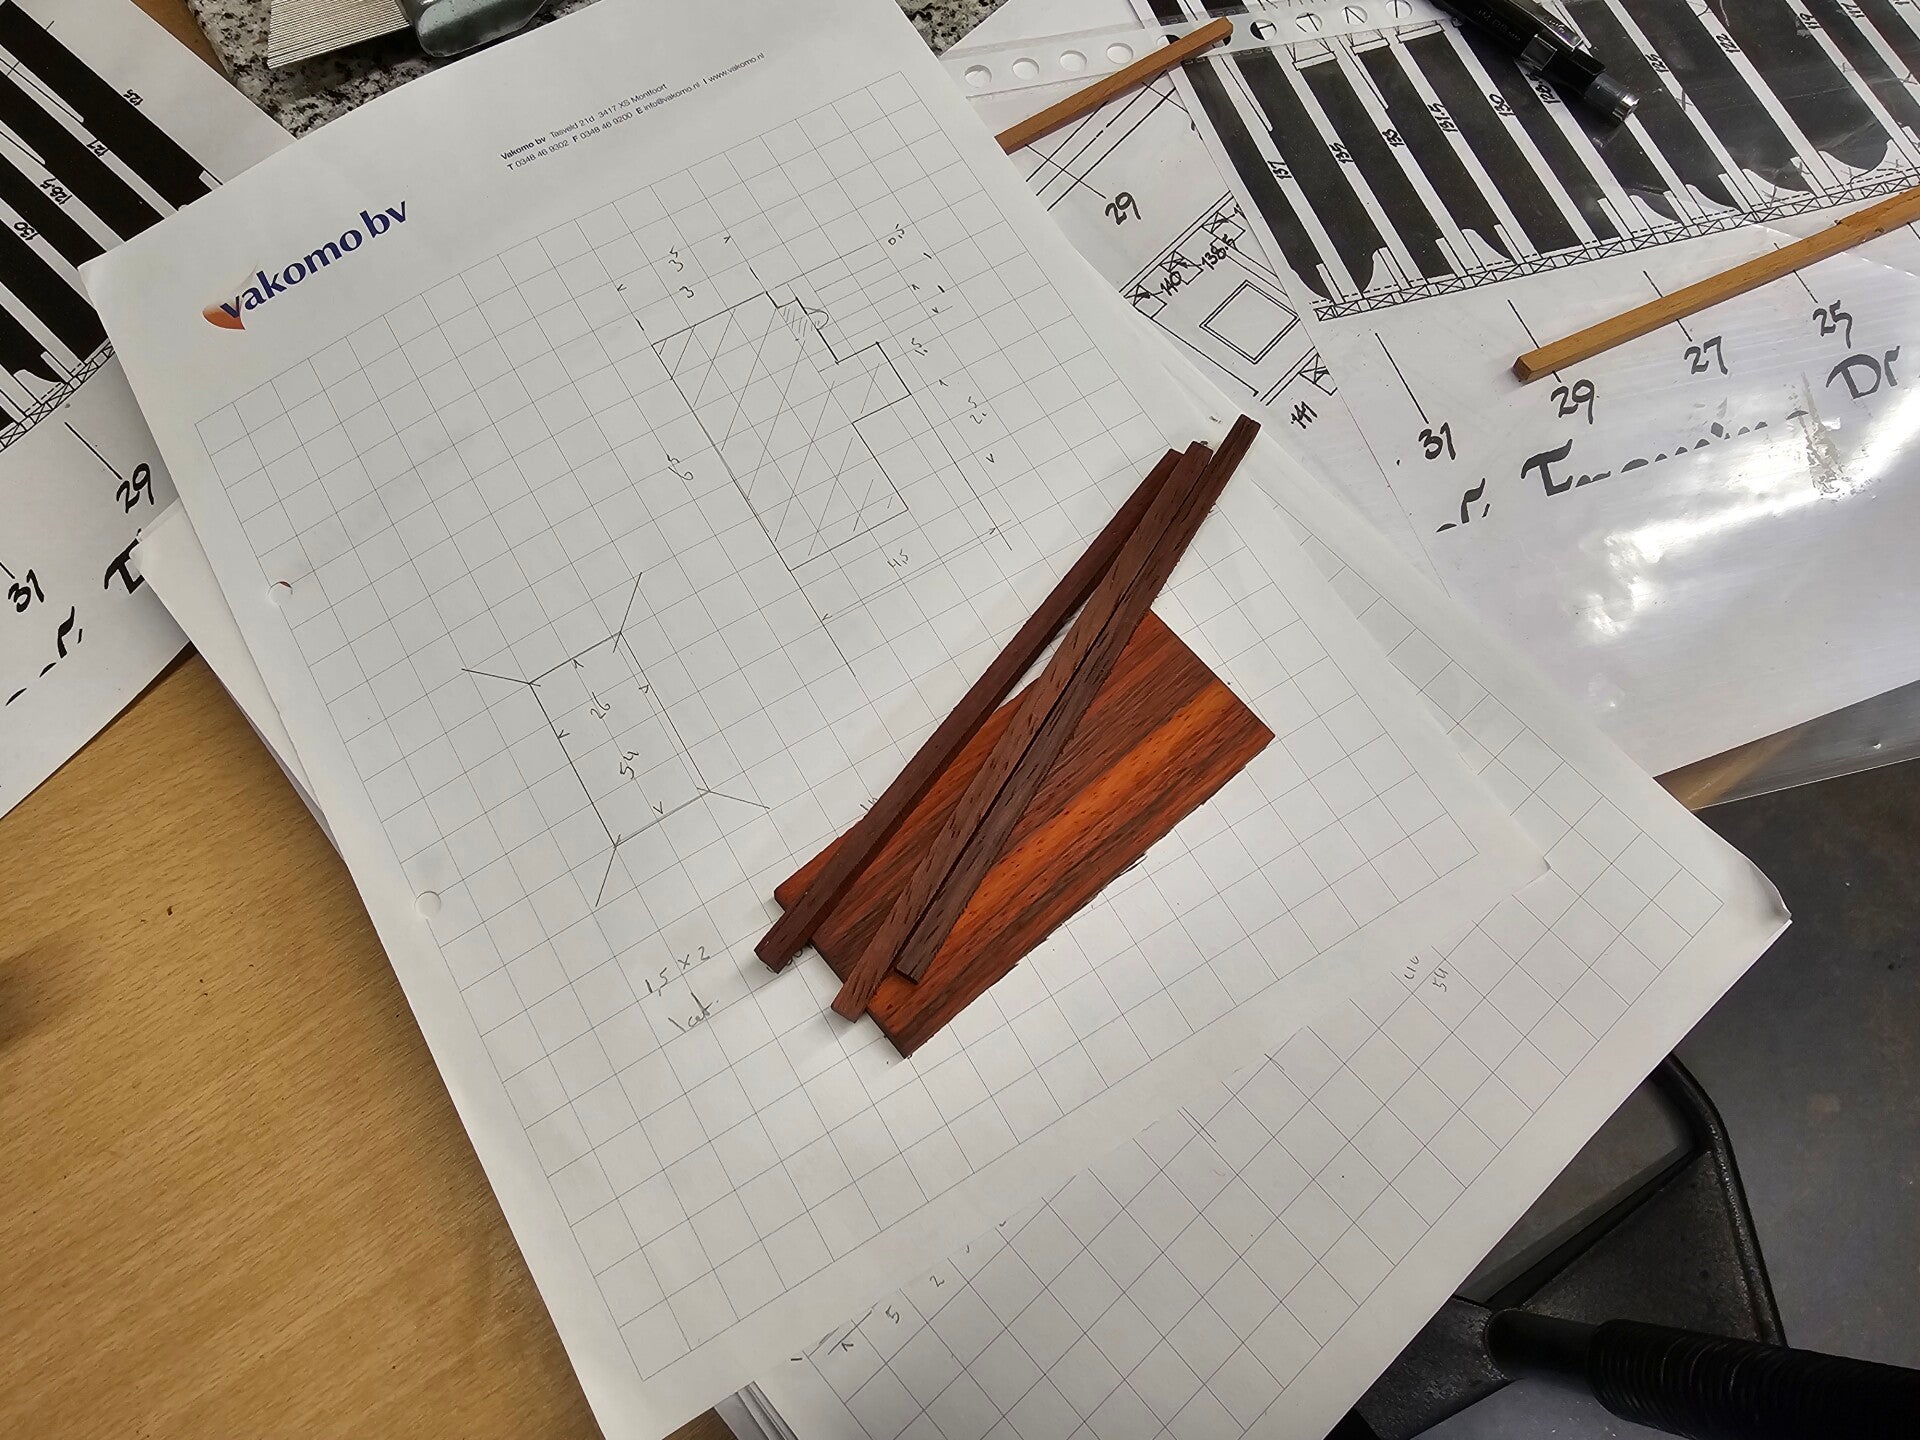
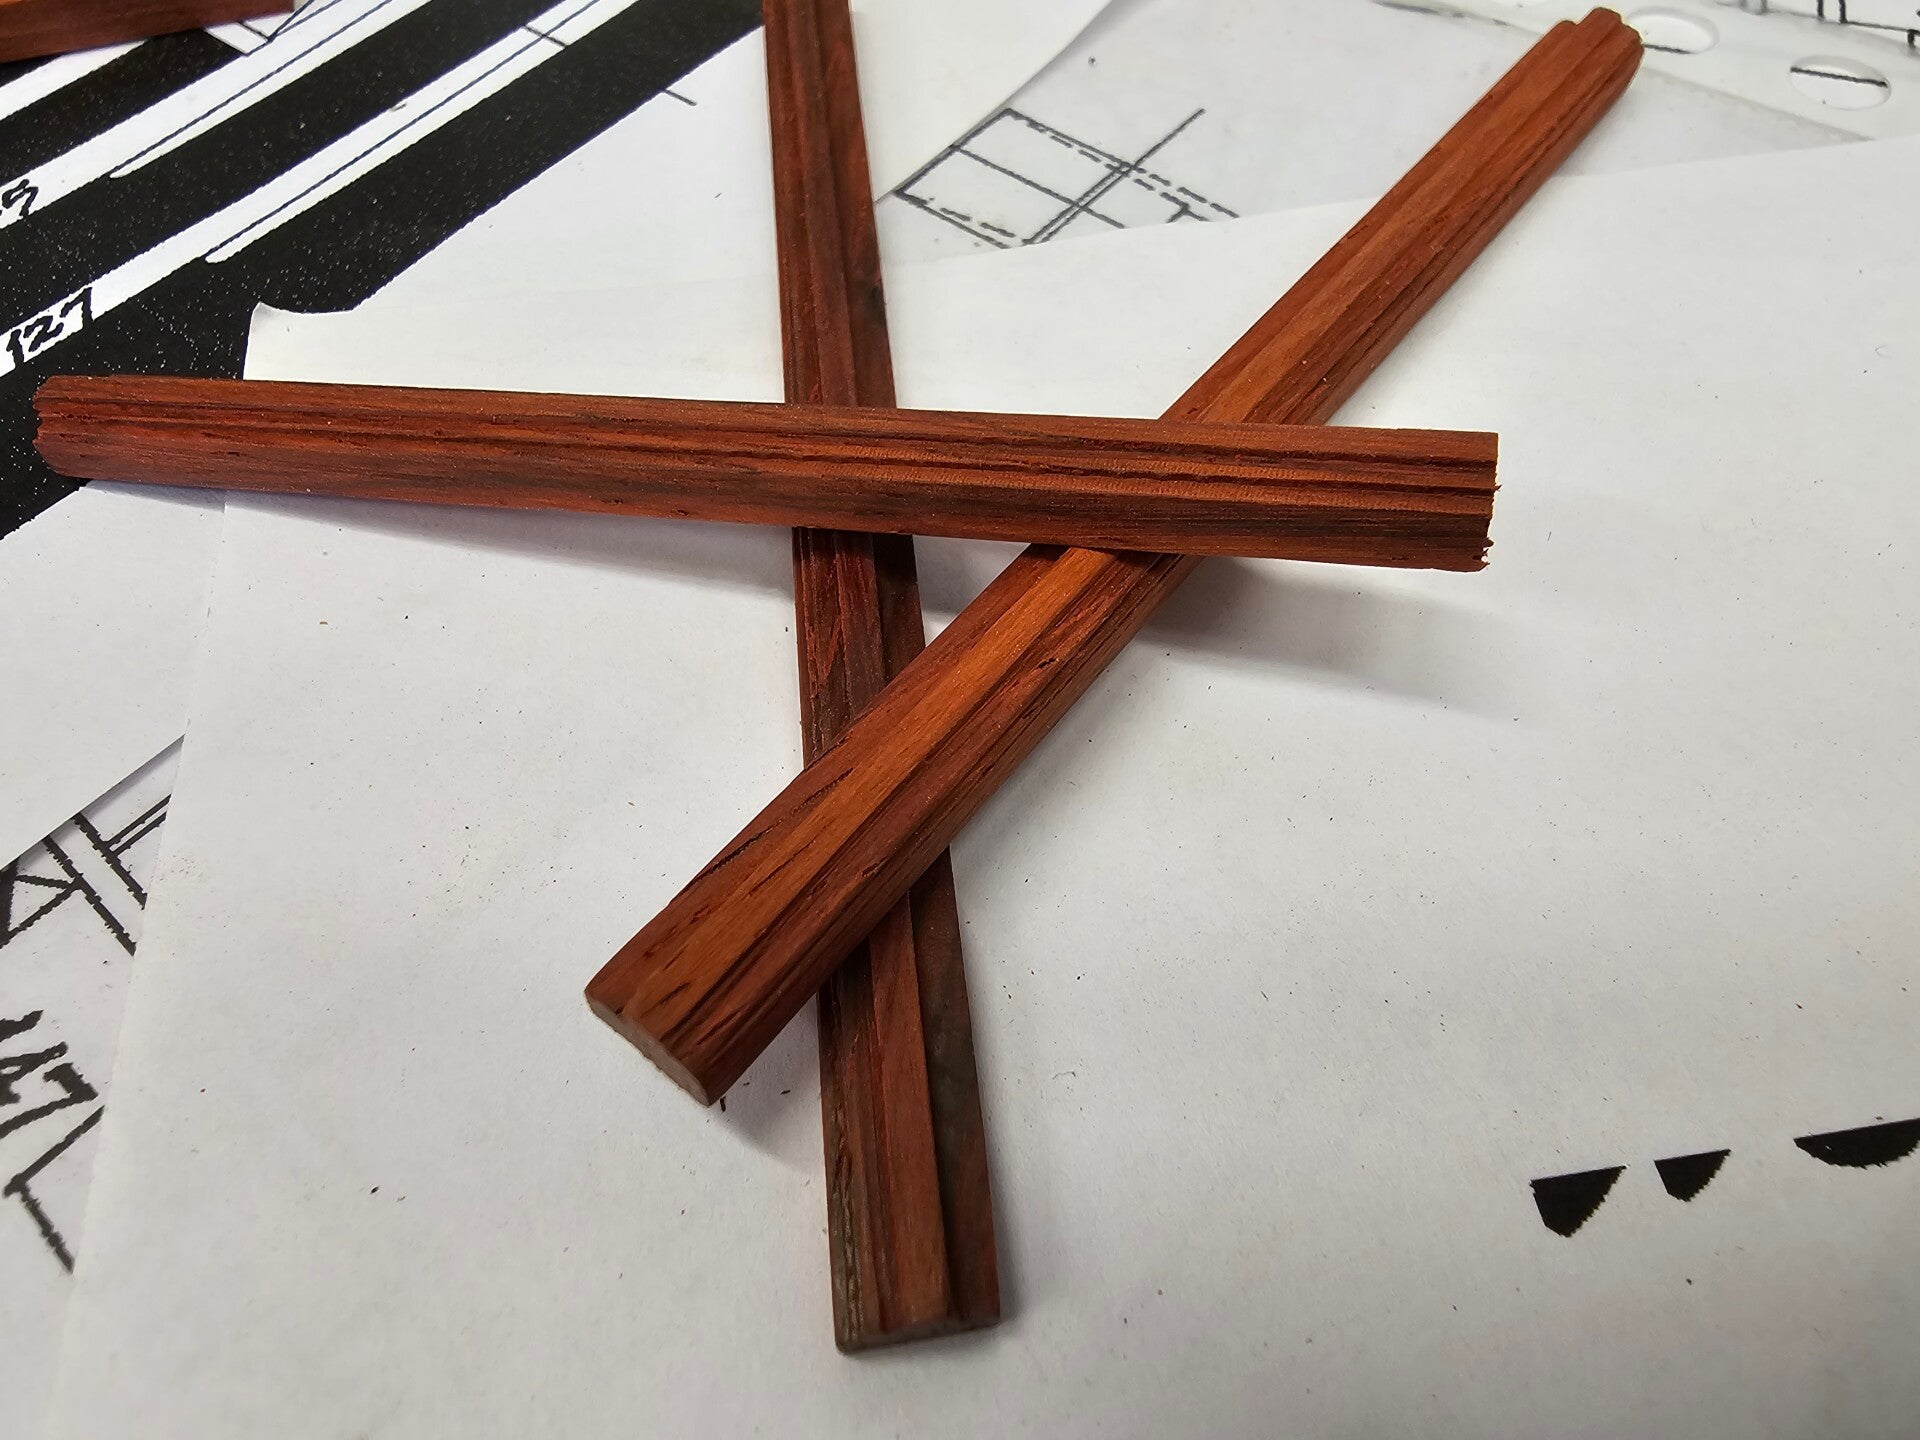
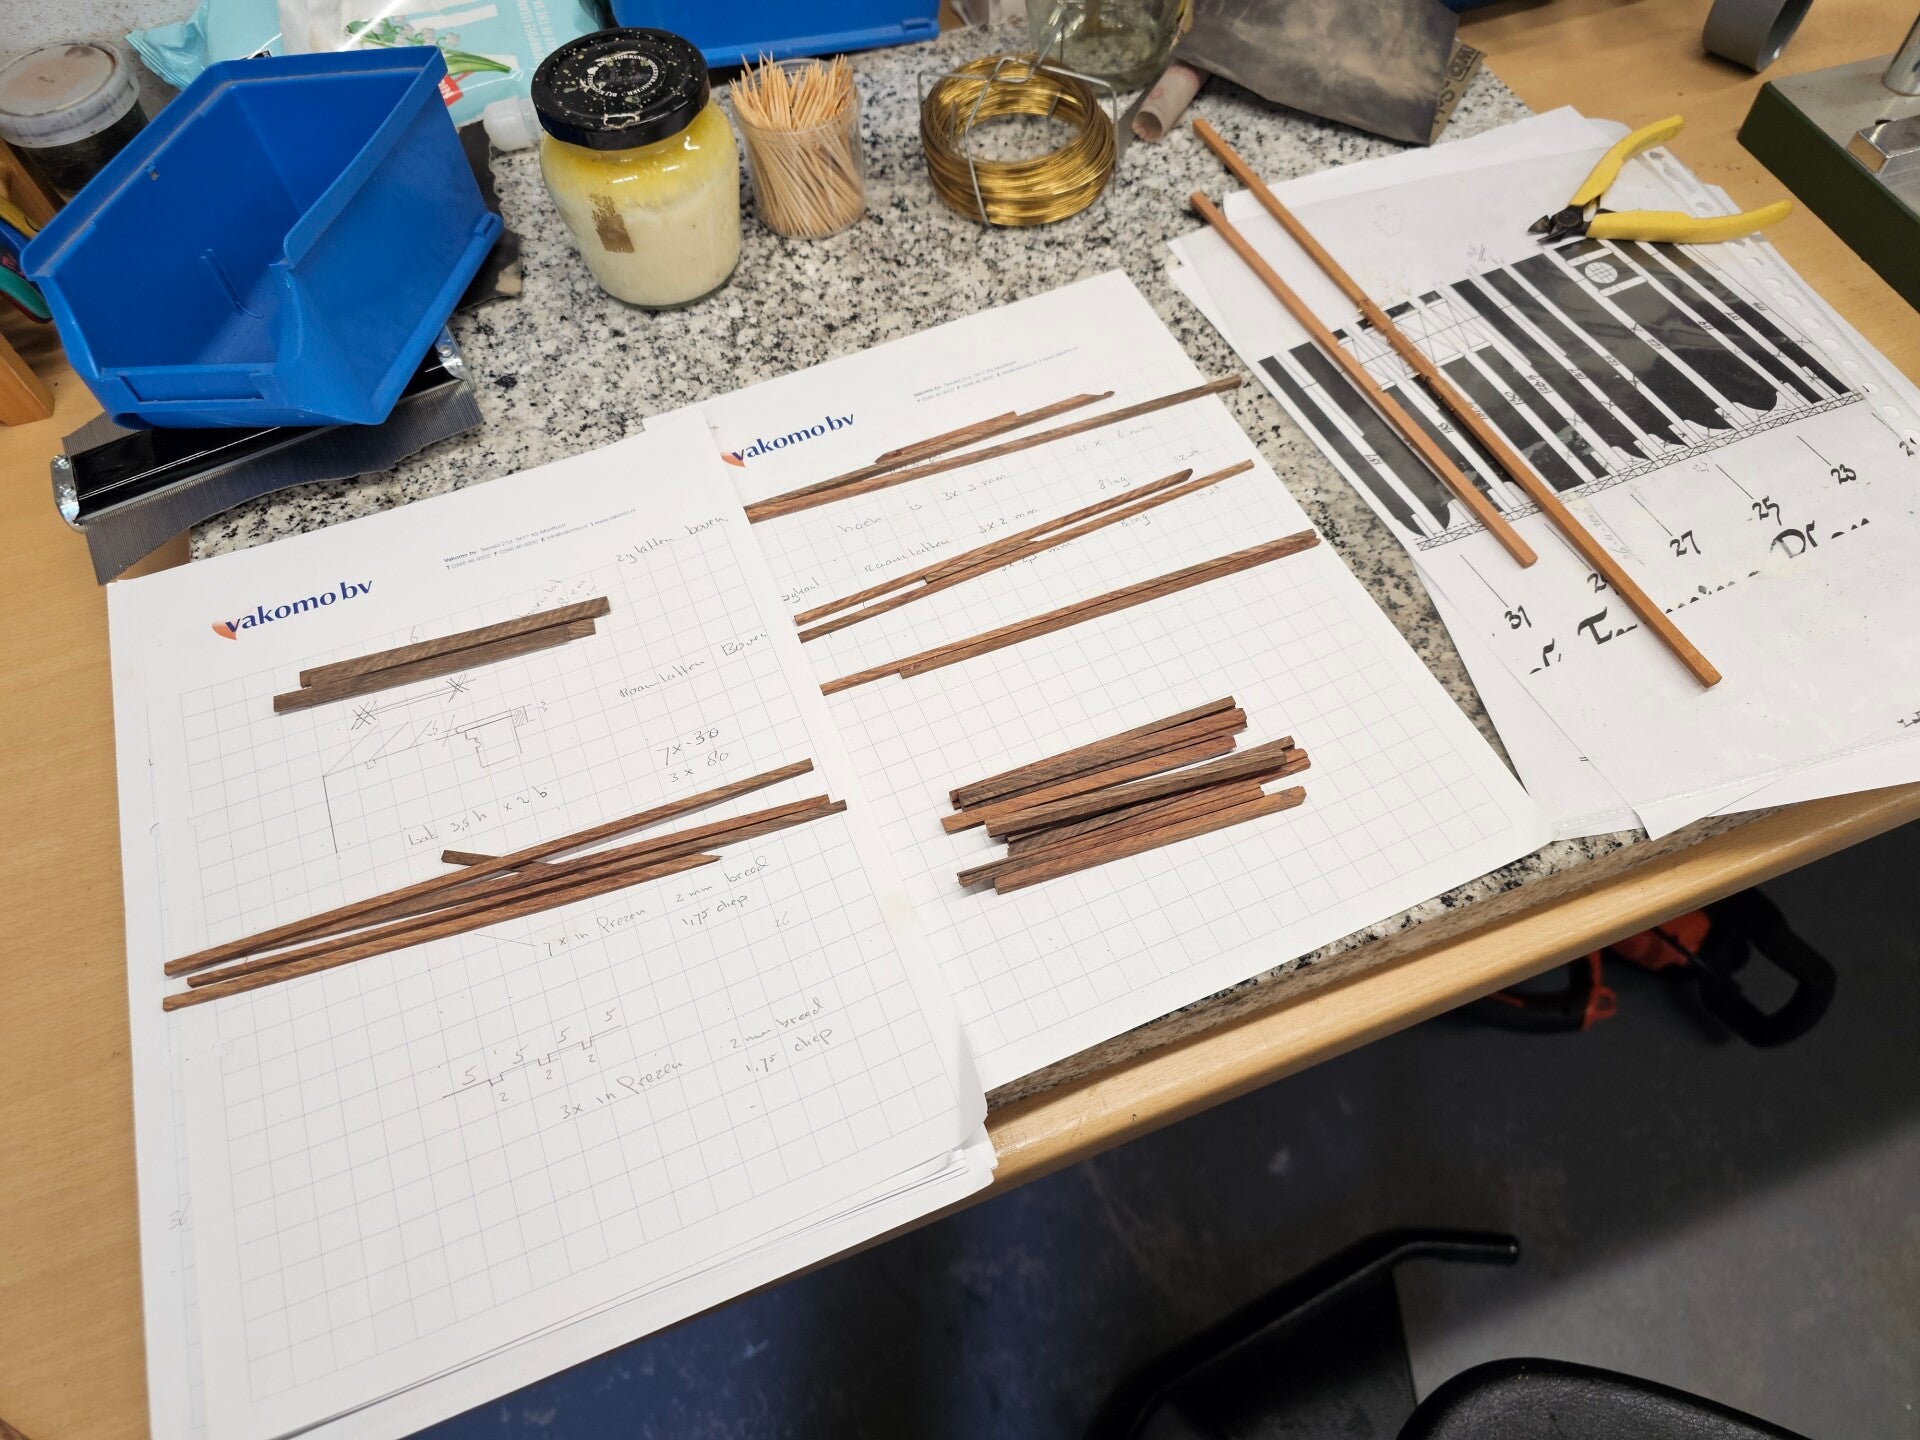
The first decision was what type of wood to use, and because there are many decorative edges, my first choice was Padauk. It’s a fairly hard wood that gets darker and darker in the sun.
The choice of a hard wood is due to the fact that I will need to make many decorative elements and trim pieces in the coming period. I want to do this as much as possible on the machines. This means I have to make short pieces each time, which aligns with practical needs. I am therefore opposed to buying long, pre-cut trim pieces that are simply glued onto a model. I do want the craftsmanship to shine through.
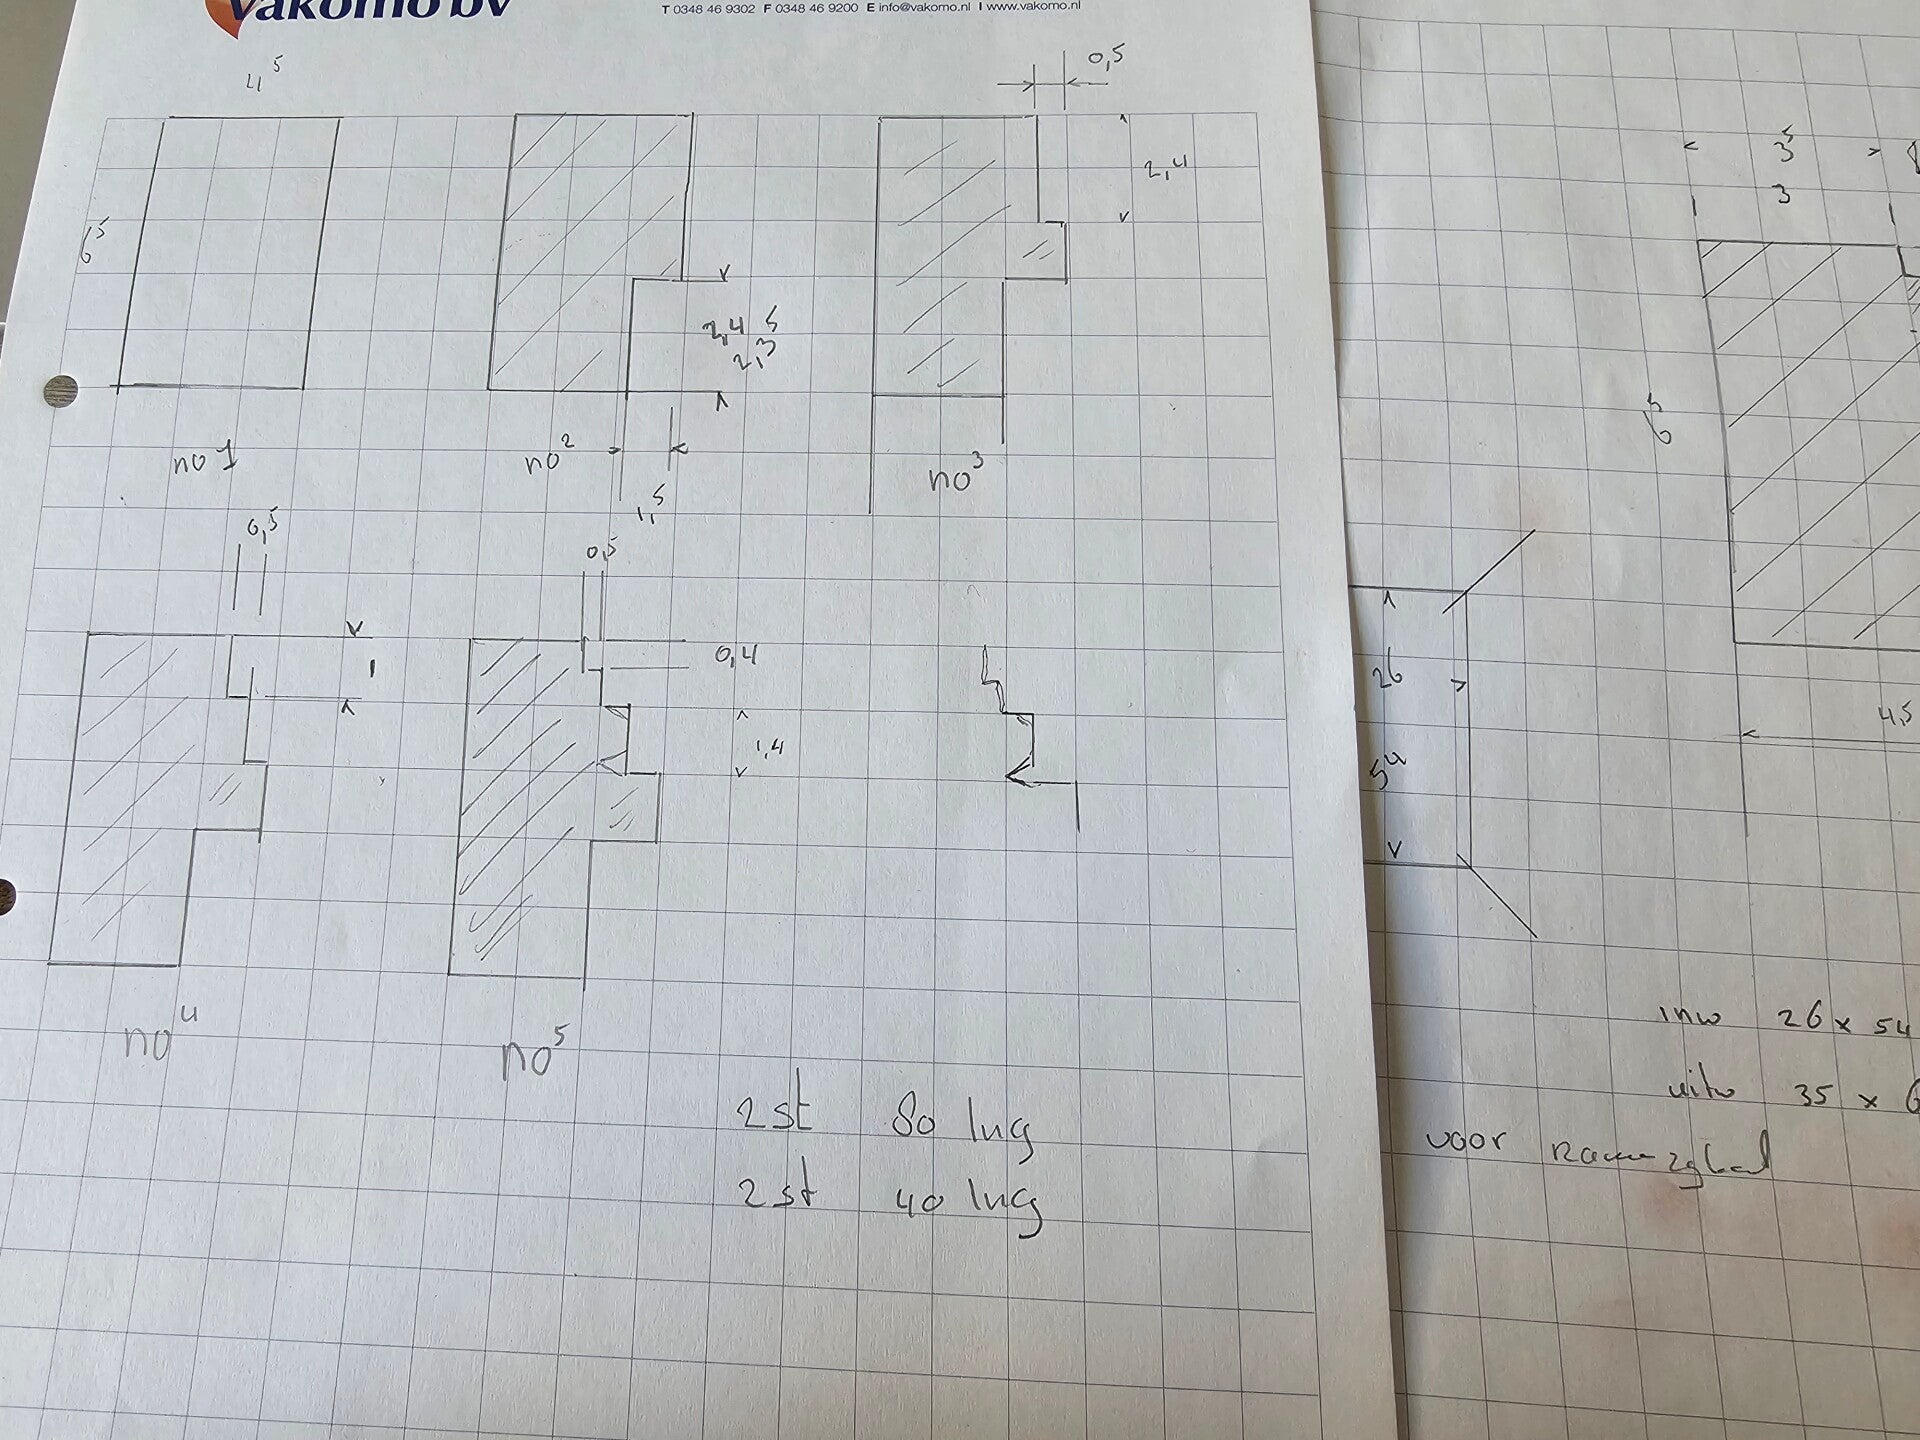
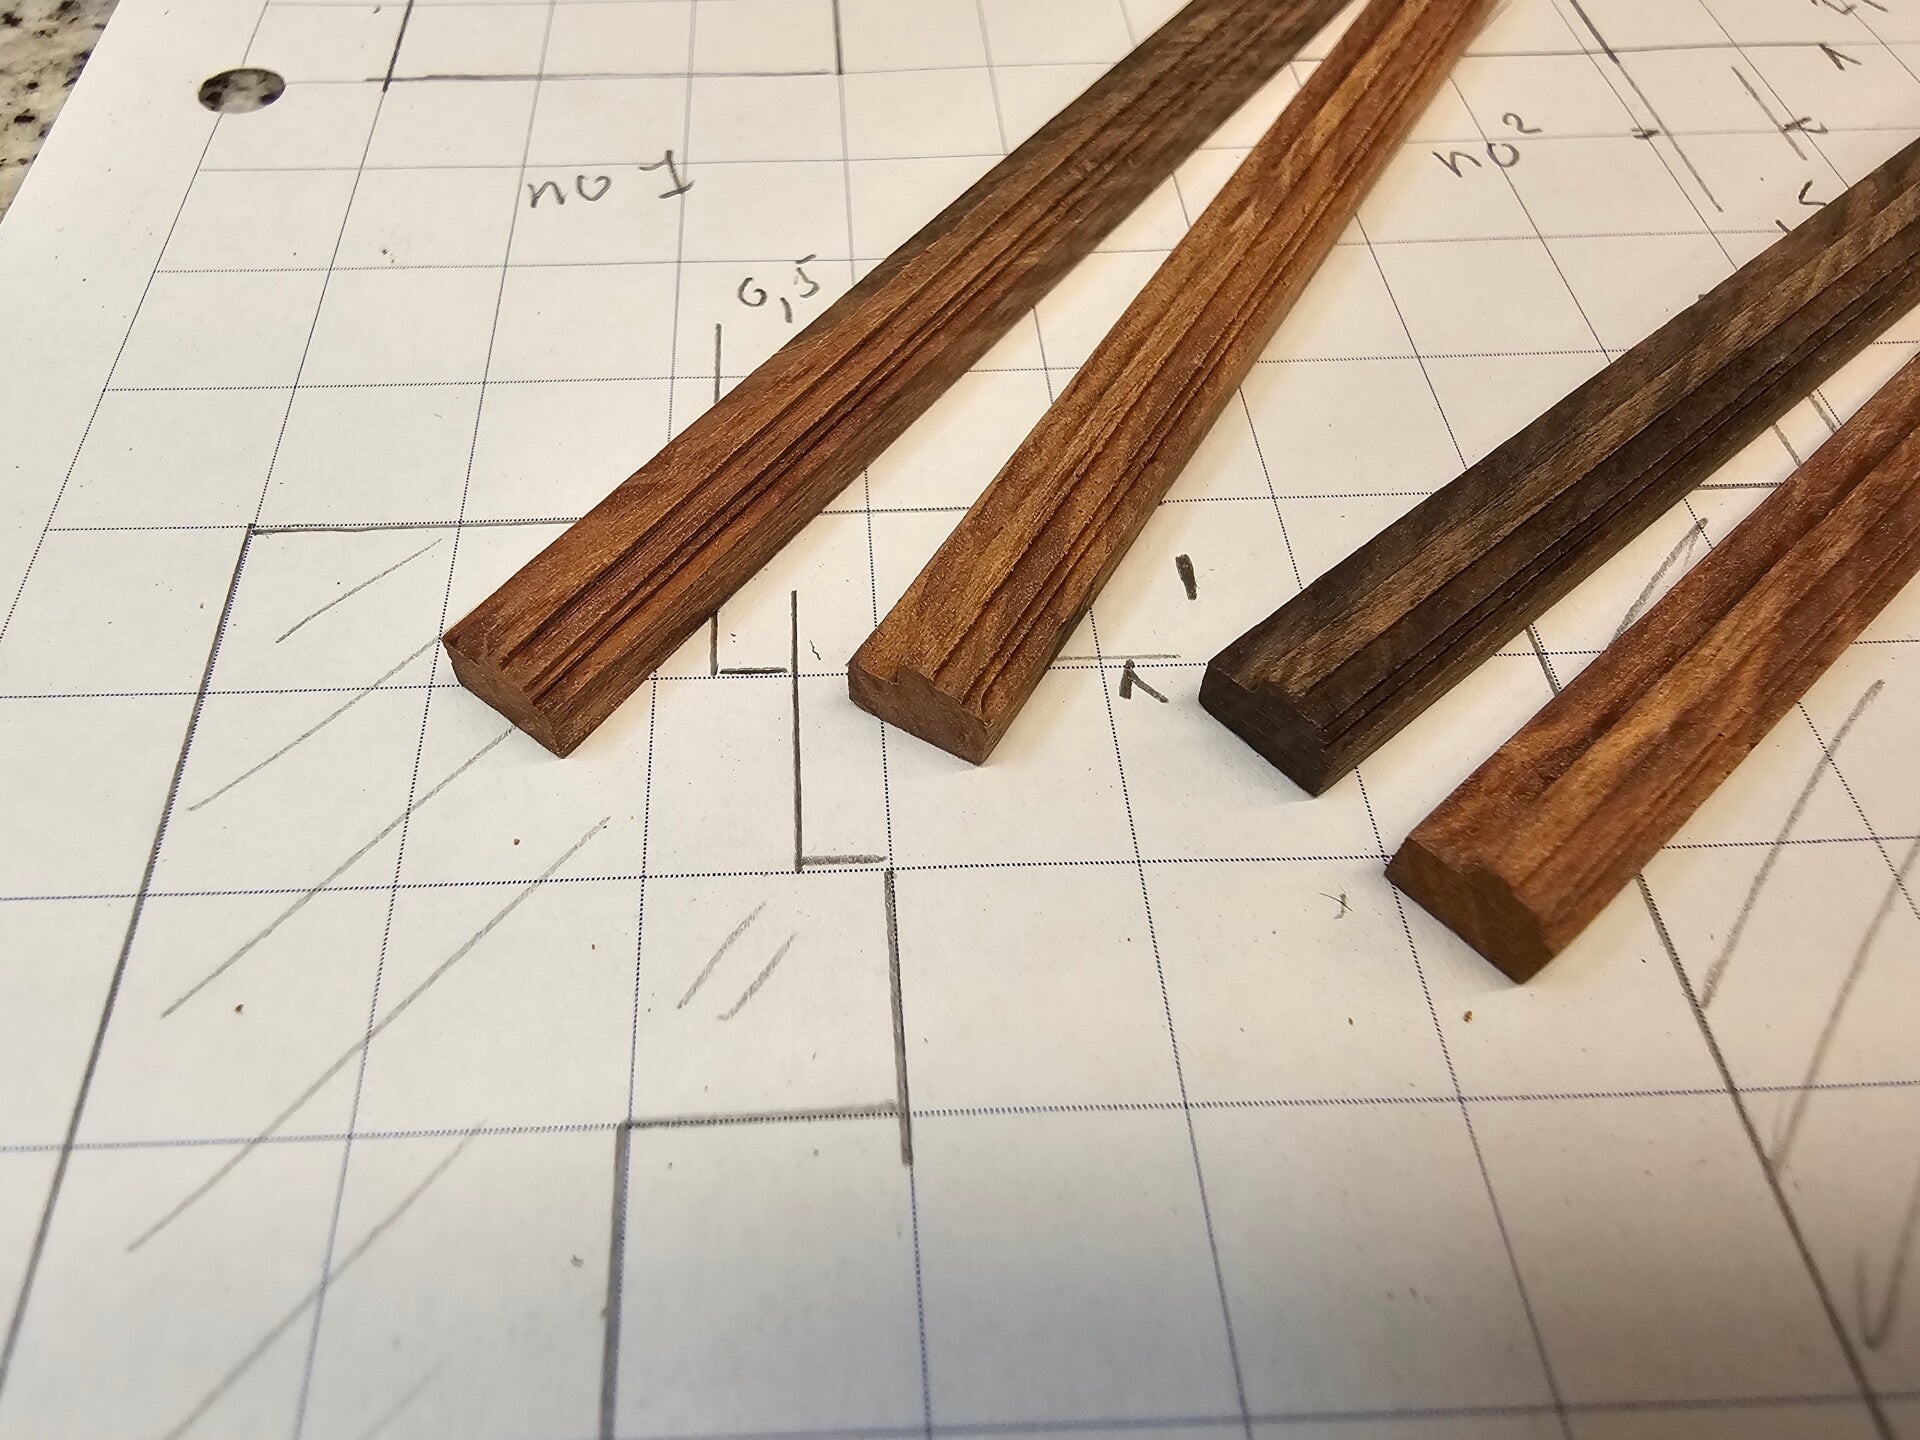
Since I had replenished my stock of router bits and chisels at the time, I had already expanded it to include a small supply of ball-nose, V-shaped, and chamfering router bits. All of these are suitable for creating small edges, recesses, etc. After drawing up a step-by-step plan for the router, I got to work with Padauk.
Although it looked good at first, I wasn’t satisfied with the quality of the wood. Especially when finishing by hand, the wood was a bit too soft for my liking. If you’re used to making inlays in ebony and you have to choose a different color of hardwood for inlays, my final choice ended up being holly oak, also known as azijnhout. So the processed padauk went into the firewood bin, and I moved on to Holy Oak.
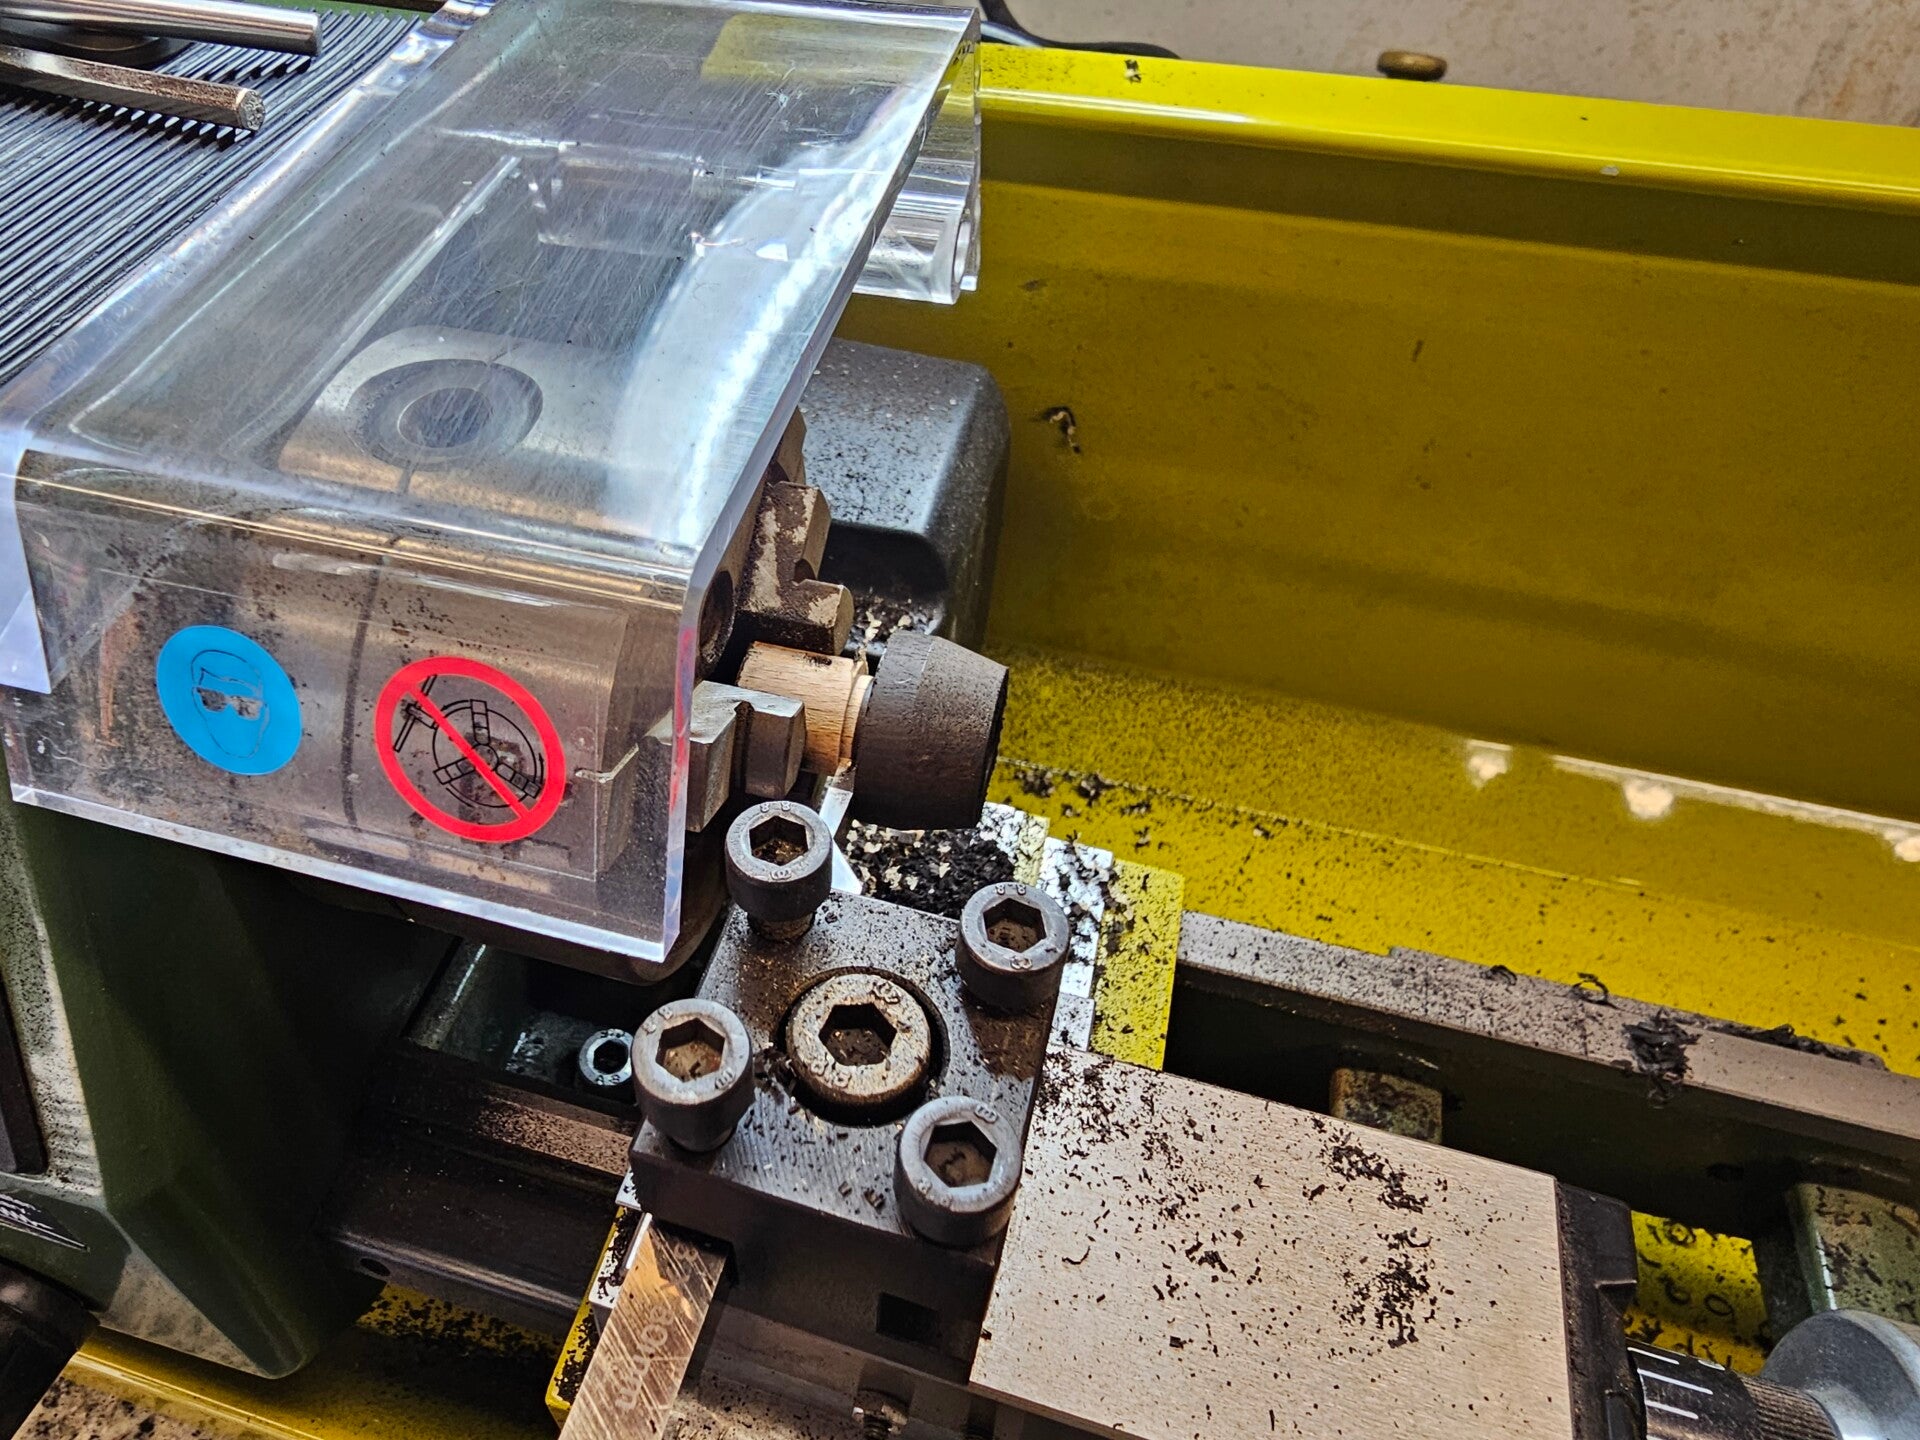
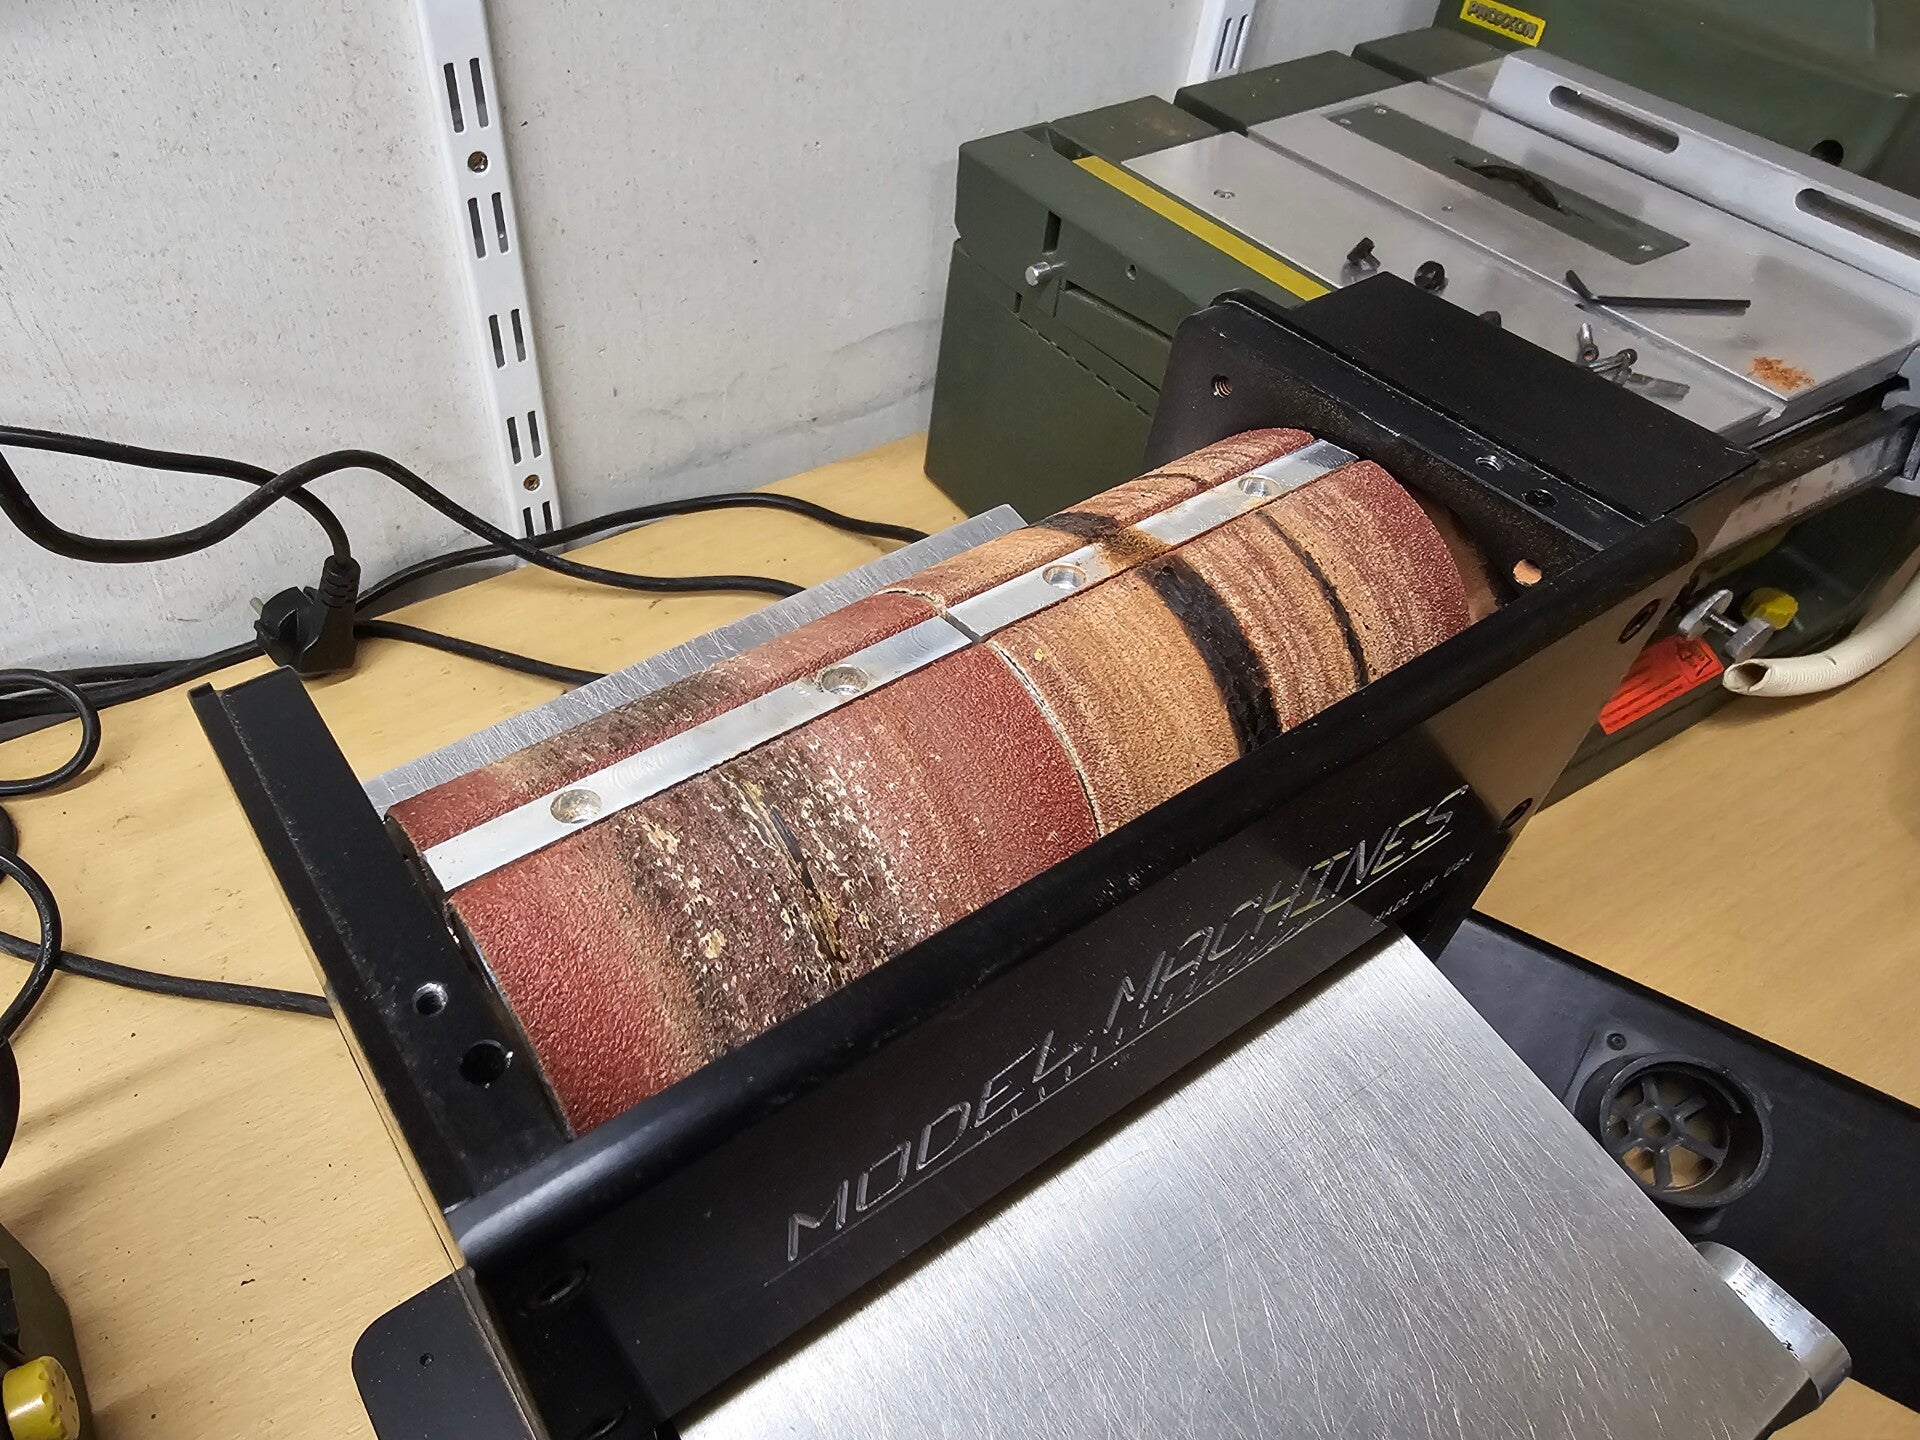
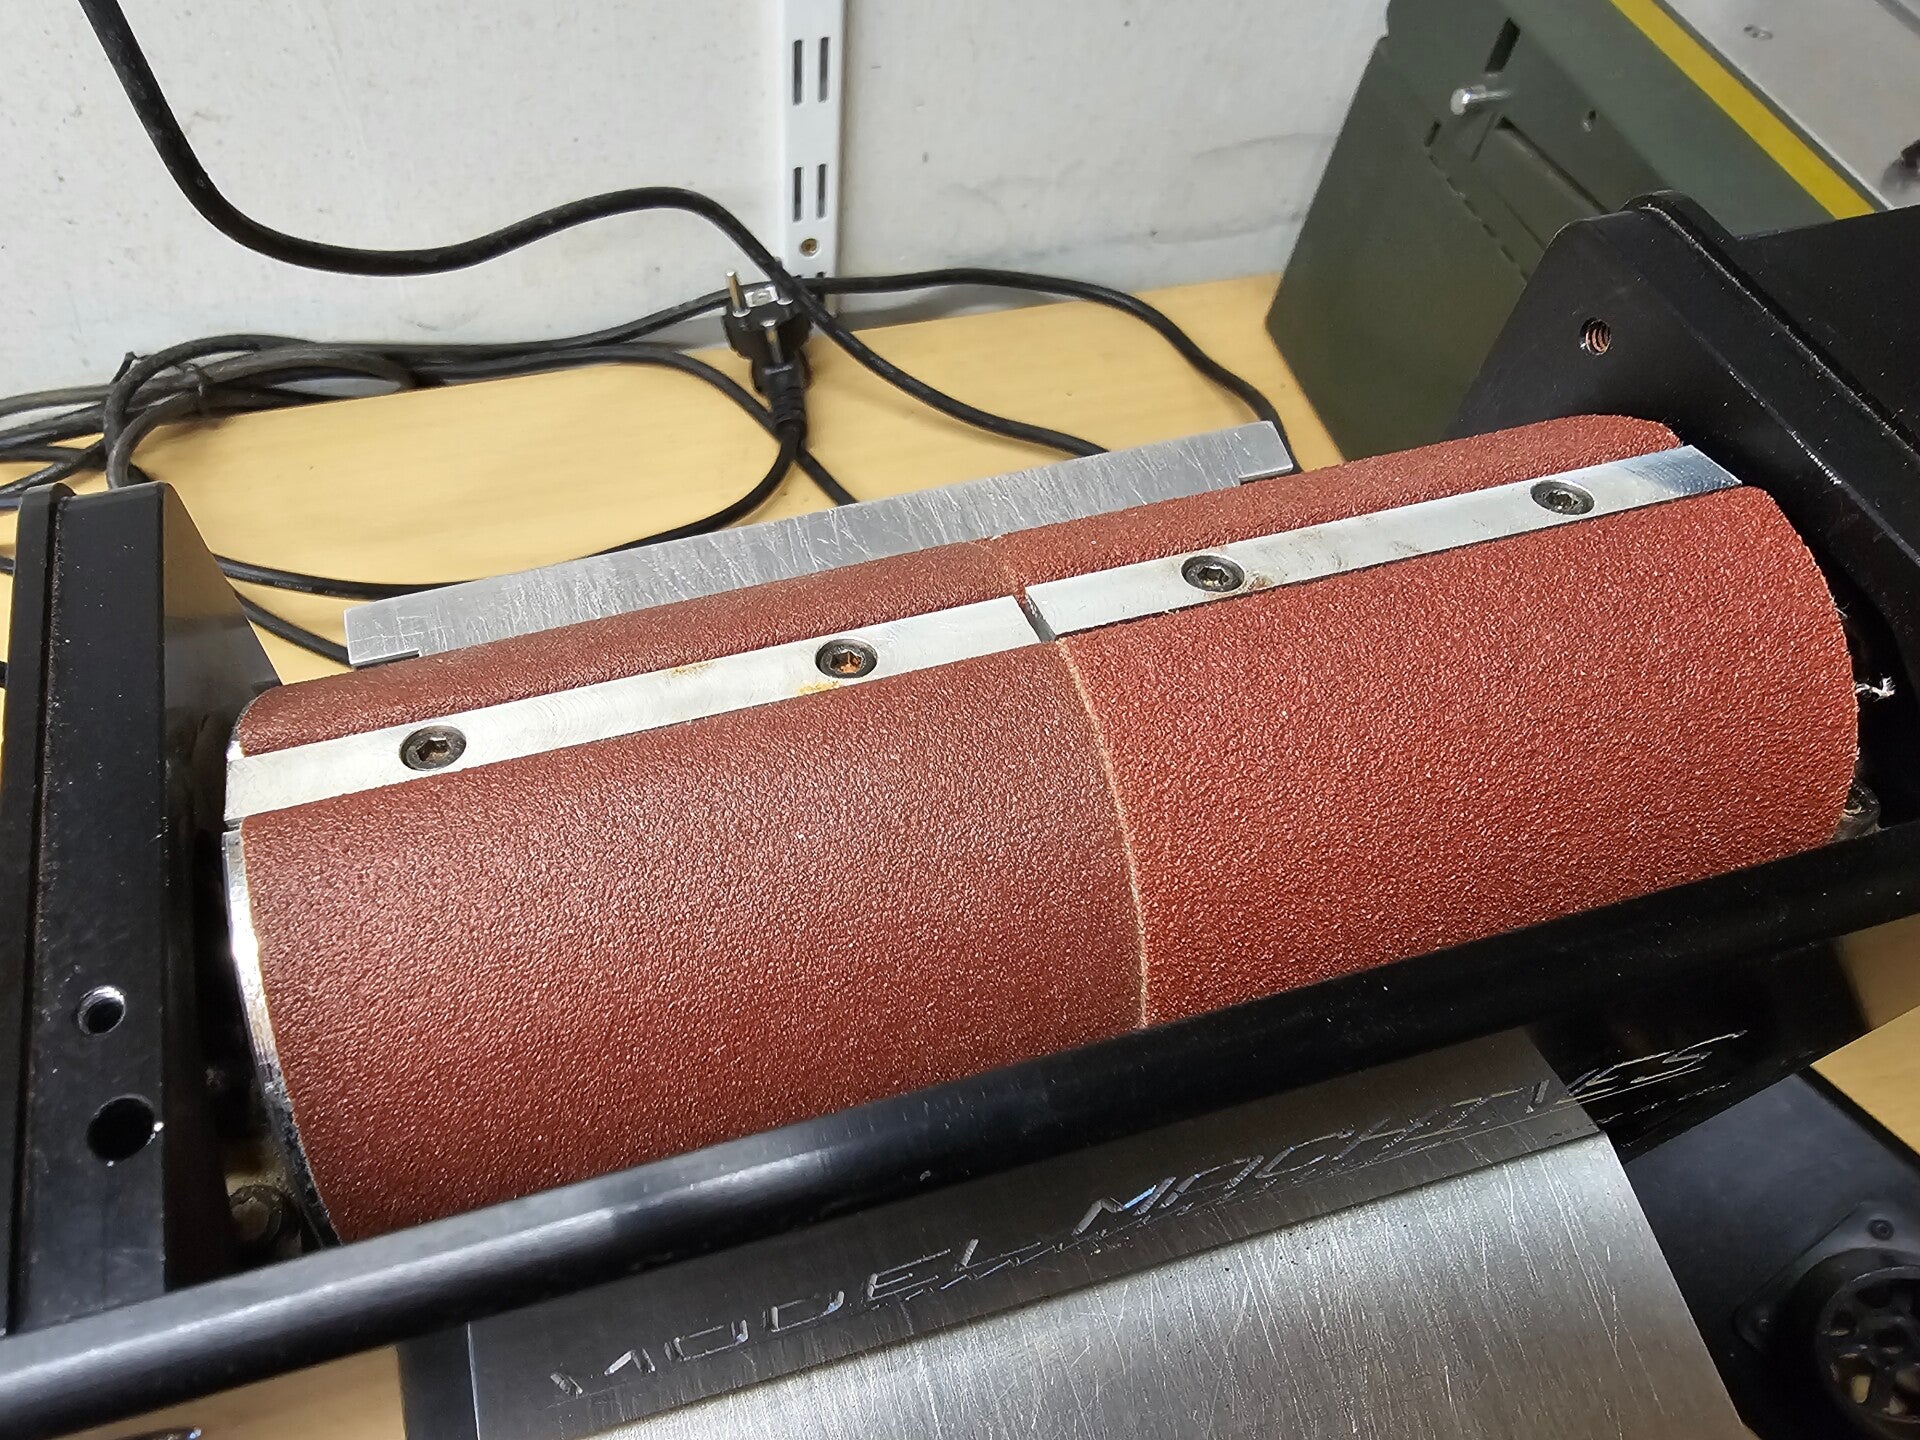
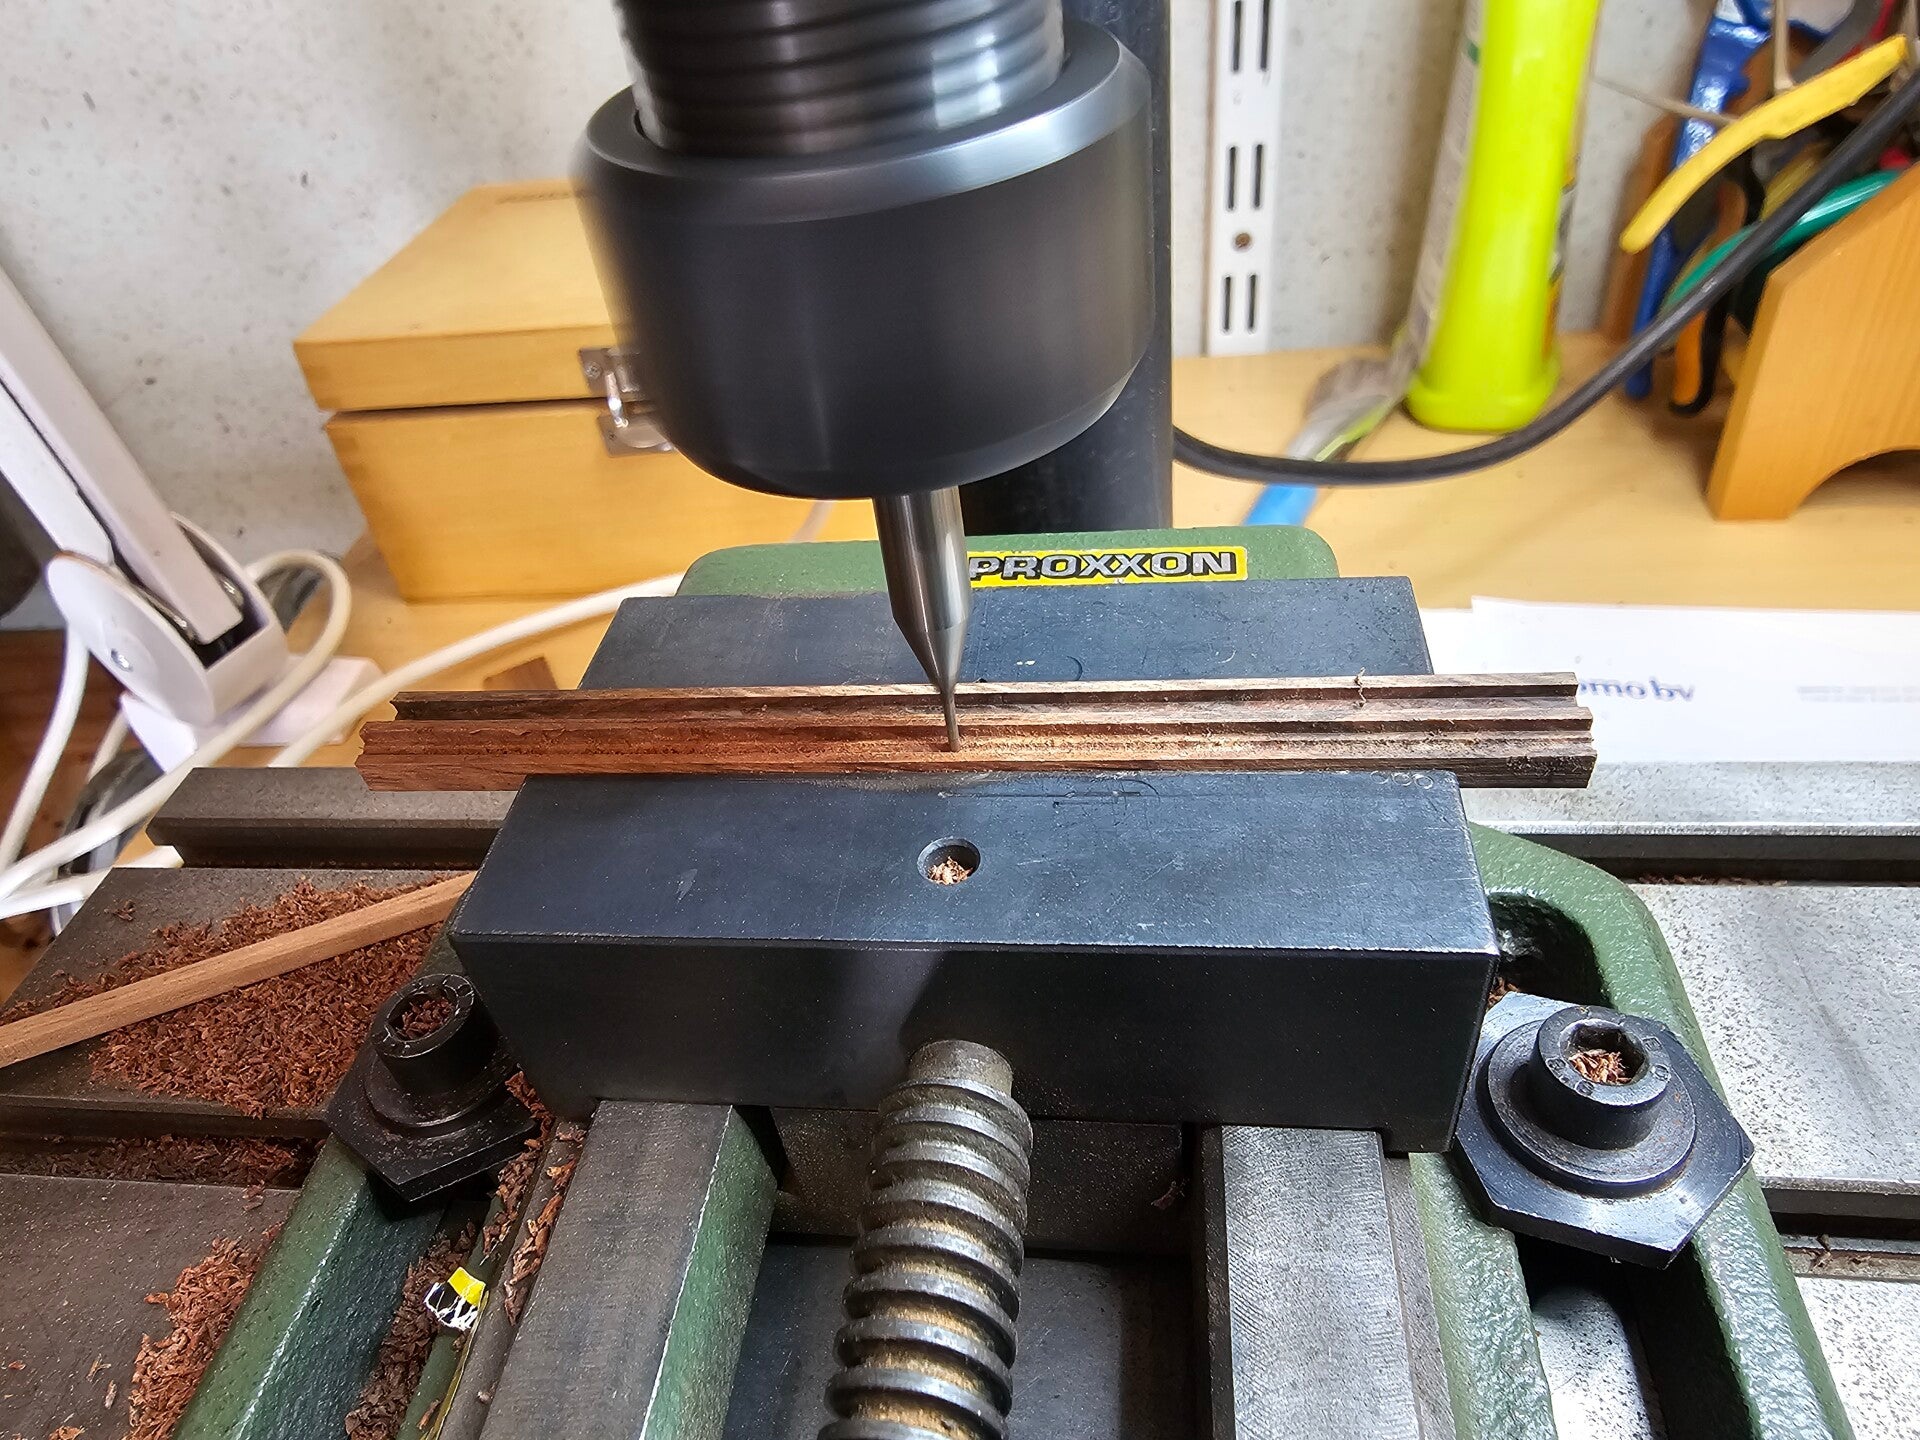
The downside of Holy Oak is that your tools, etc., must be razor-sharp, and you absolutely cannot work with it using dull tools. The photo below shows that even the sandpaper must be in good condition. If it’s too worn, you’ll get burn marks on the wood and on the sandpaper. This happens even with a maximum removal of 0.2 mm. So I started by replacing all saws, routers, files, and sandpaper with new ones or cleaning them.
The advantage is that you can then immediately check everything over and give it a good polish.......
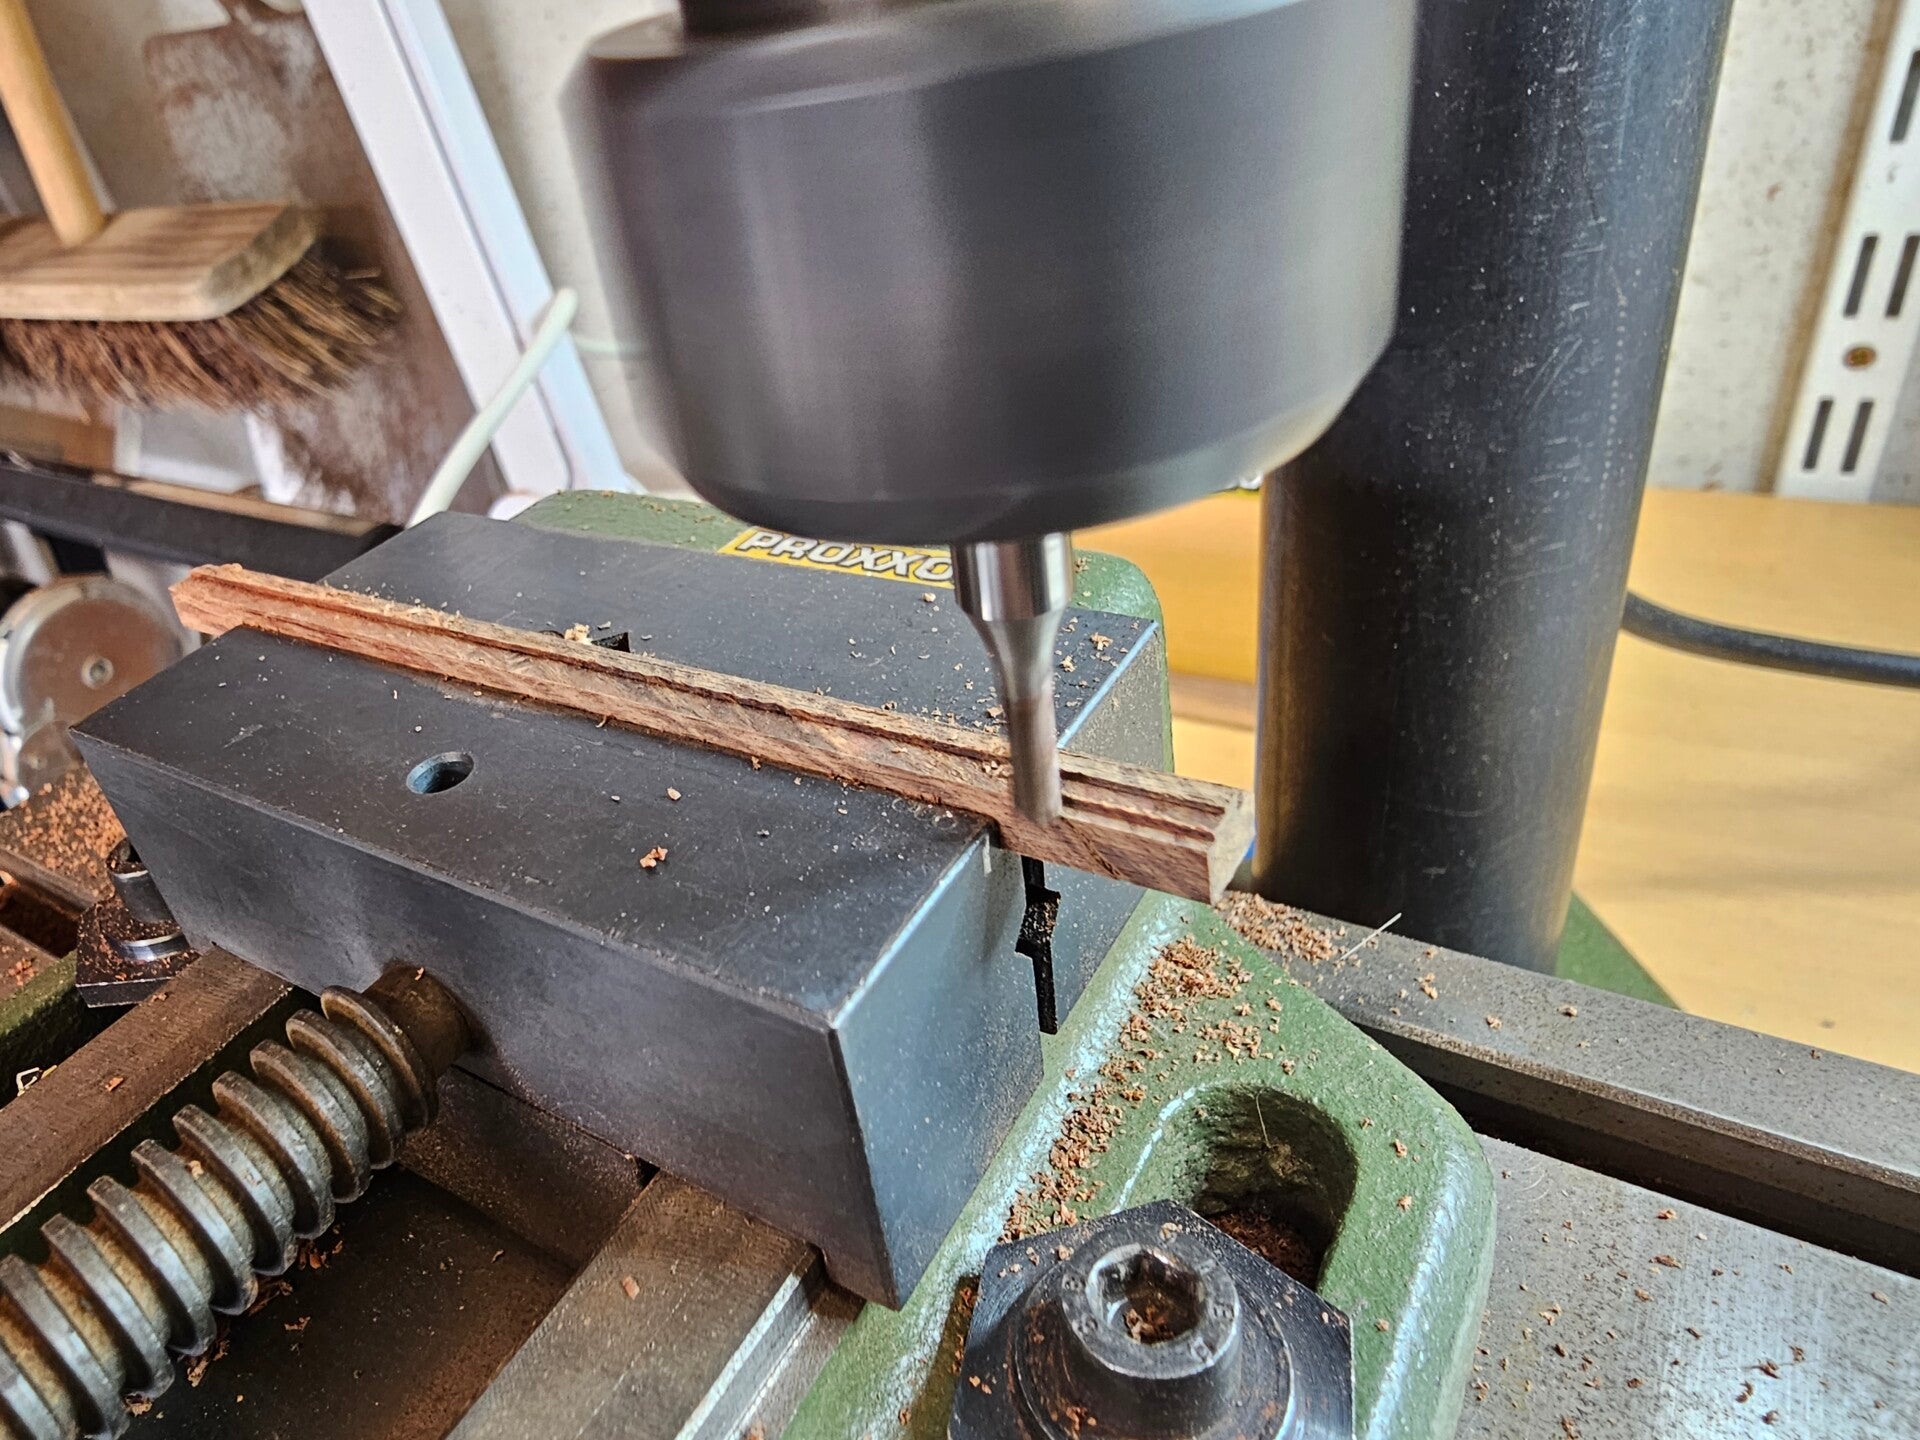
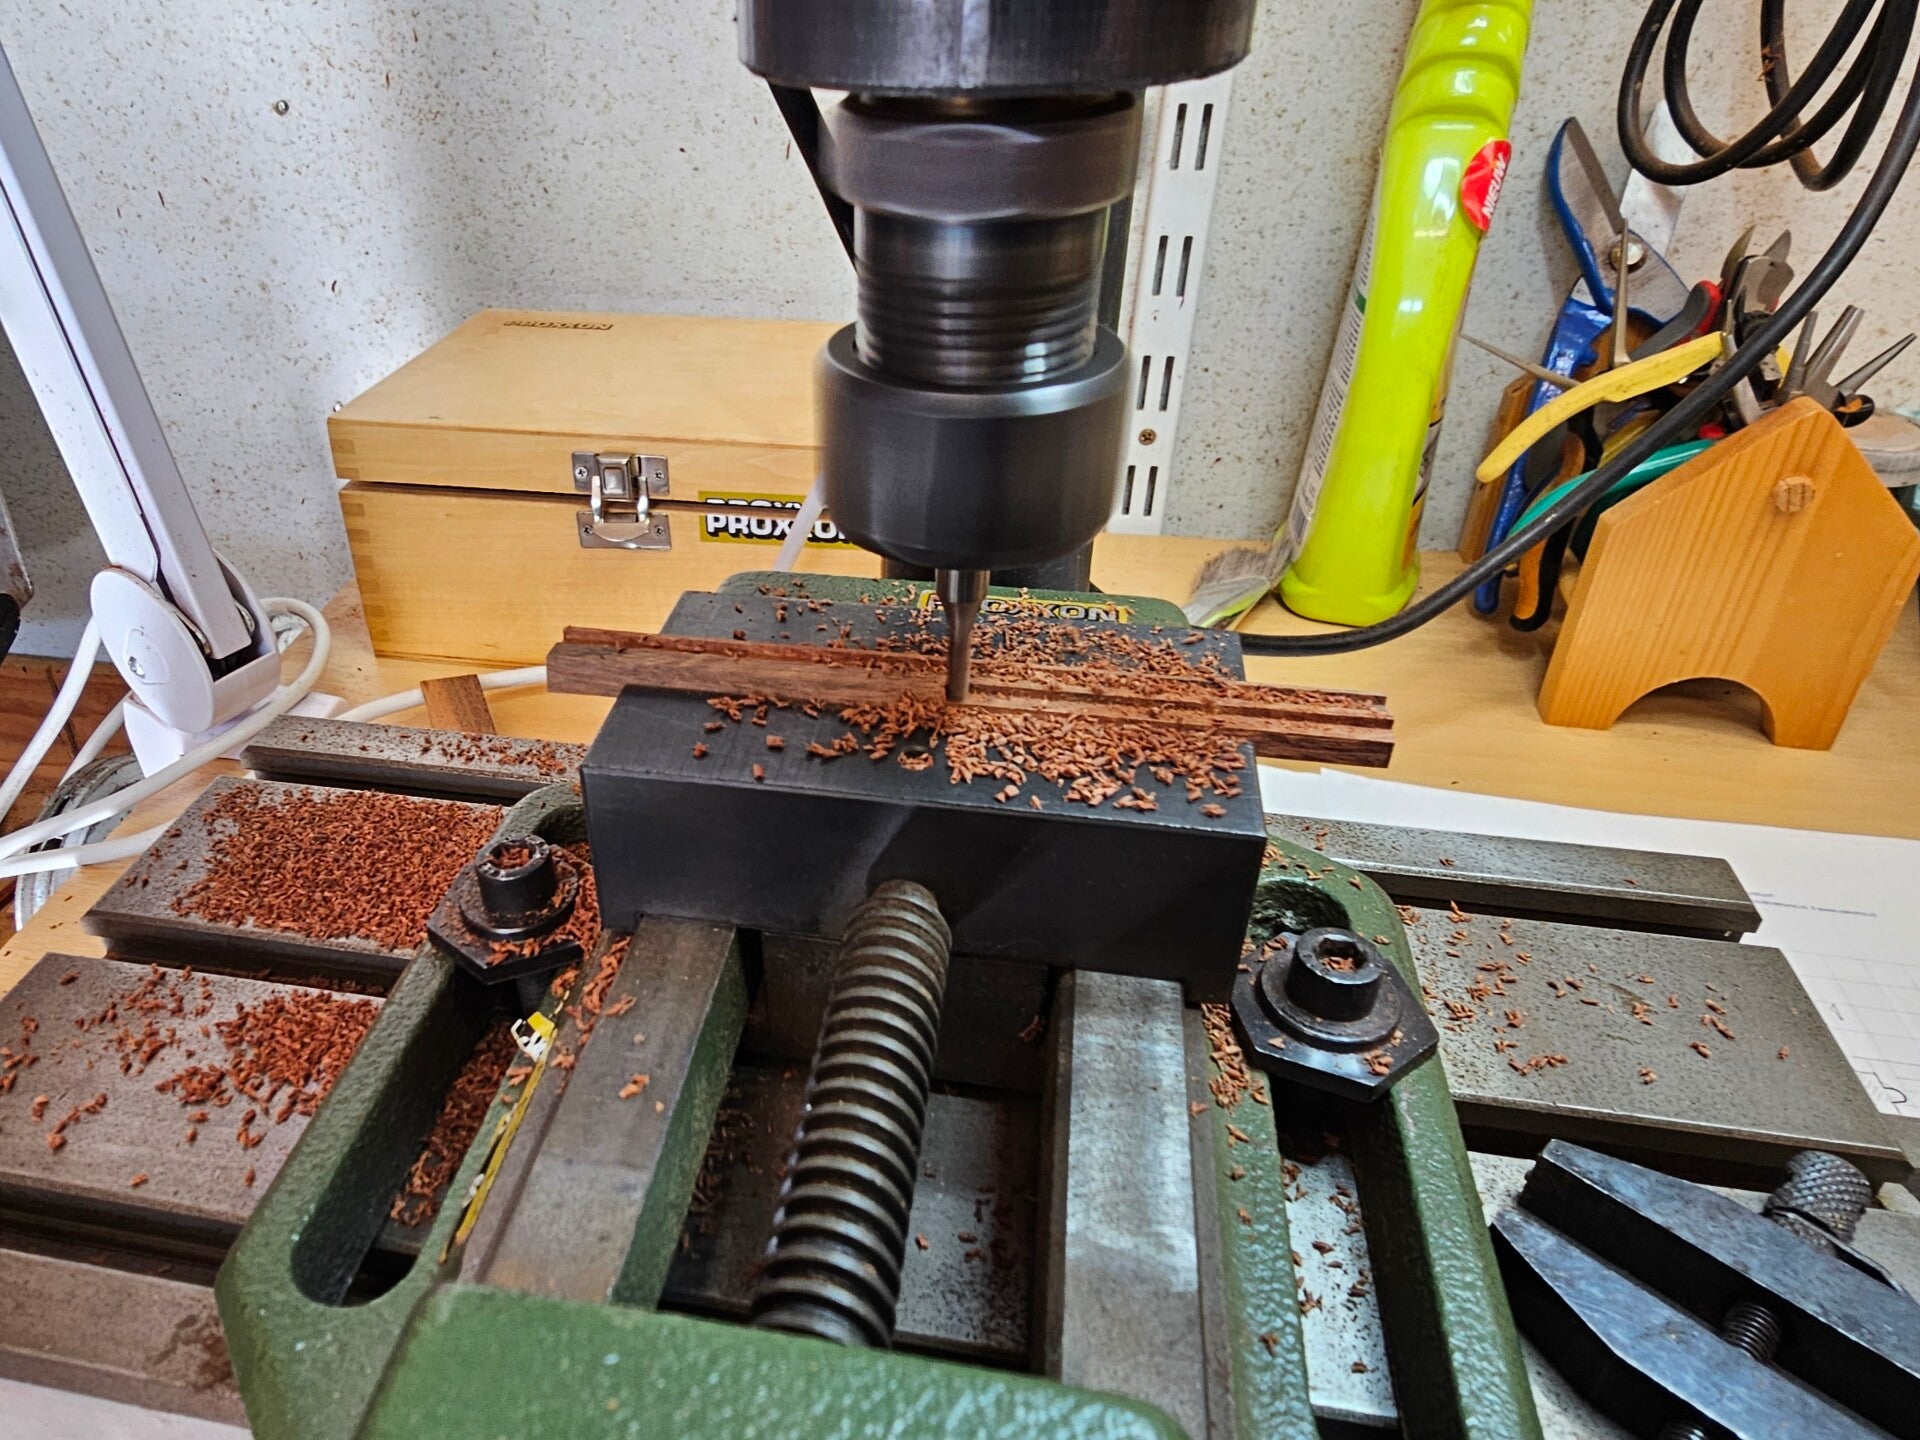
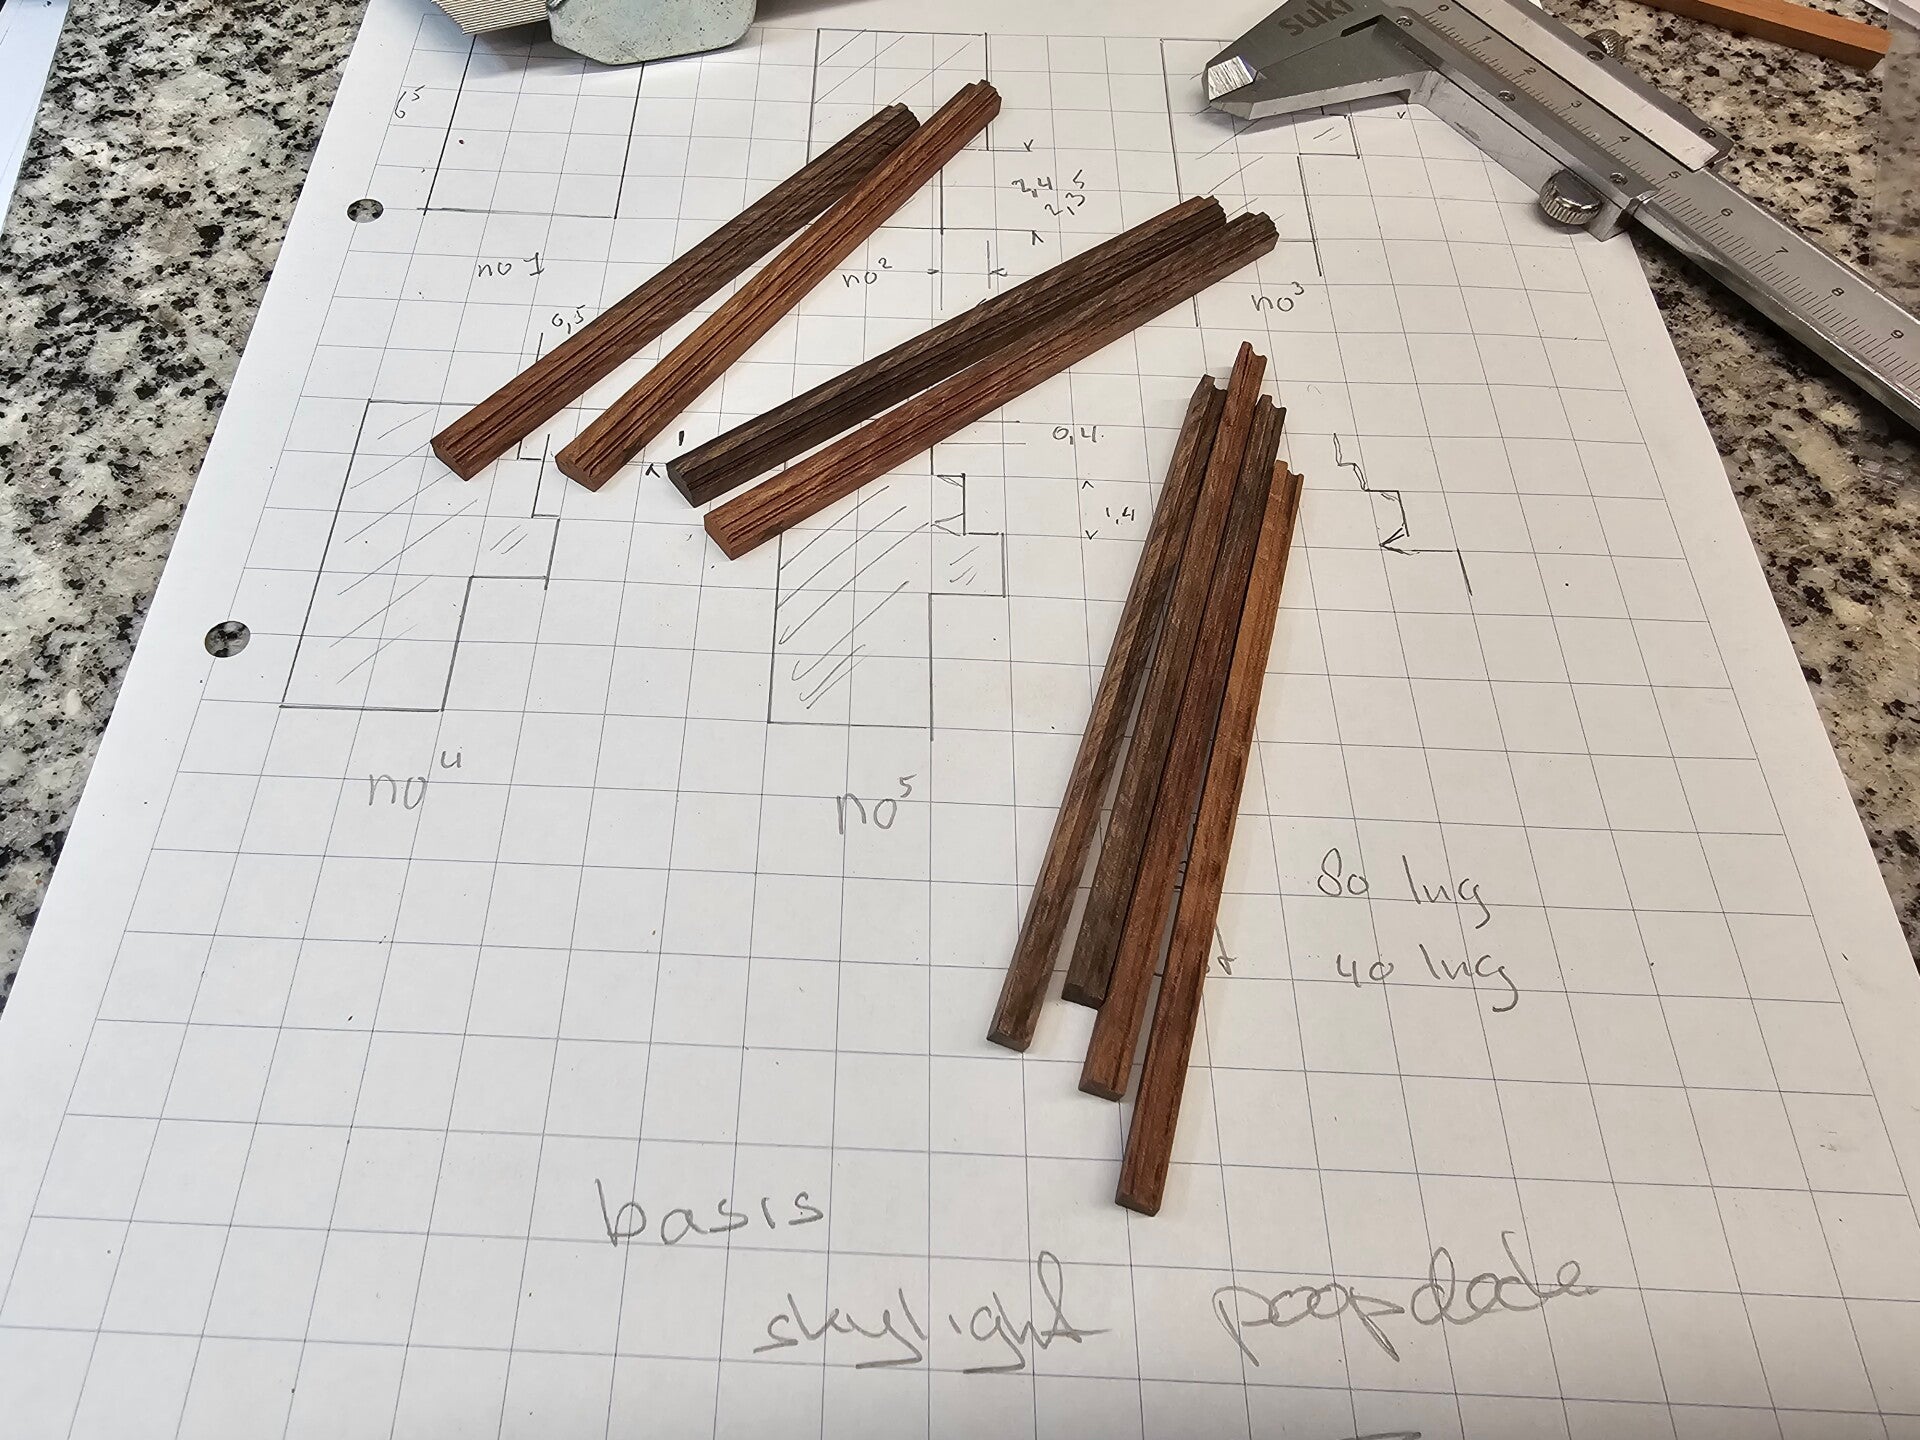
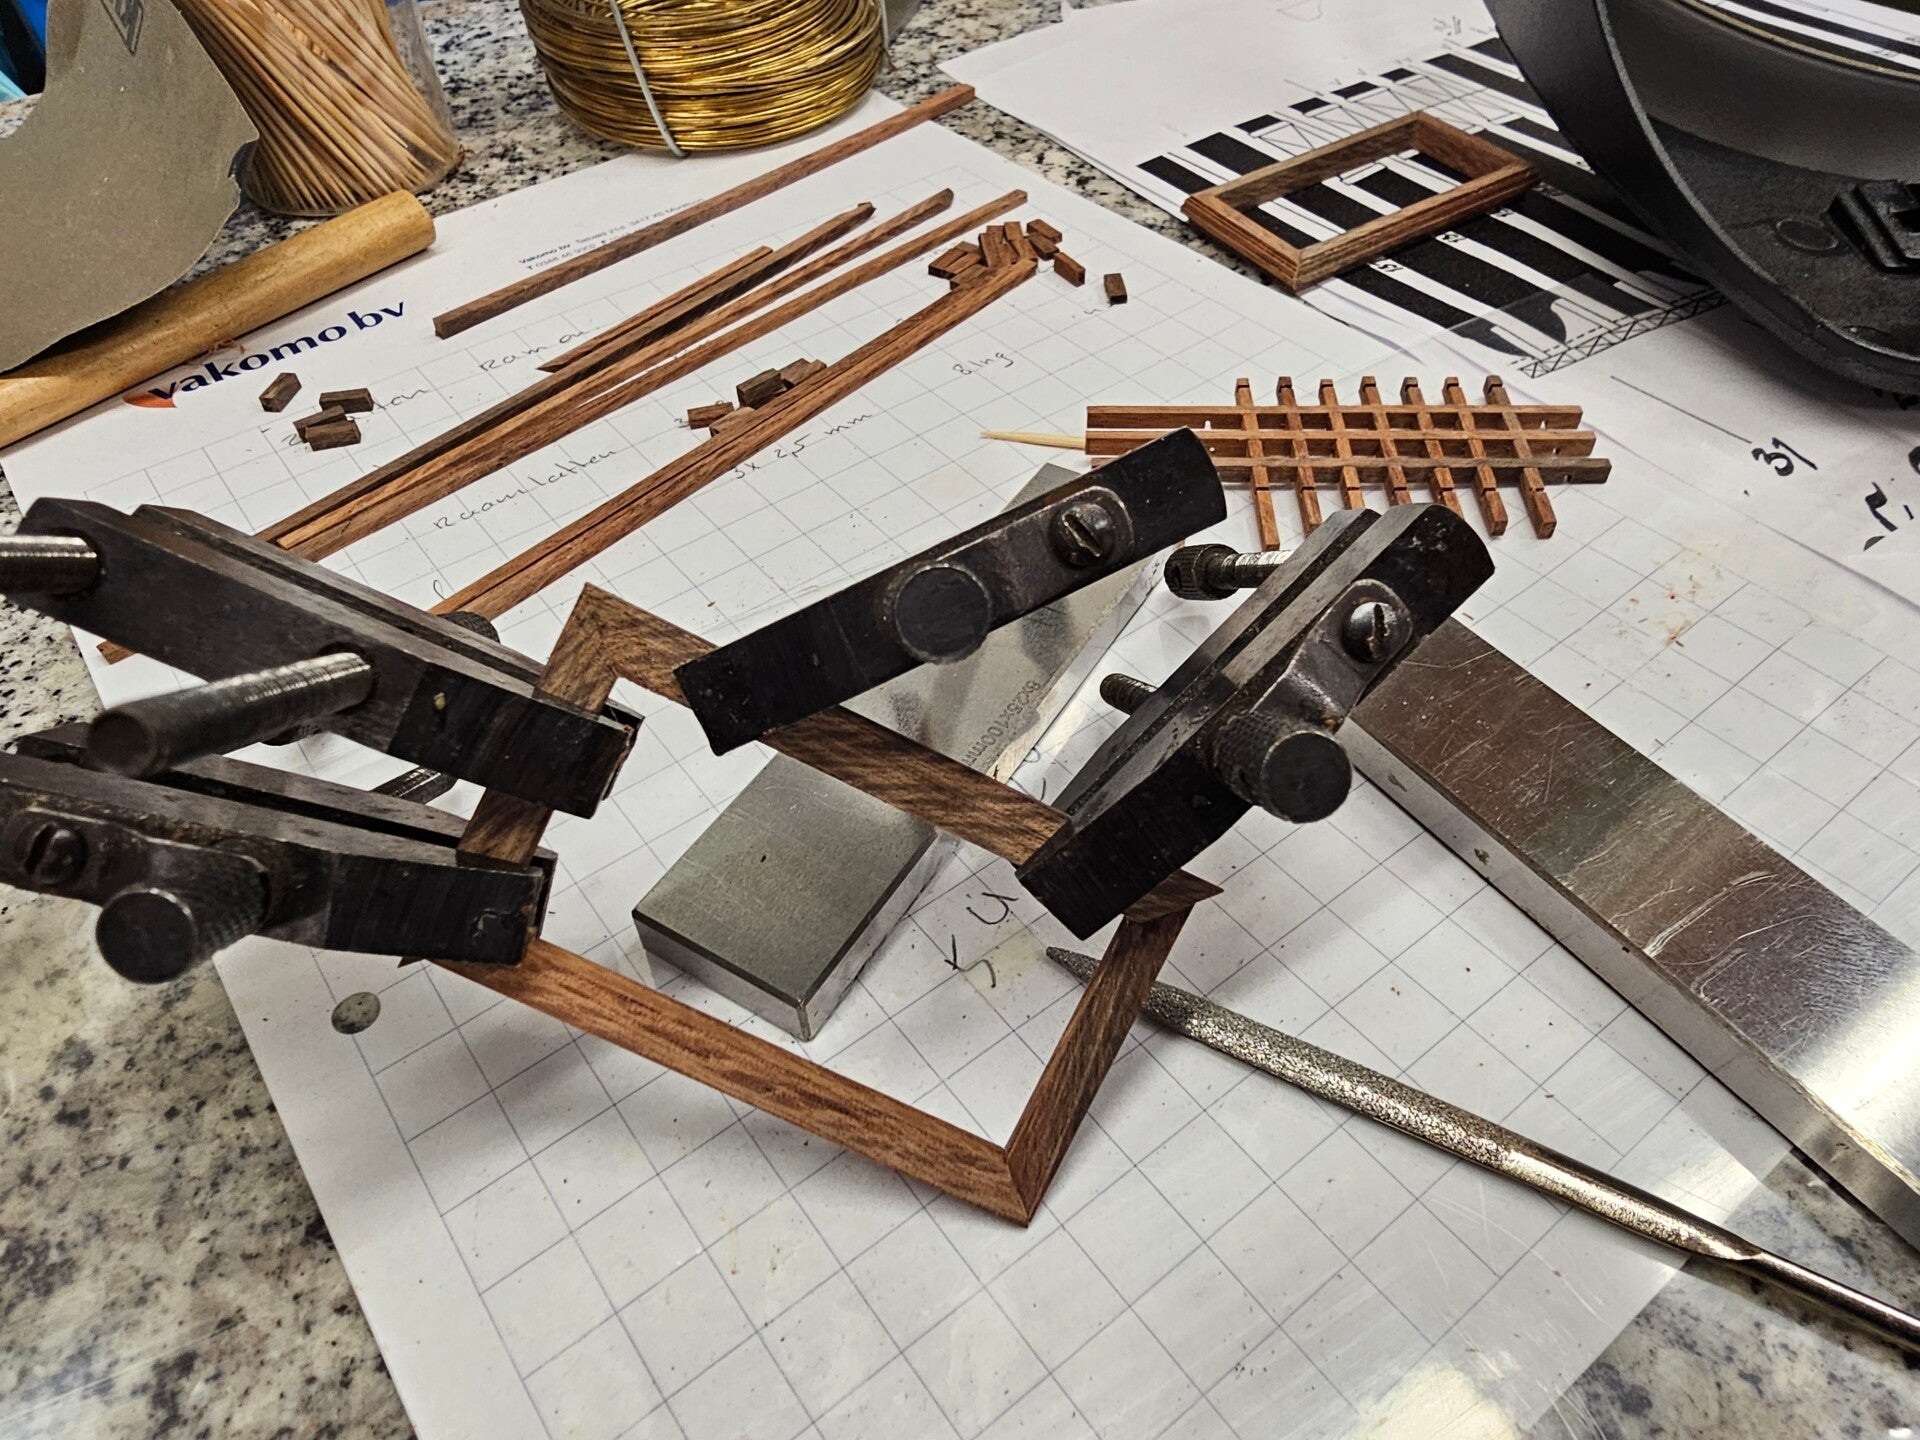
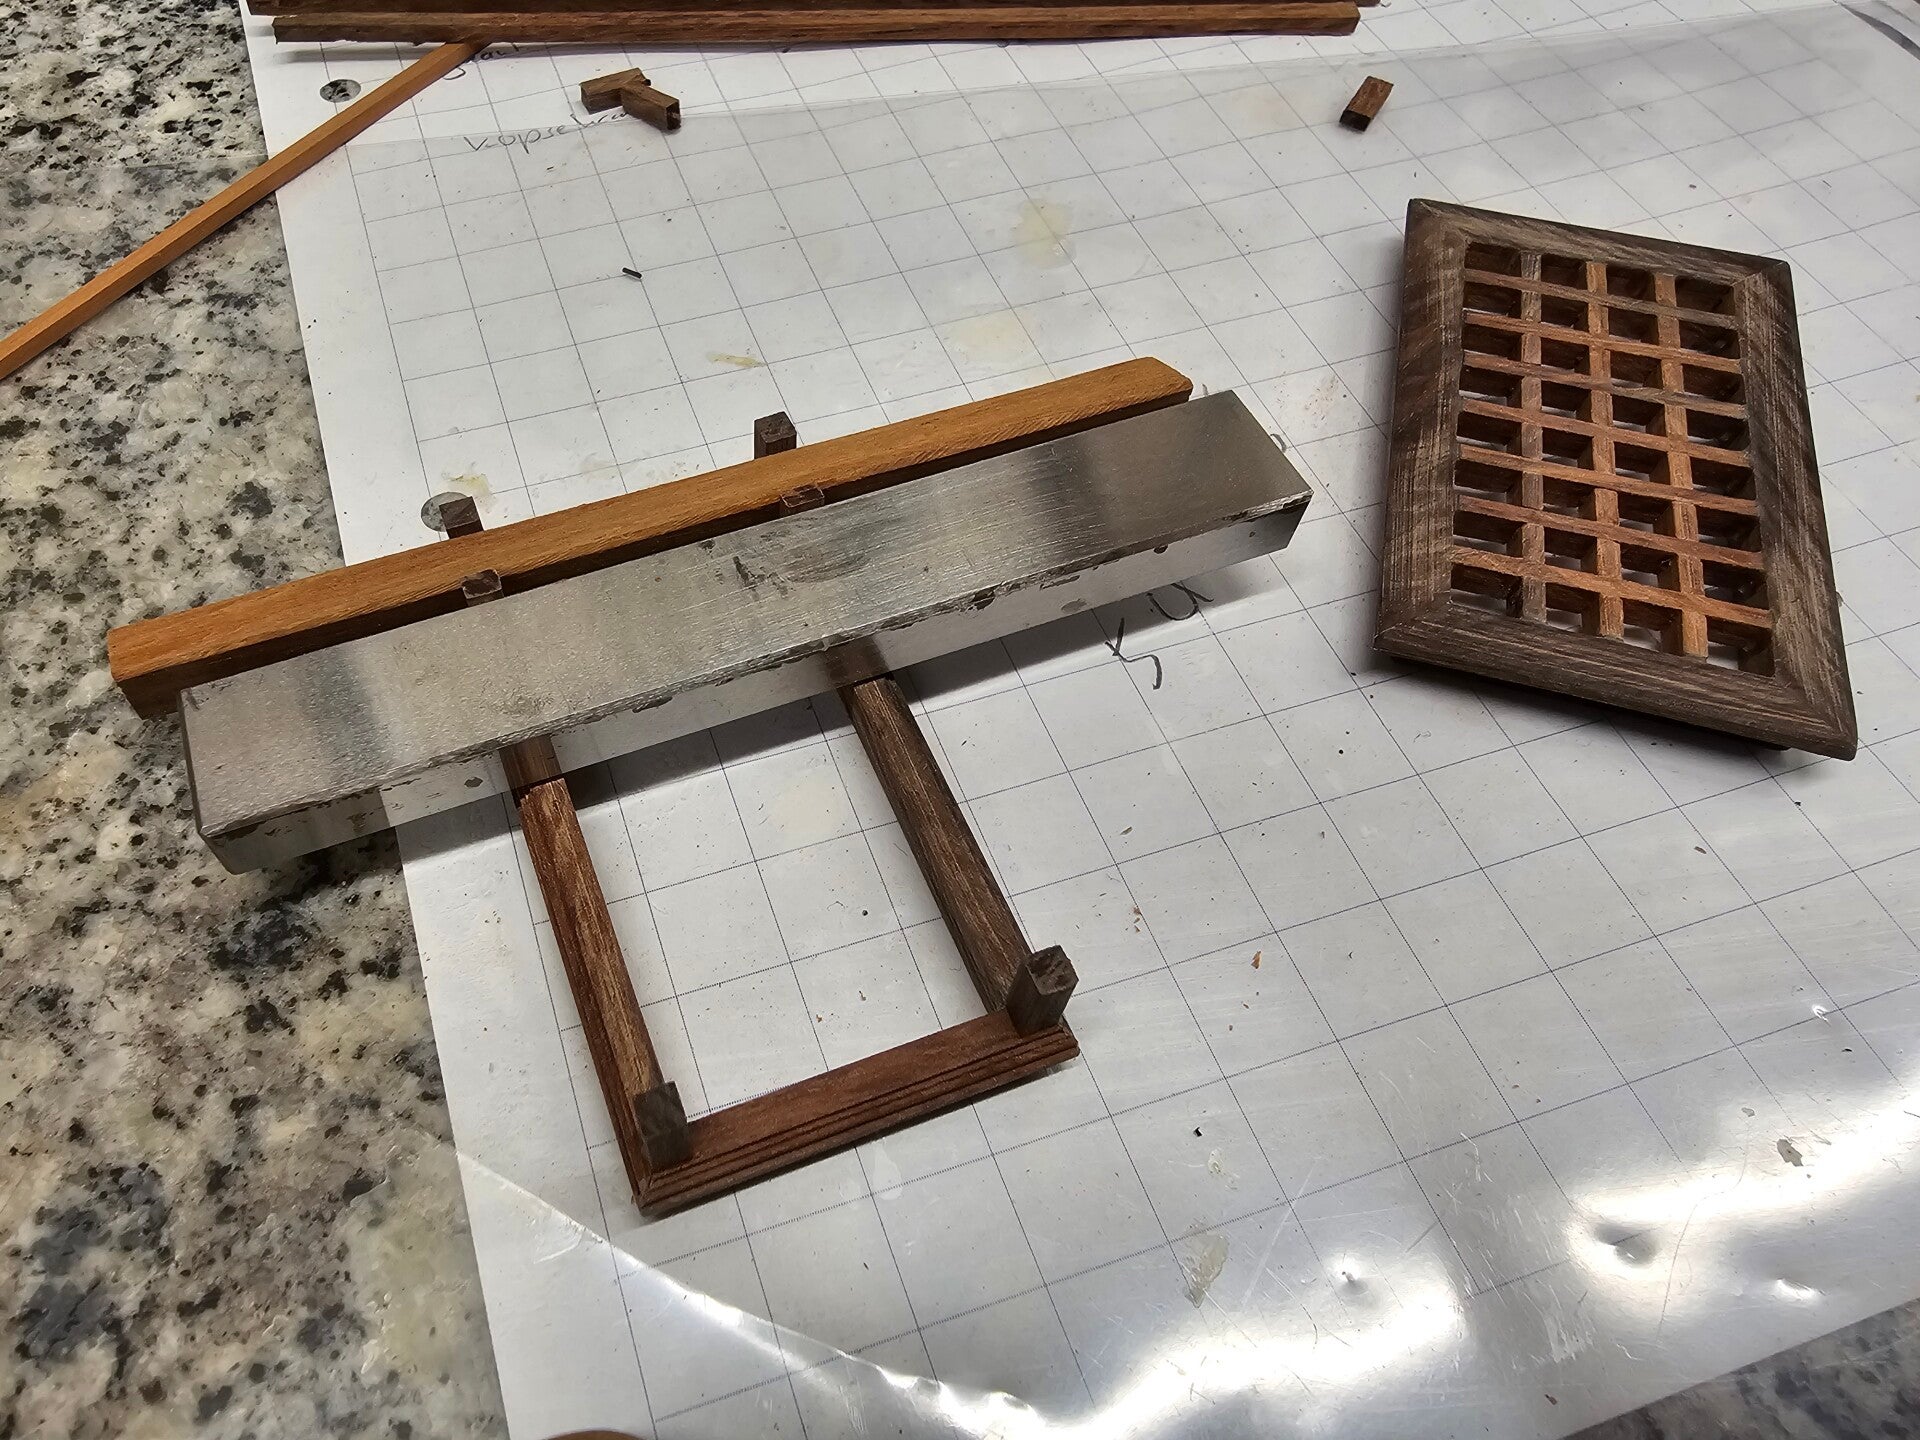
The 3 photos below show how the frames are prepared on the mill.
After all the machine work was done, everything was given a final manual check, and the other necessary components for the skylight were also fabricated. Meanwhile, work continued on installing the deck beams for the Poop Deck.
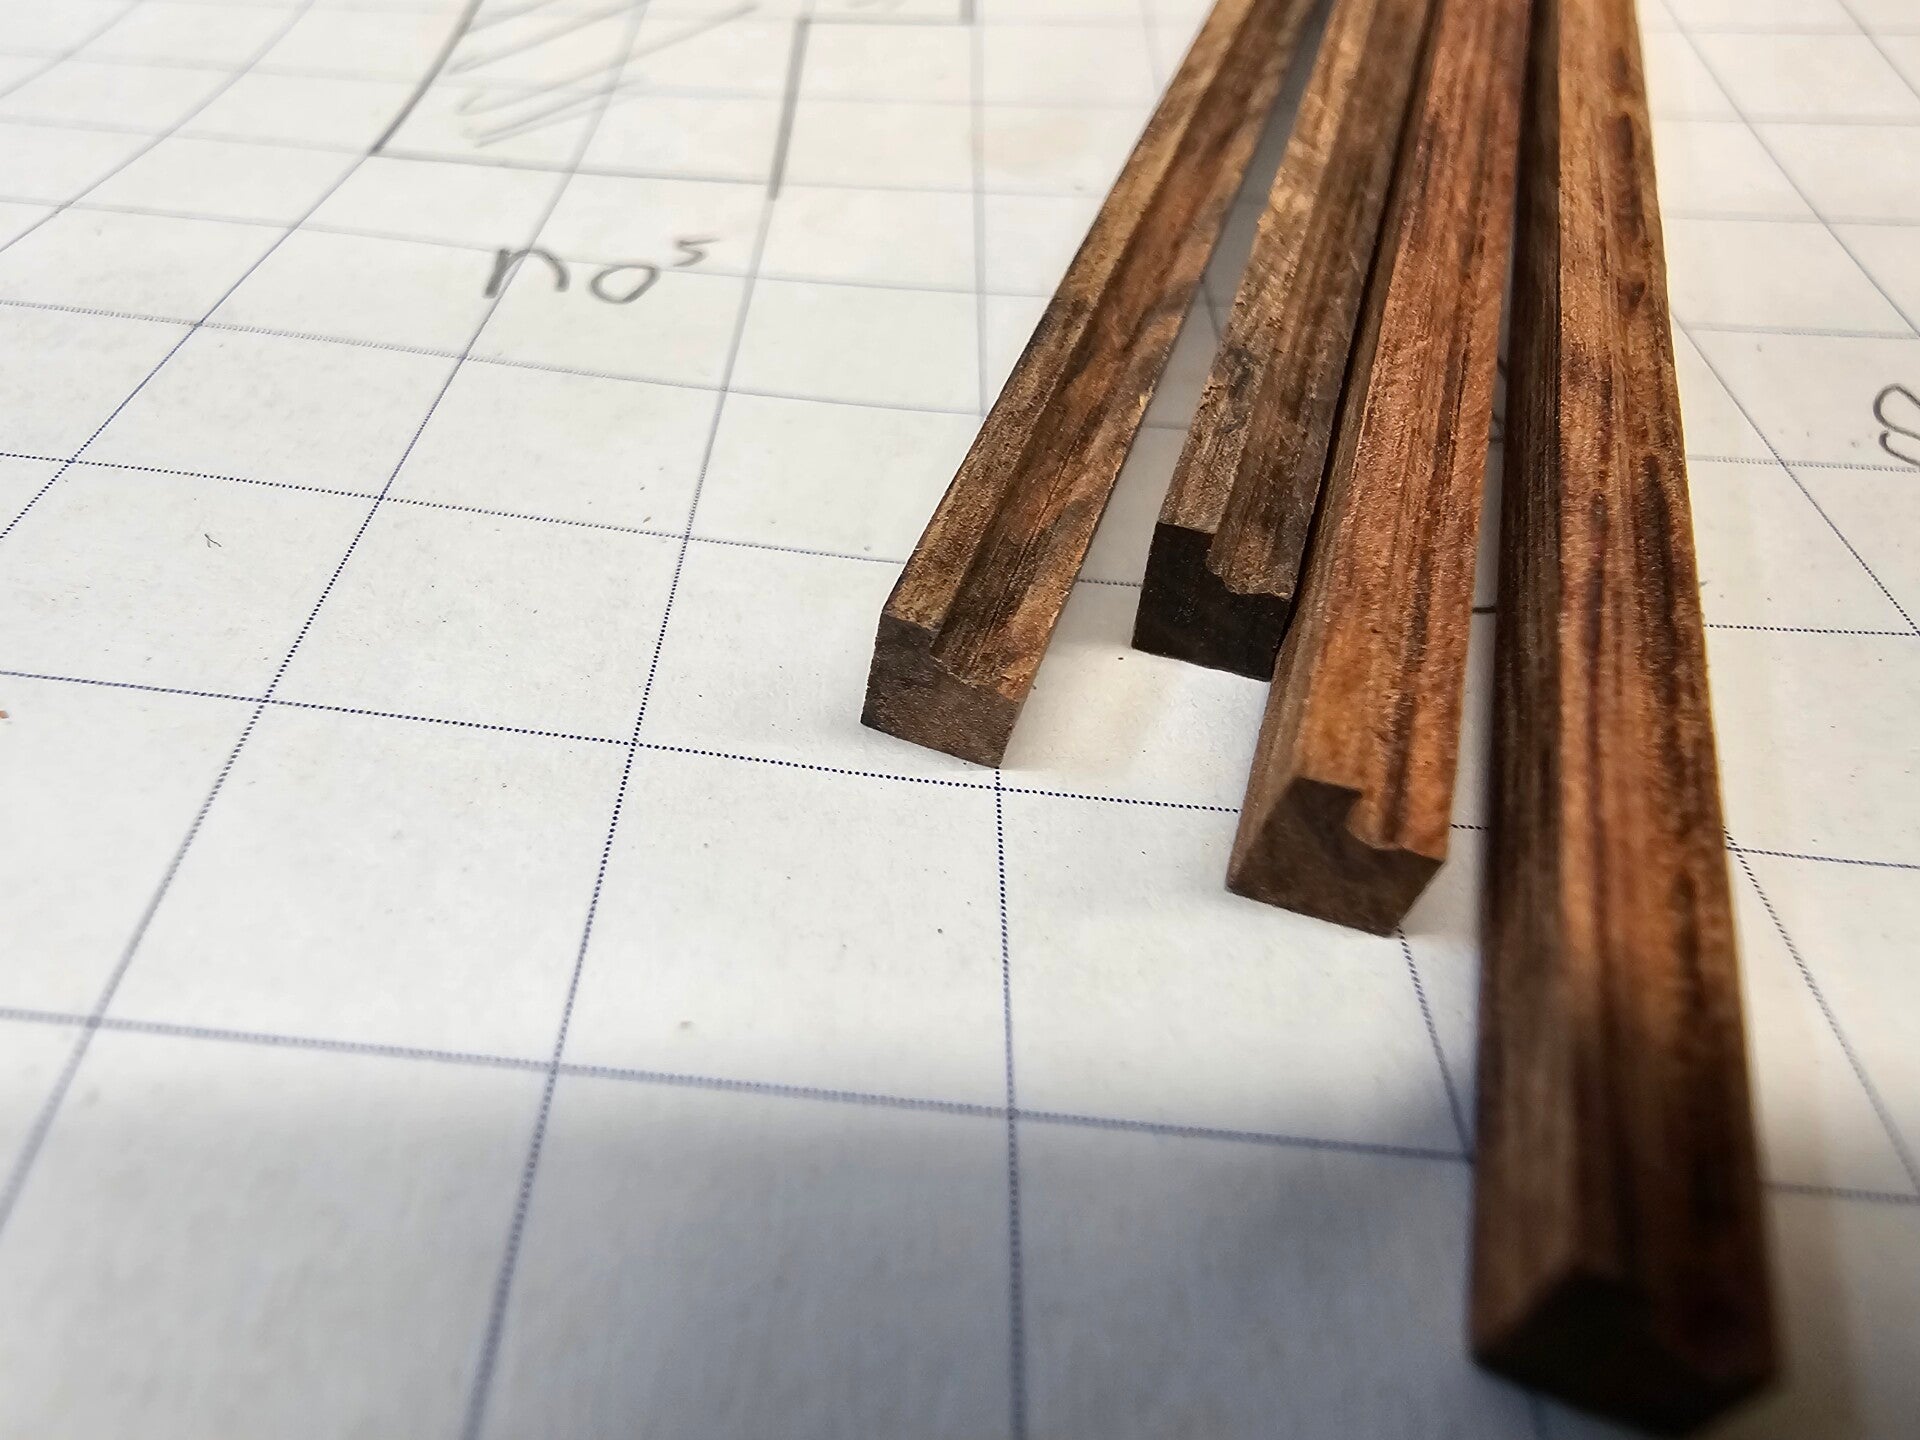
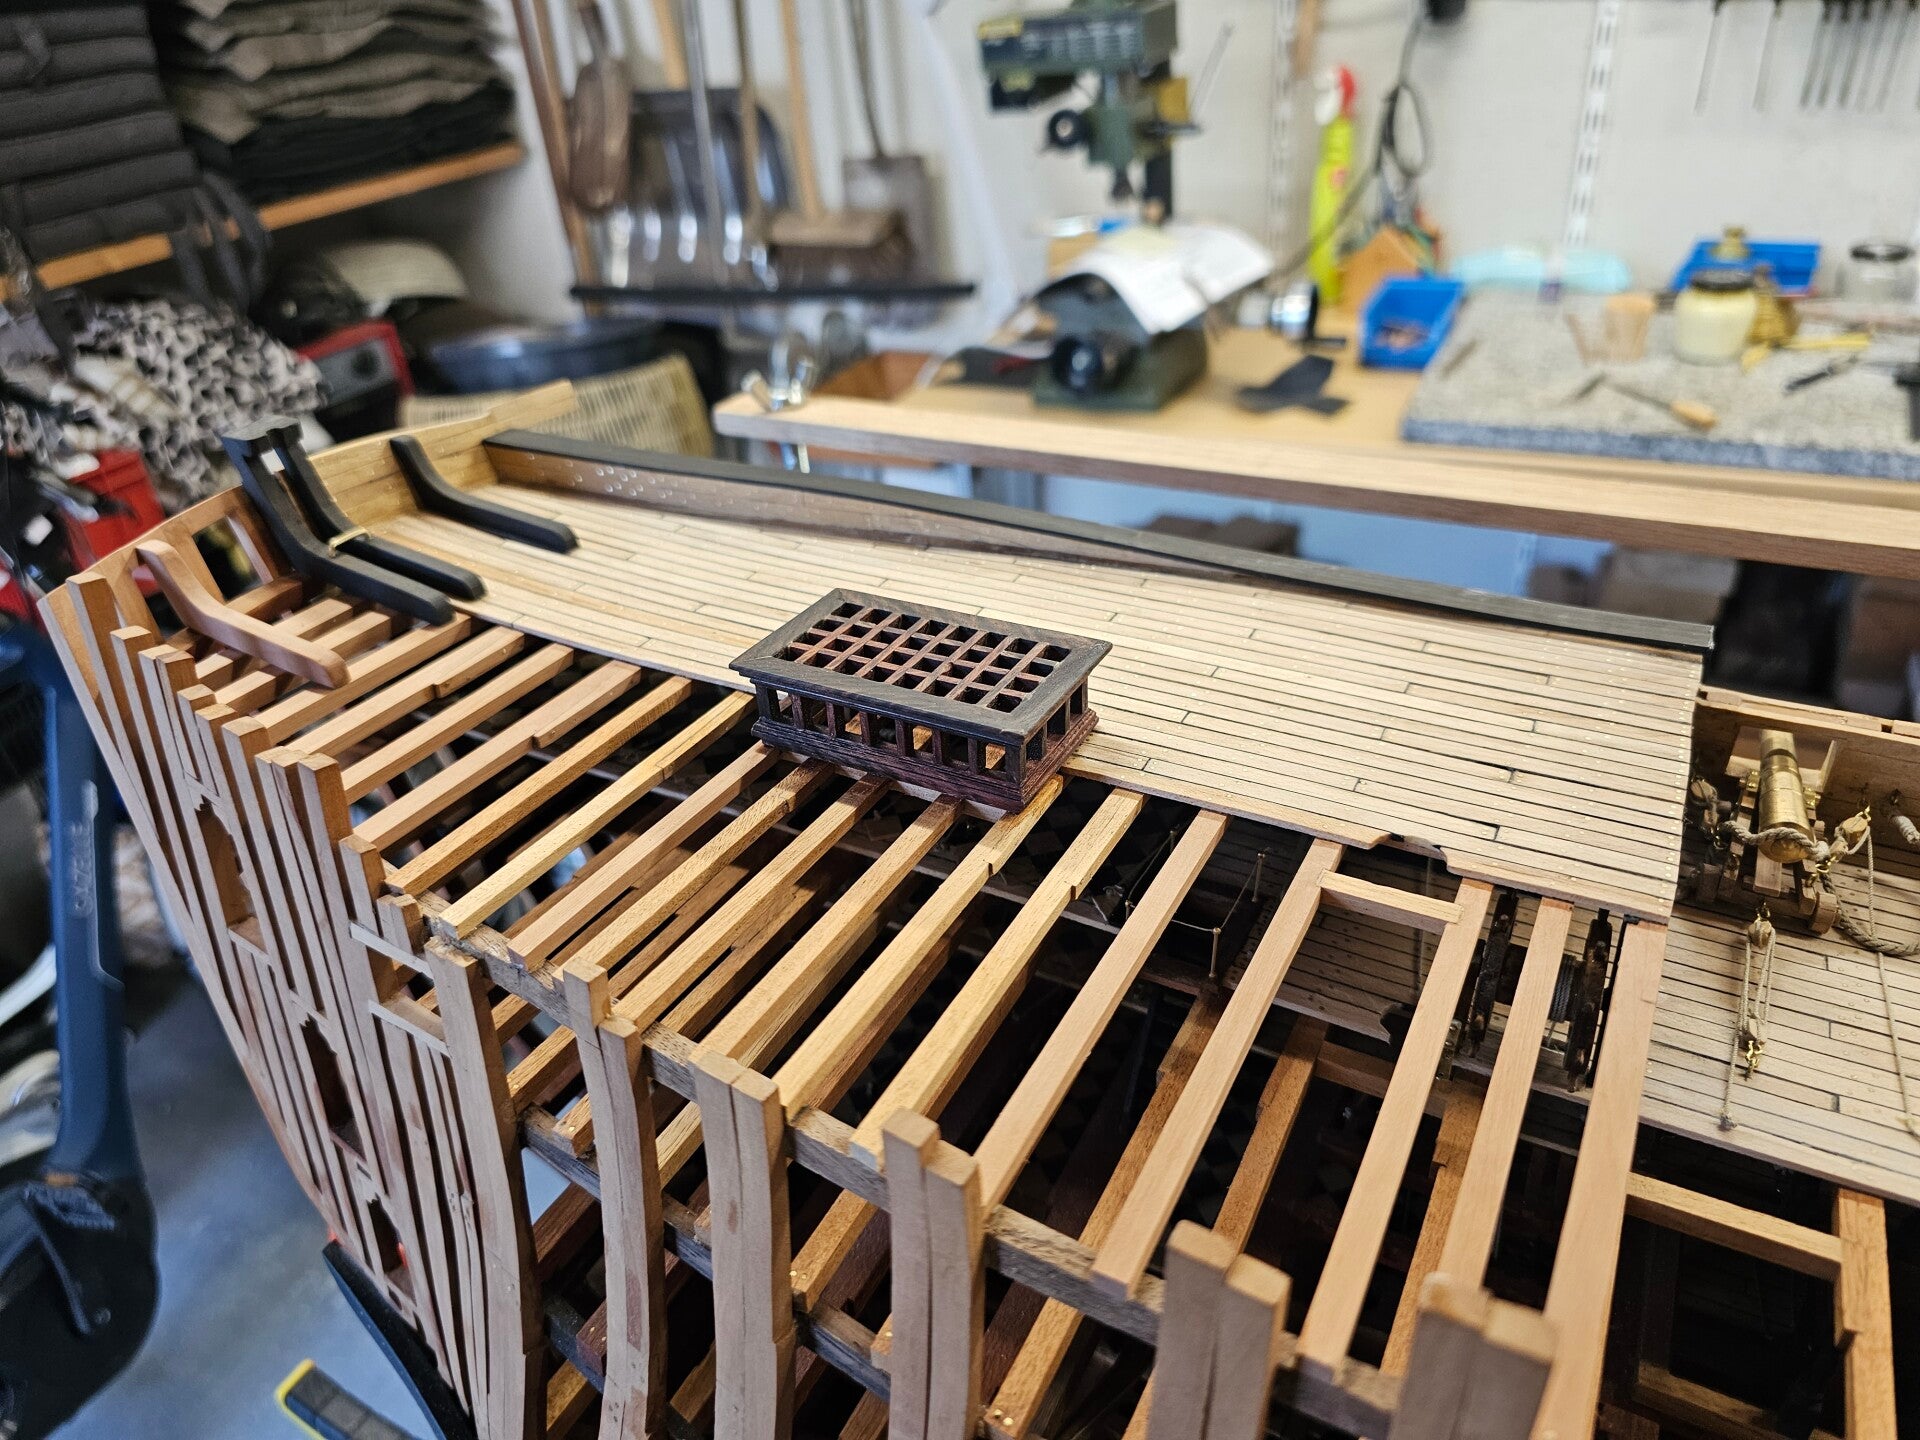
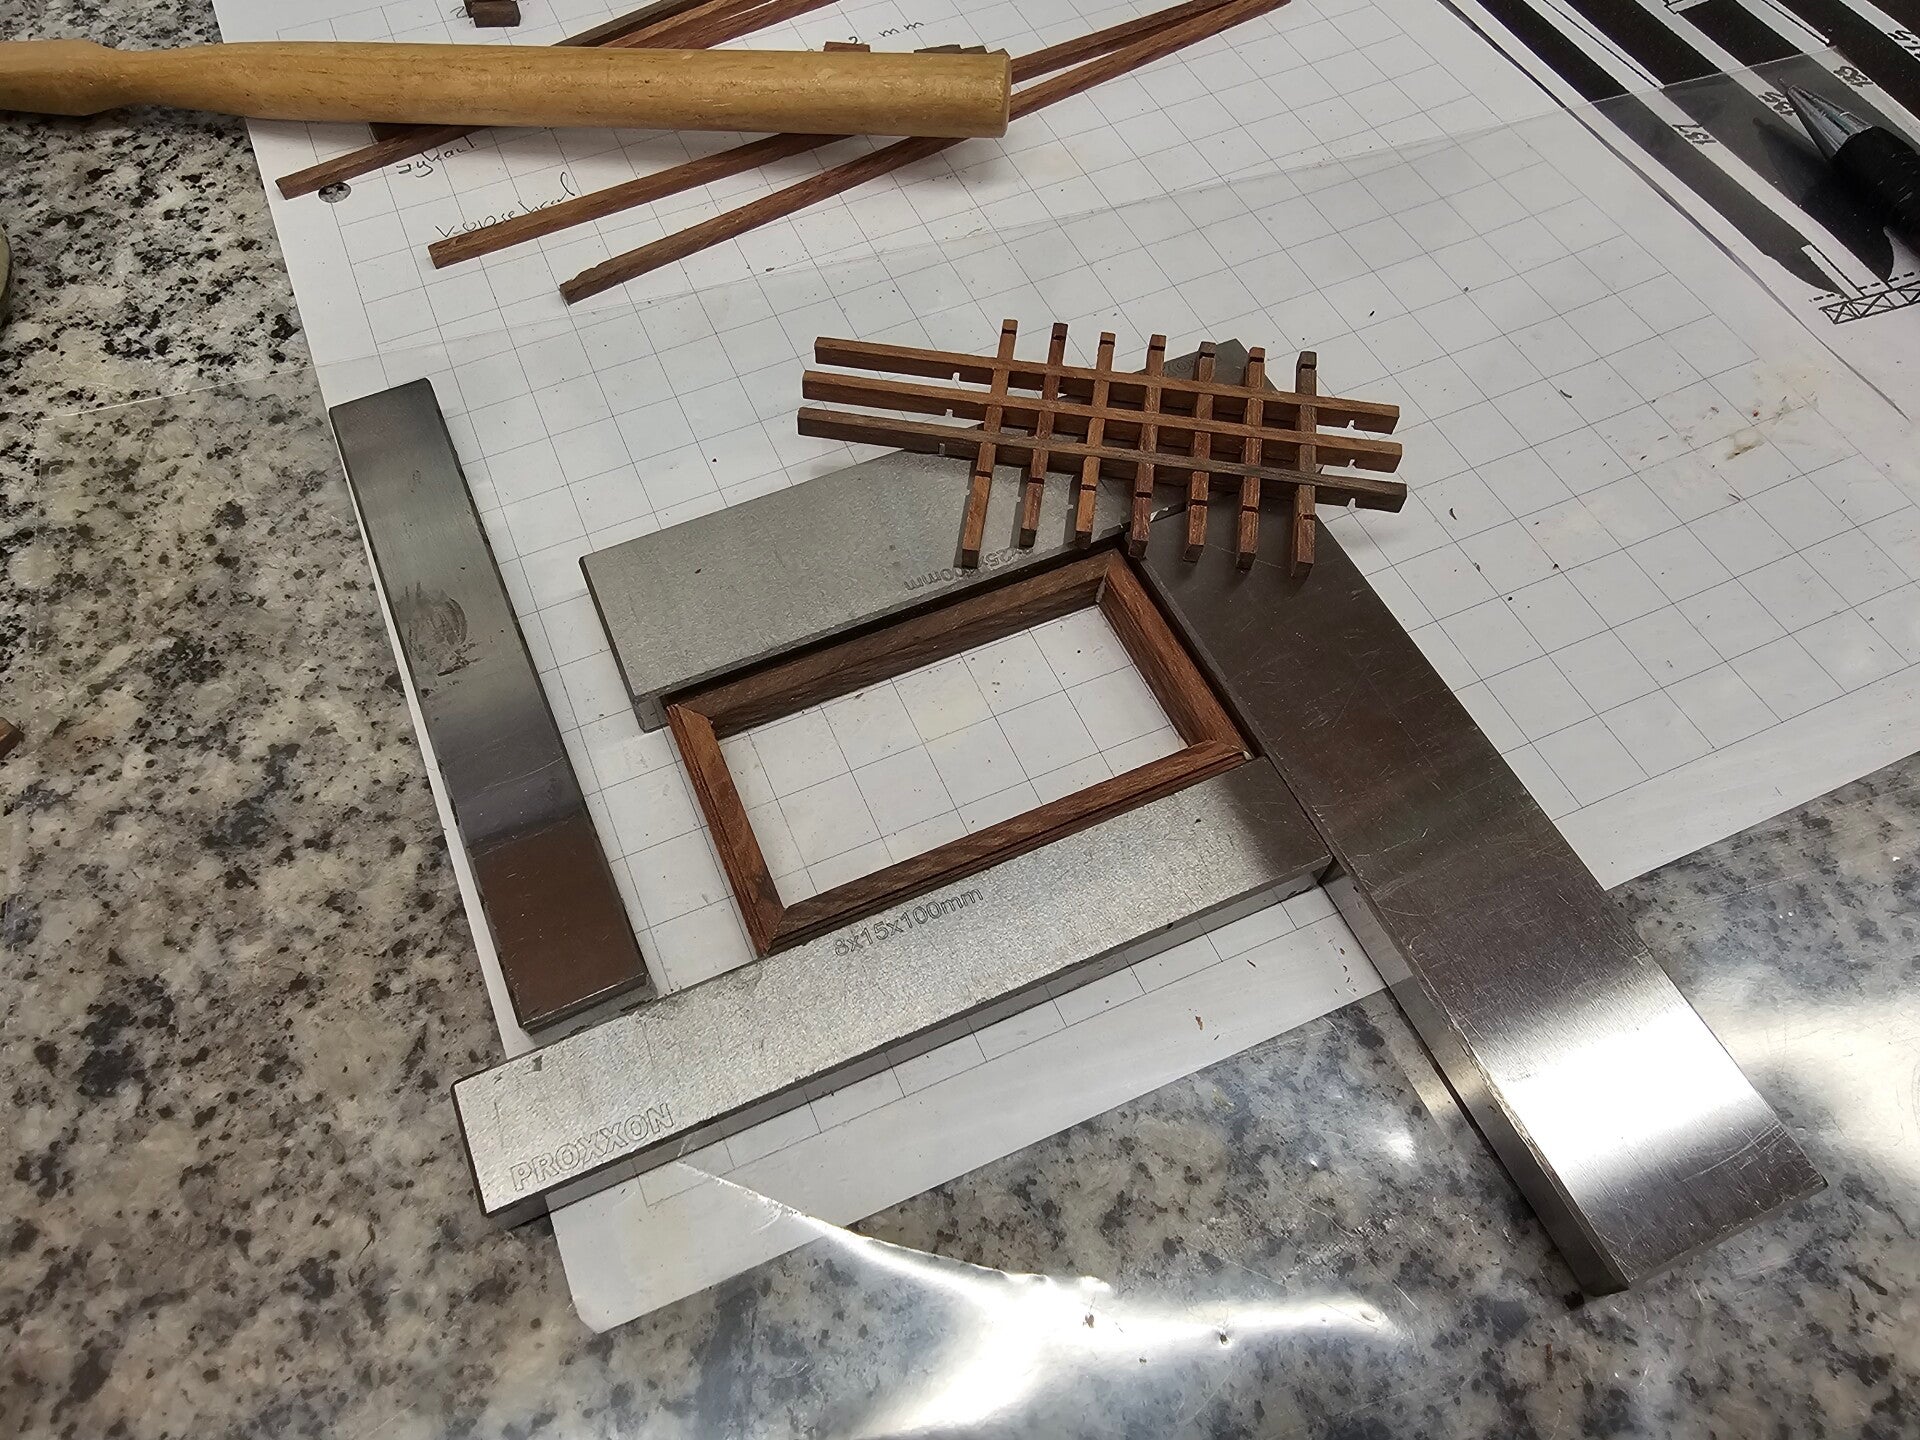
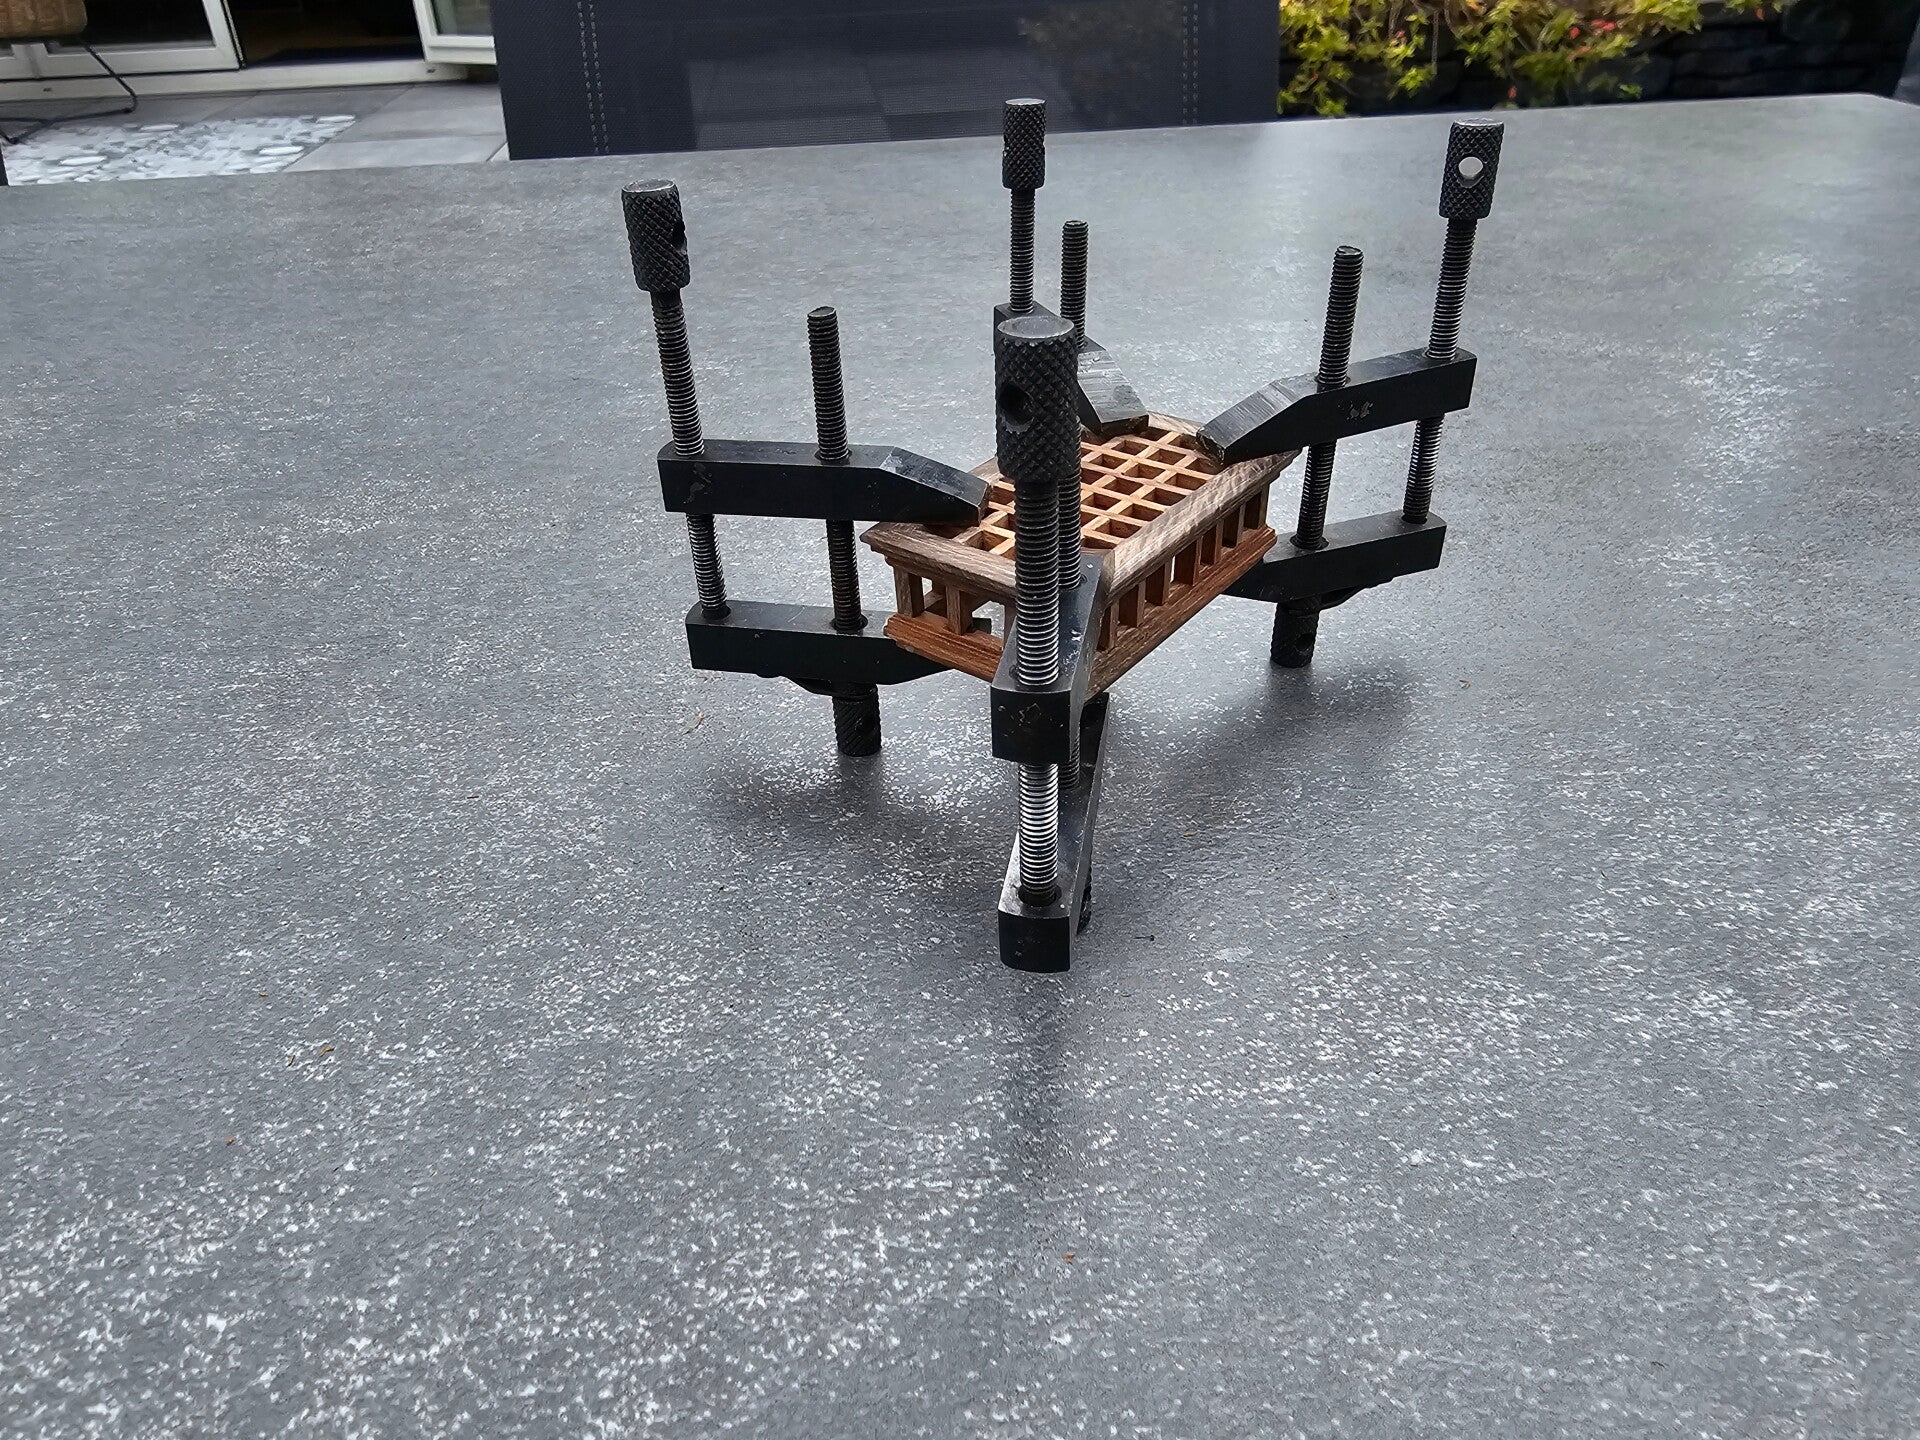
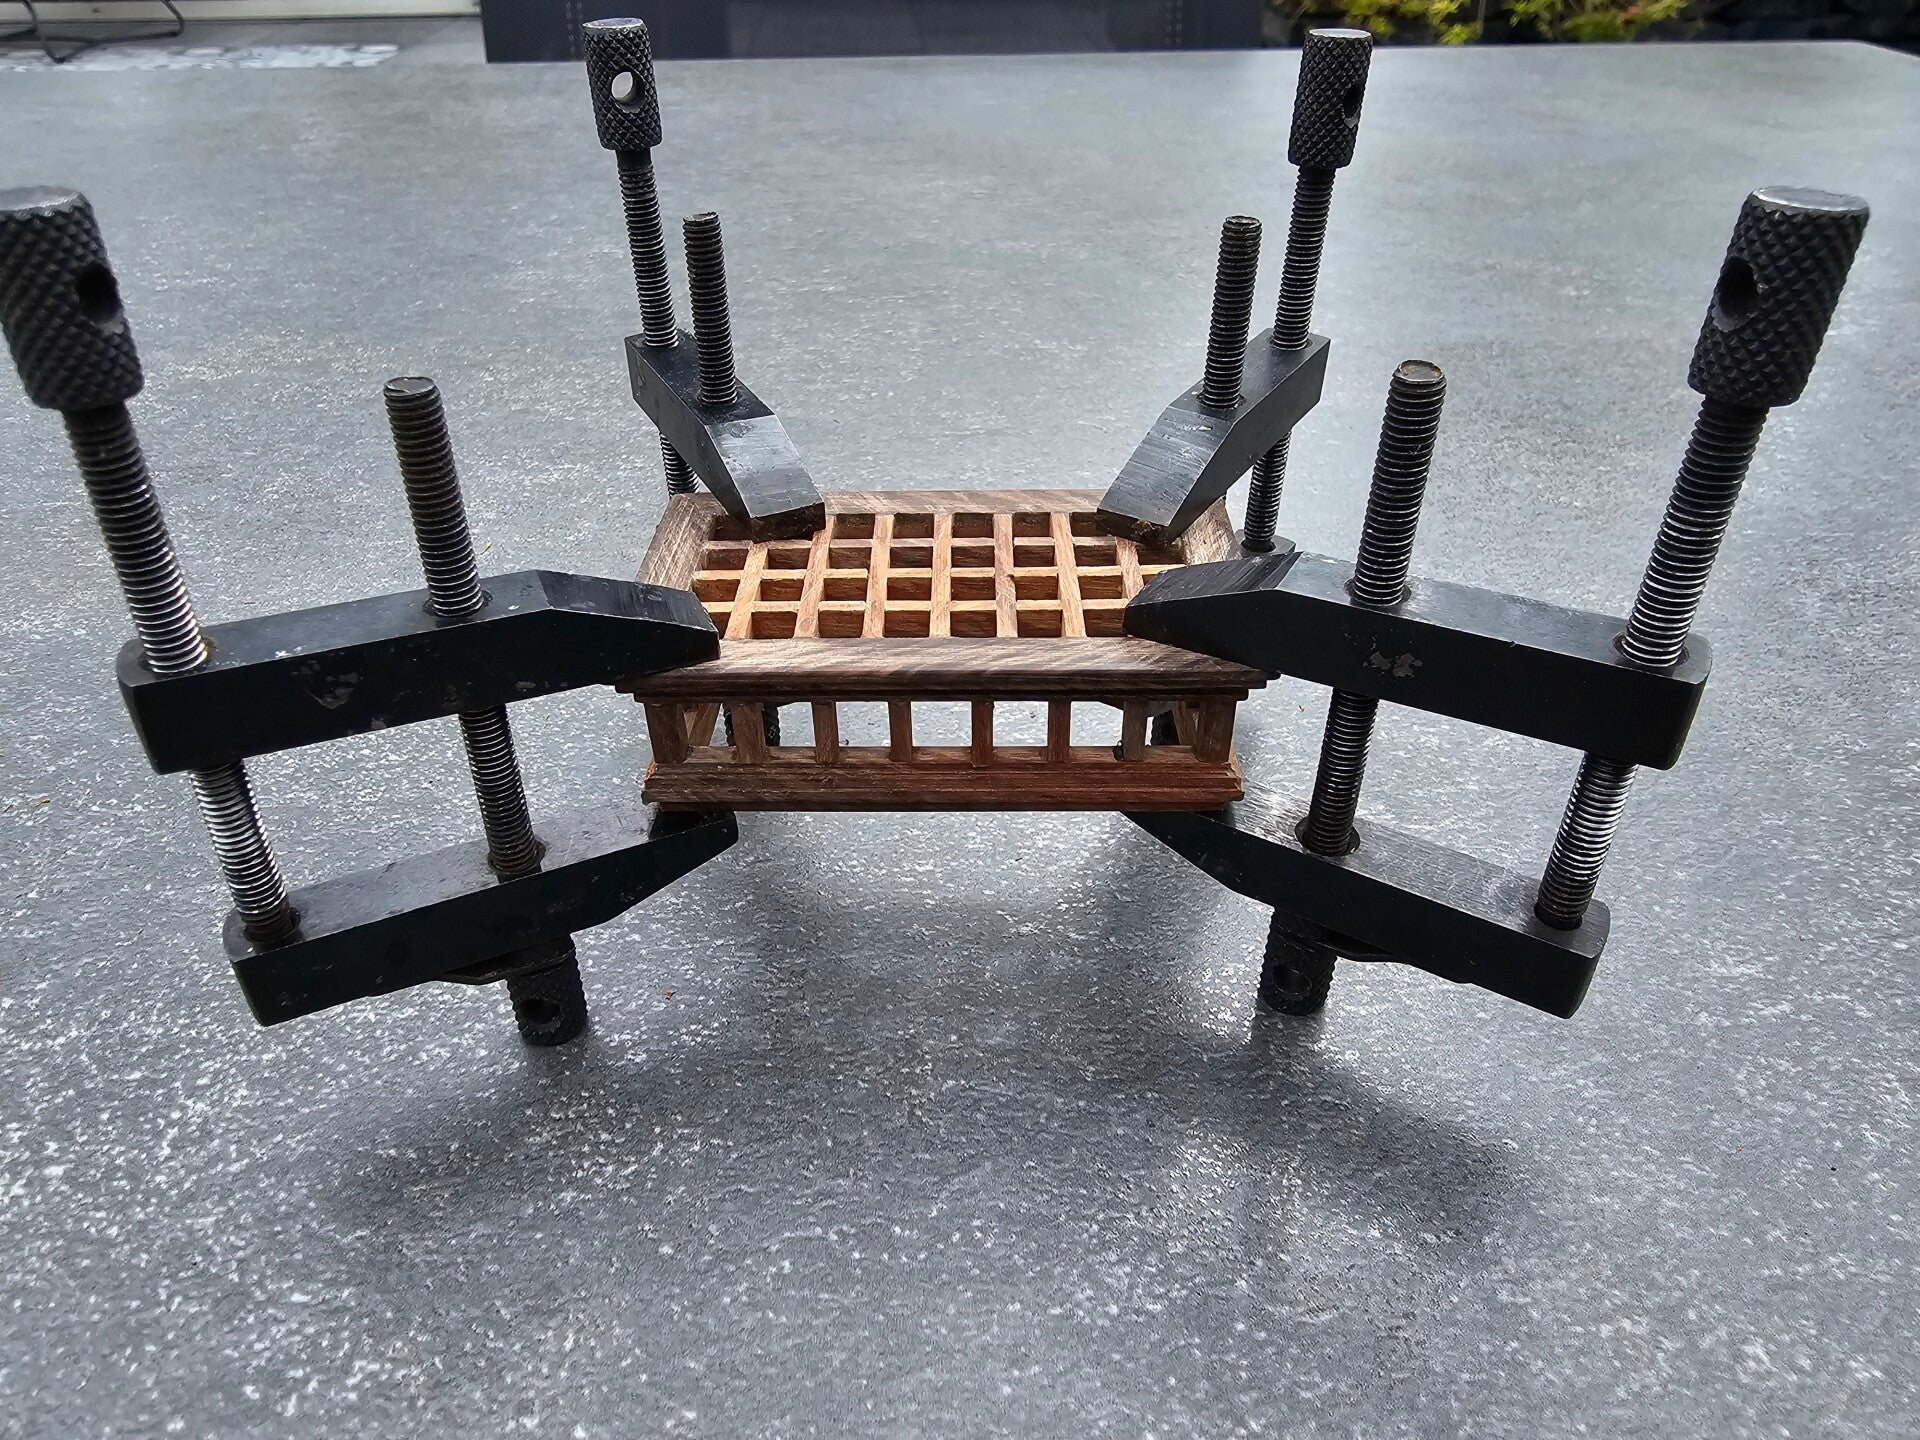
First, I made the roof grille for the skylight. Each slat was milled halfway so that the whole thing fits together as a single large grille. Then it was time to tackle the rest. Finally, last Friday—after more than two weeks of preparatory work—I was able to assemble the skylight. After letting it dry for over a day, I was able to finish it off.
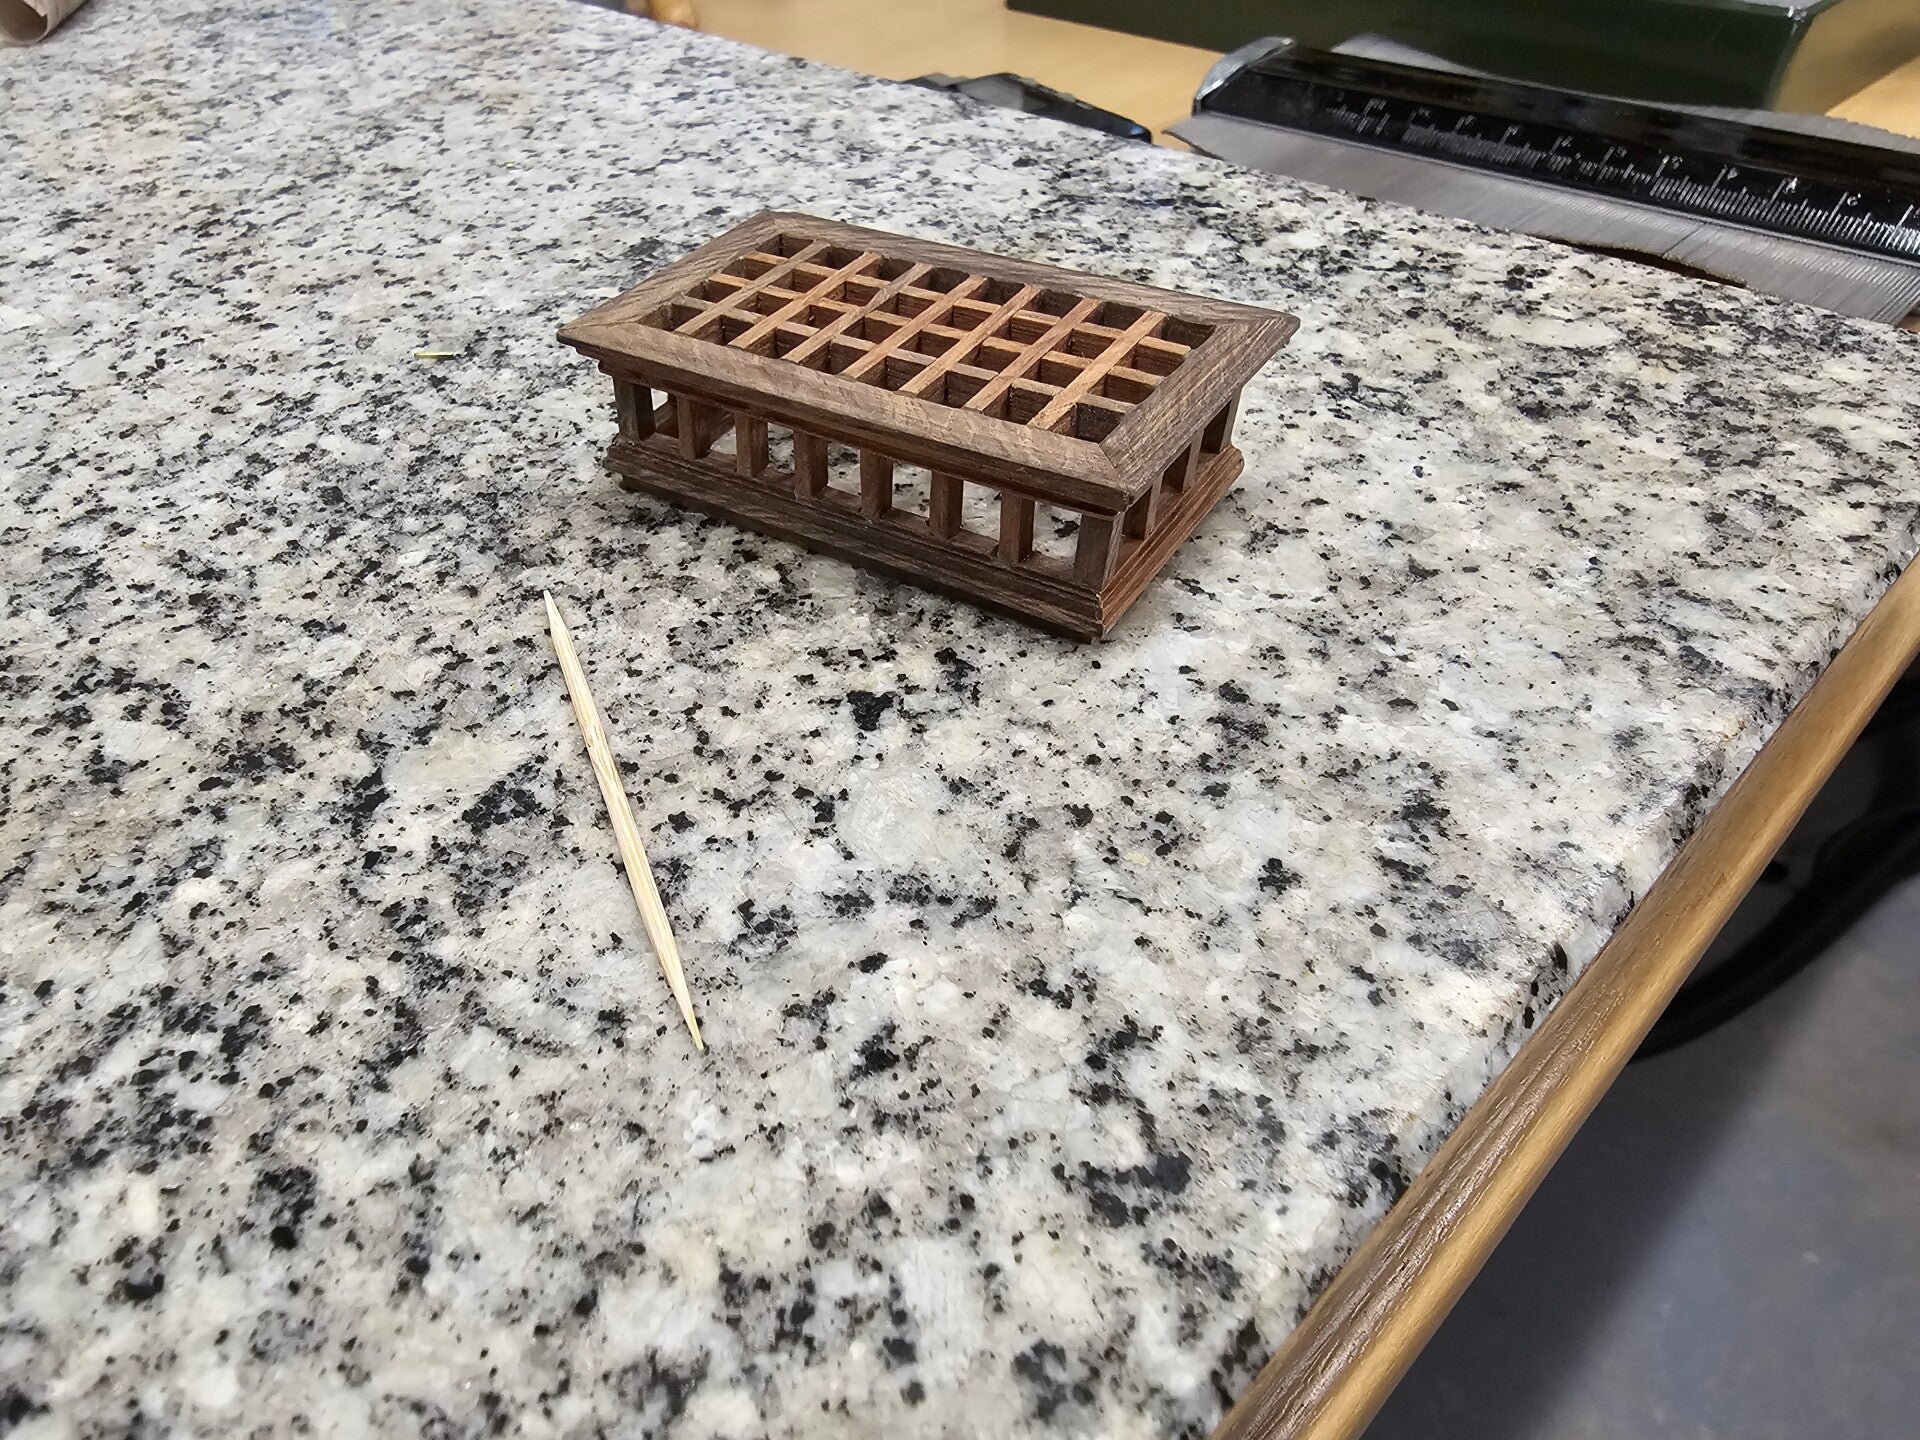

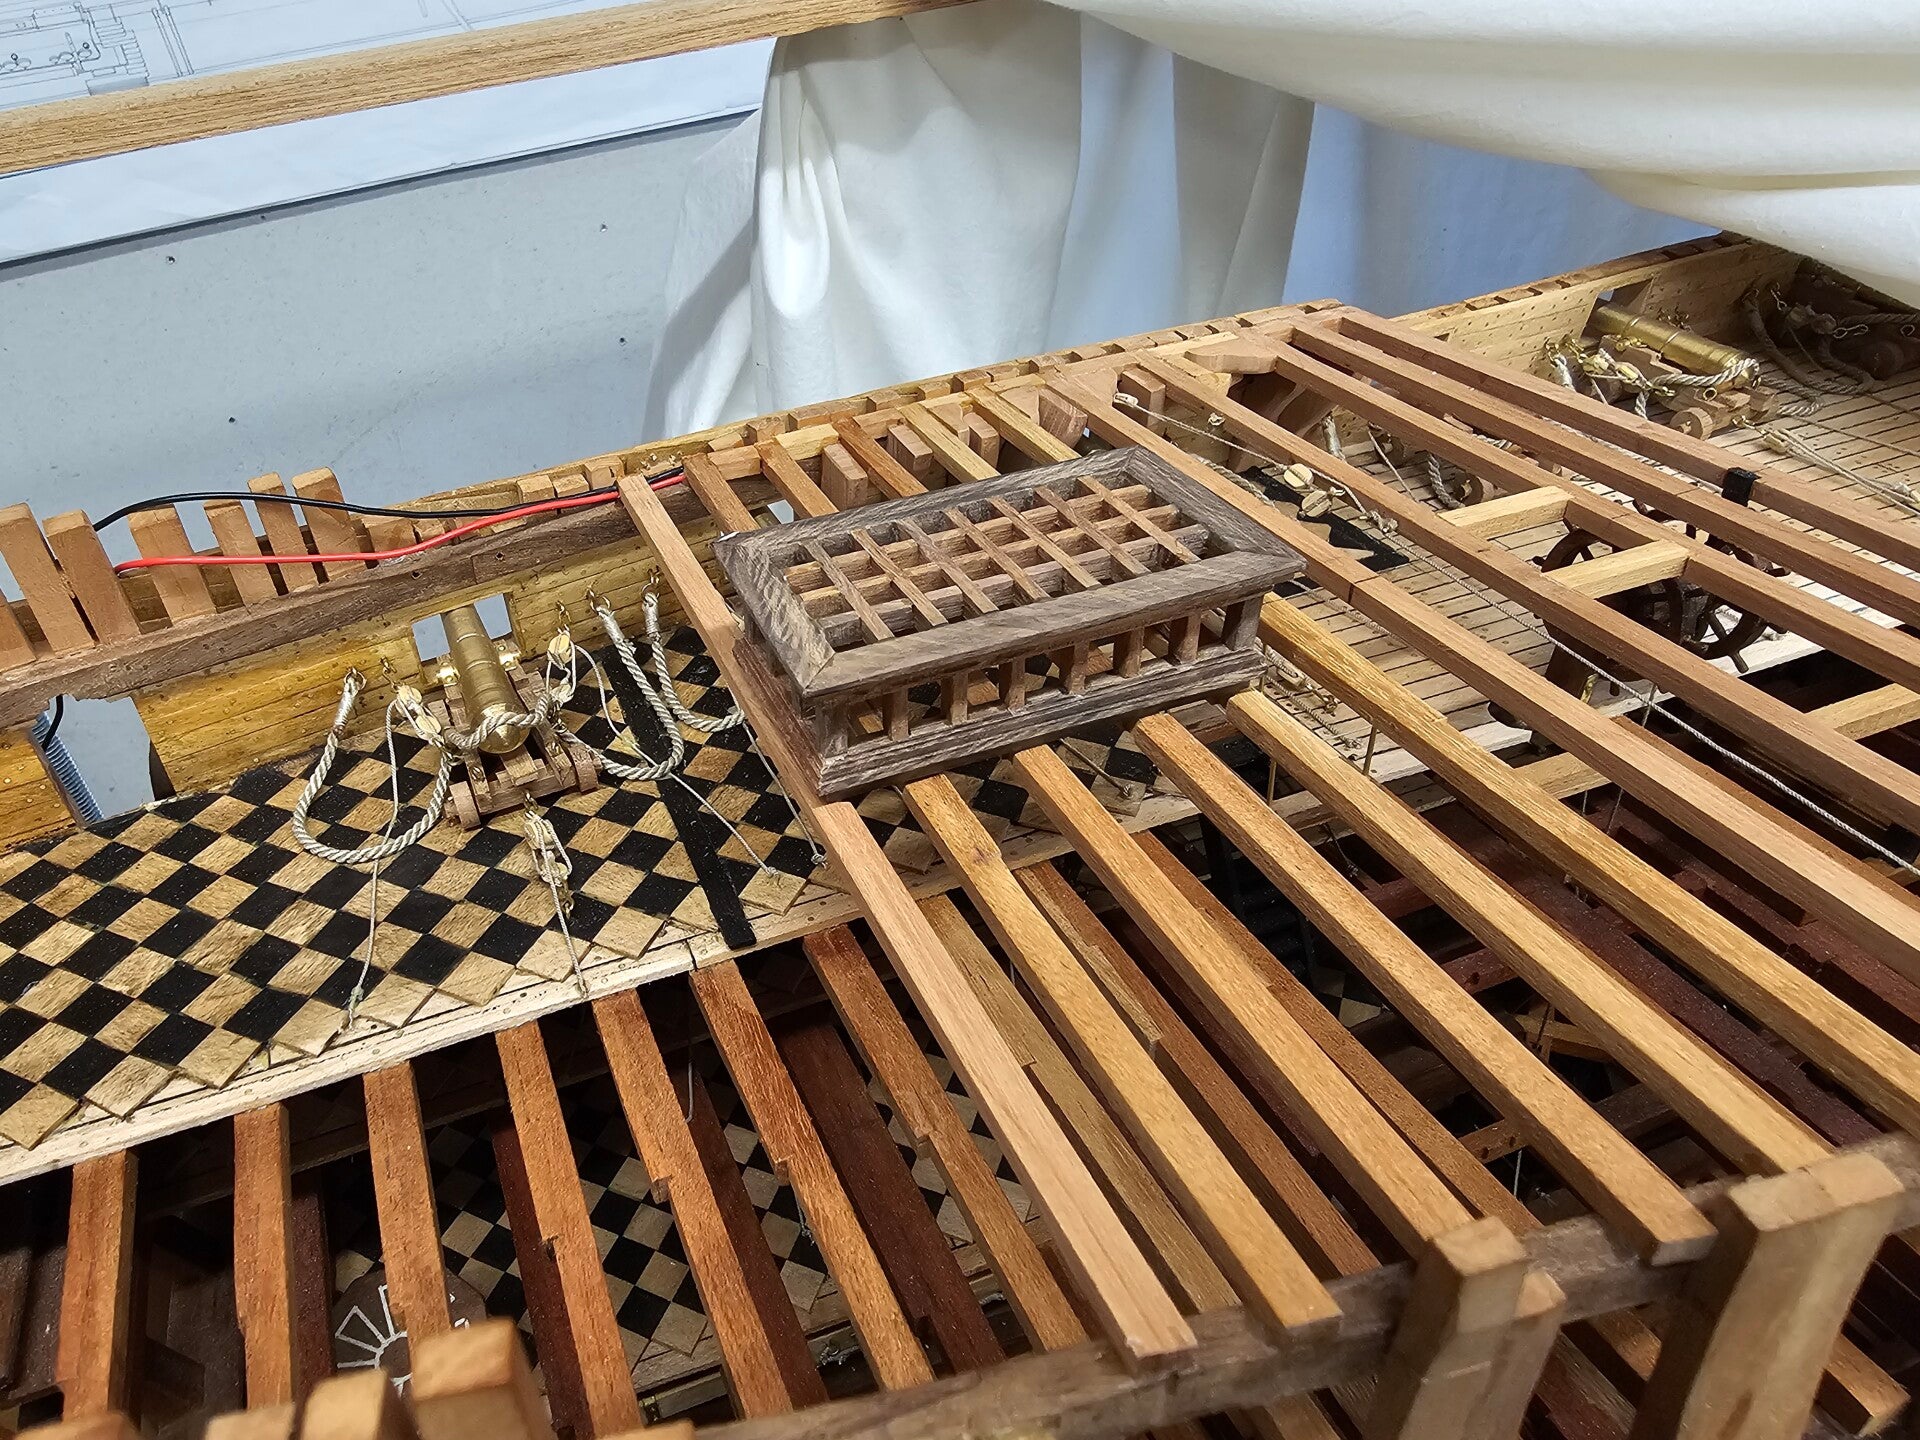
After fitting everything, the construction committee (my wife) decided to leave the windows as they are. I had thought about attaching them with Kristal Klear, but the result would have ruined the whole look.
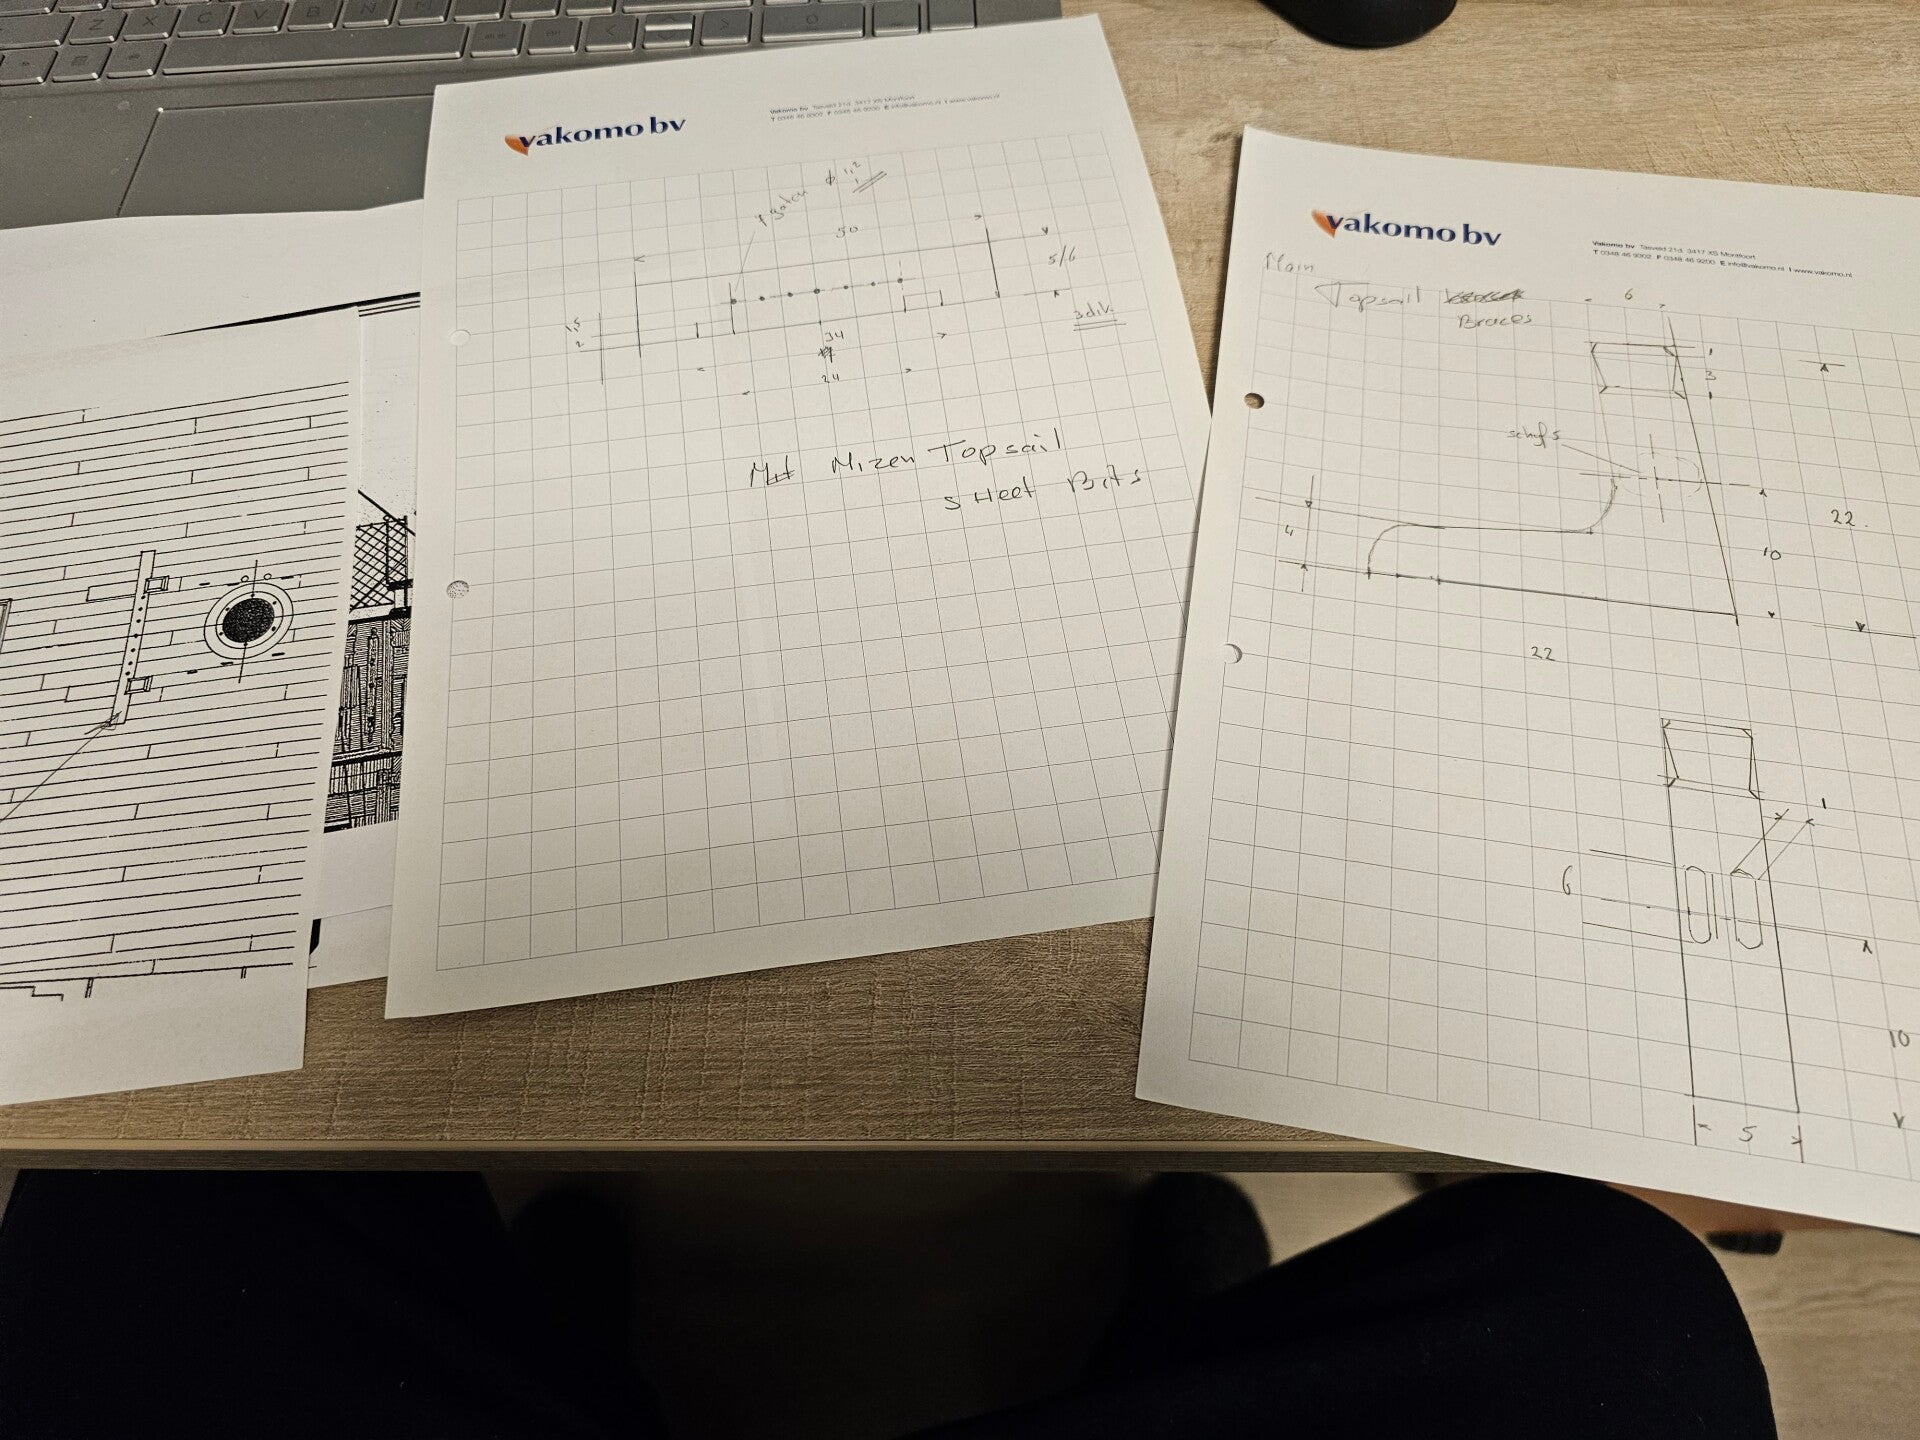
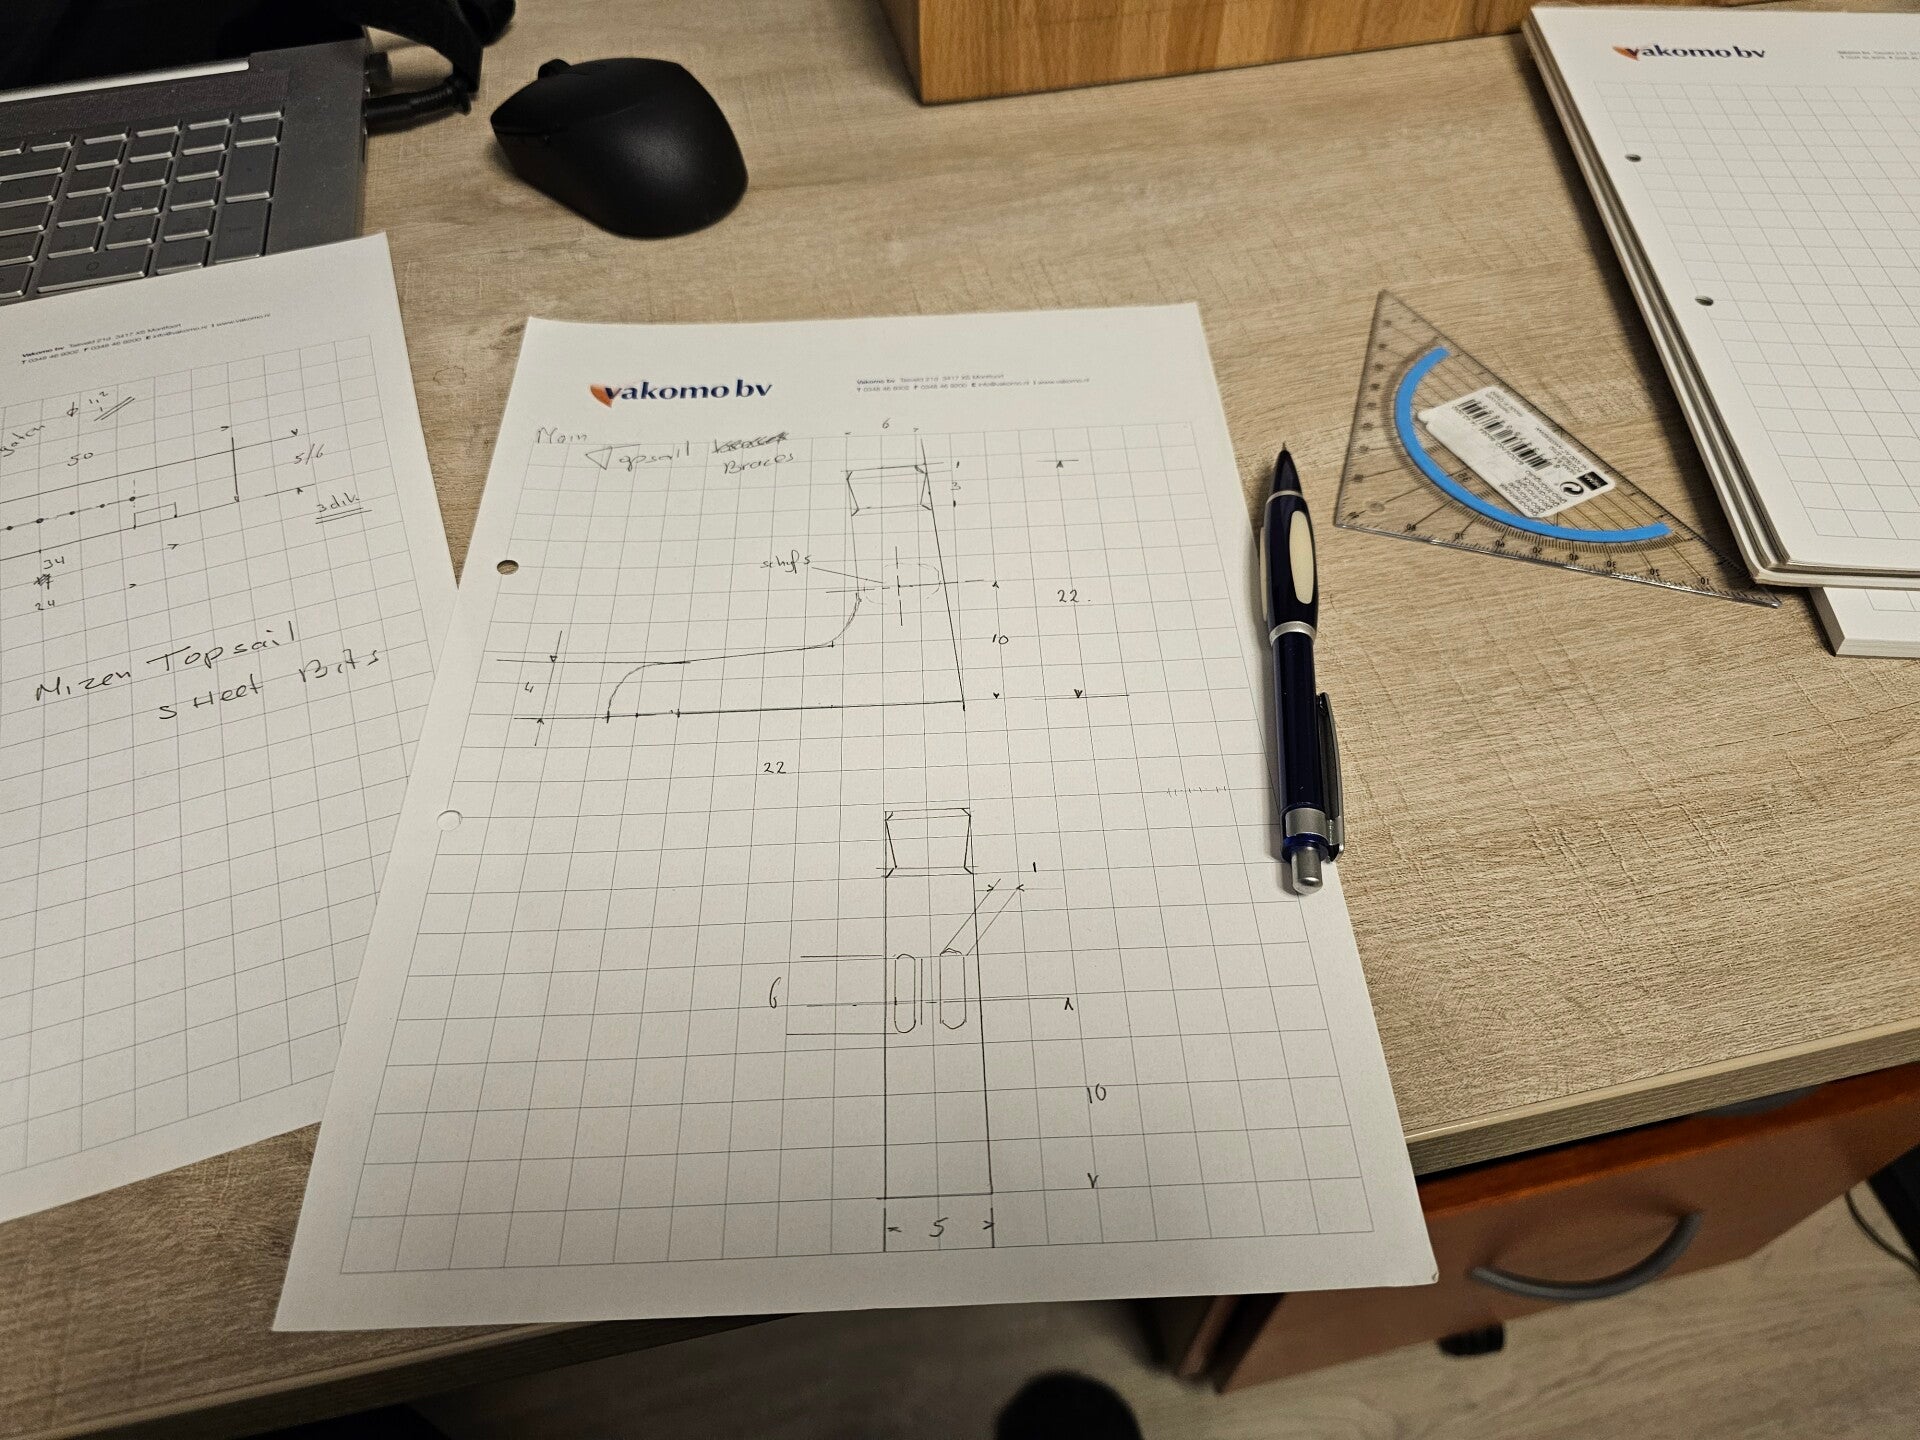
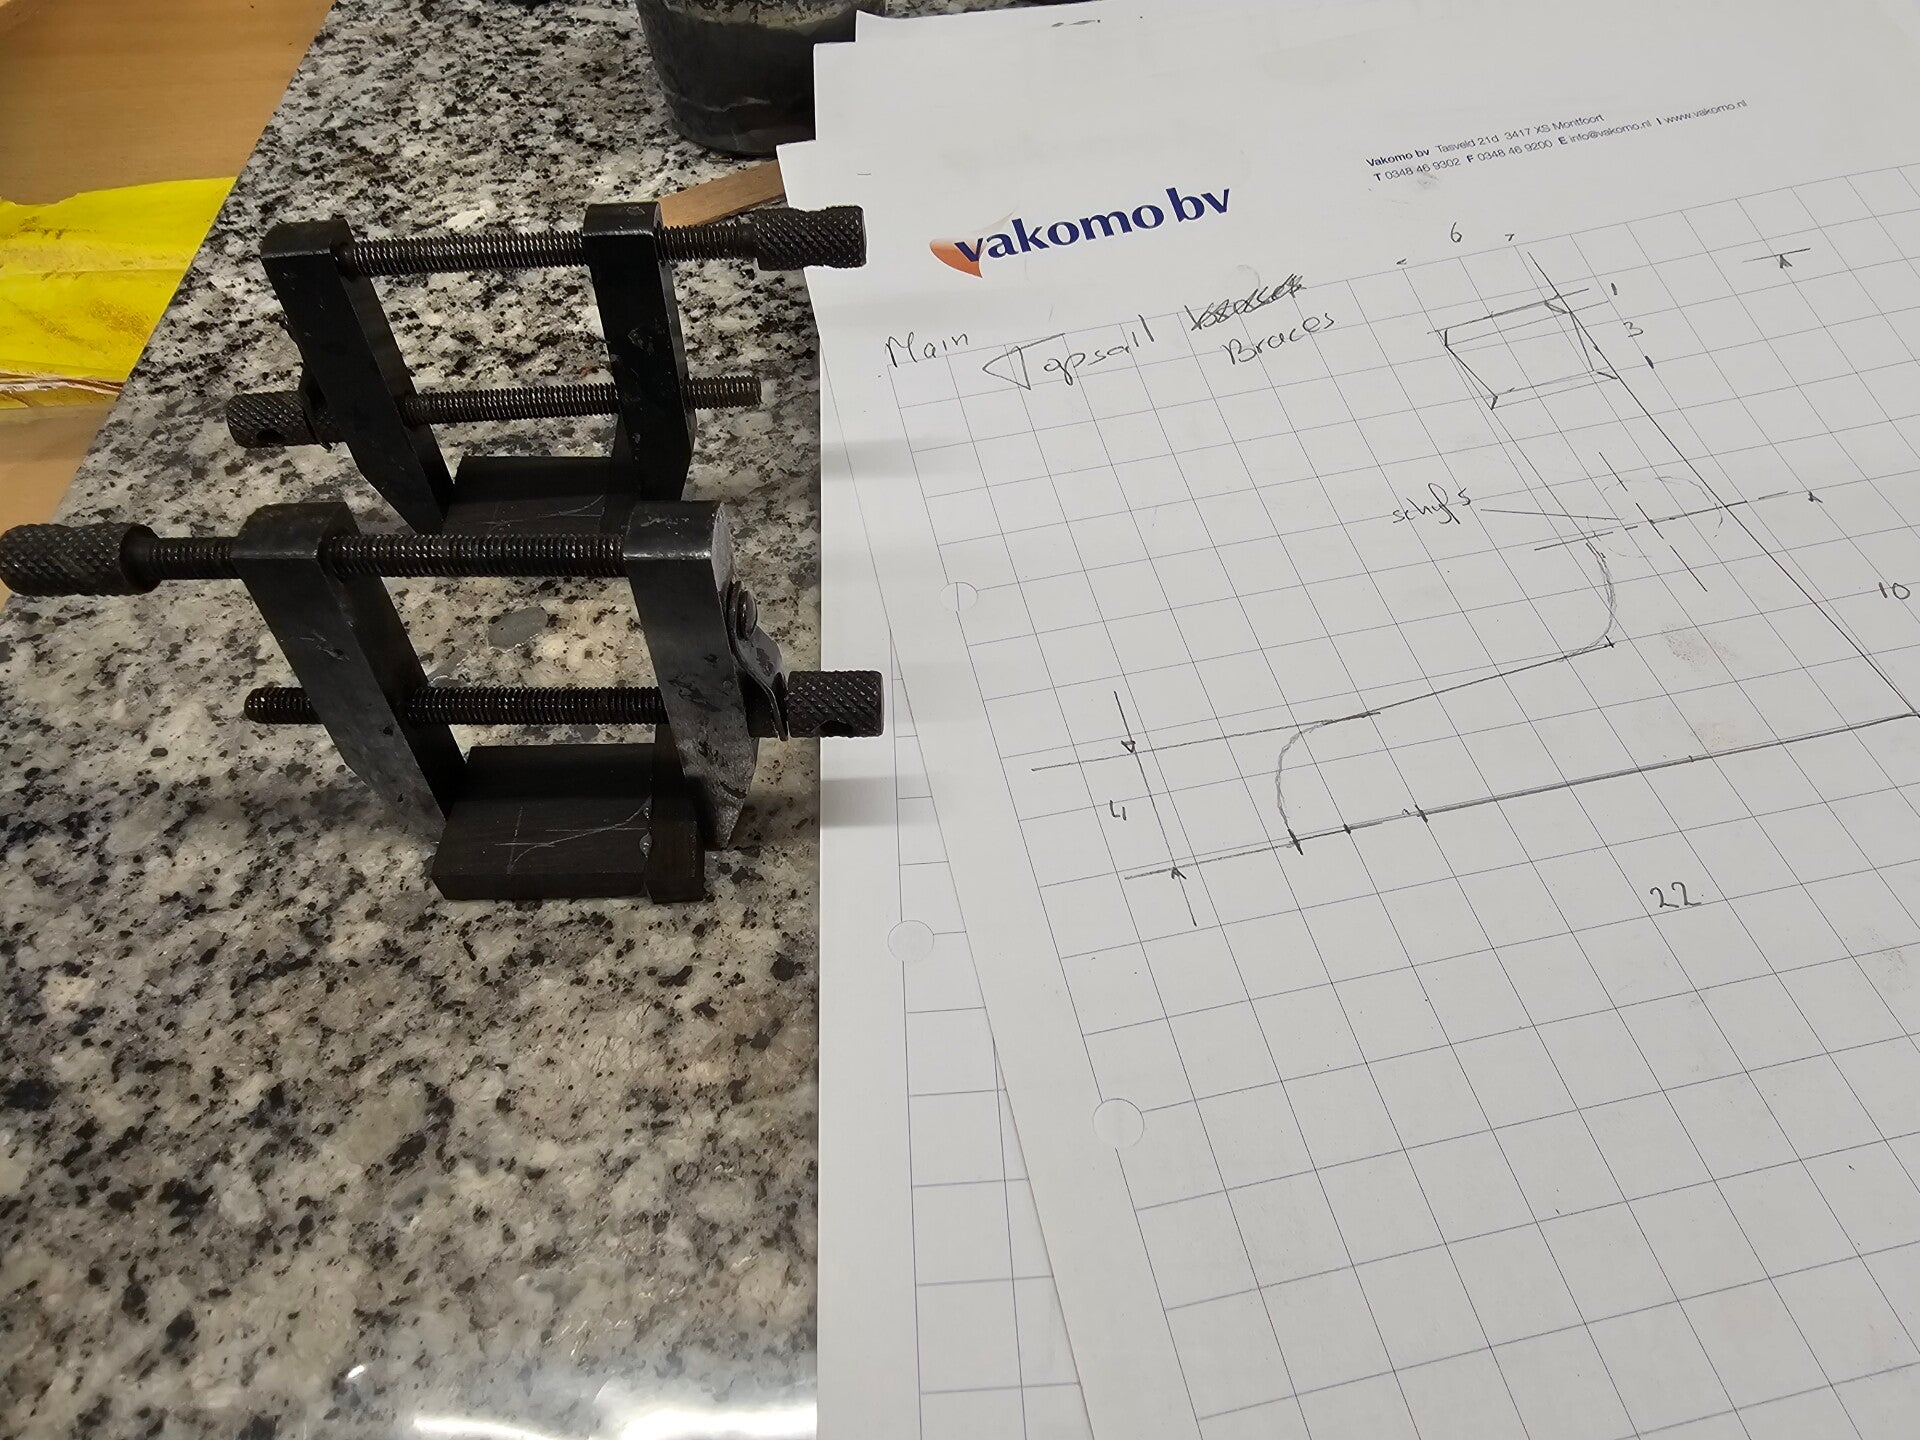
It is now time for the next subproject of the Poop Deck: the assembly of the Main Topsail Braces with the Mizen Topsail Sheets. The detailed drawings are now ready.
To be continued.....
___________________
Henk